Organization Preferences
Table of Contents
Configure organization settings
Learn how to configure organization-level settings on the Eats365 POS.
The "Organization Settings" on the Merchant Portal allows you to configure settings that apply to the entire organization. Here, you can change your organization name, enable PIN login, and customize decimal places in reports for different regions.
In this article, you’ll learn how to set up the Organization Settings on the Merchant Portal.
Change organization name
To change your organization’s name, follow the steps below:
- Log in to the Merchant Portal.
- On the left panel, click on Organization Settings
 Organization Settings.
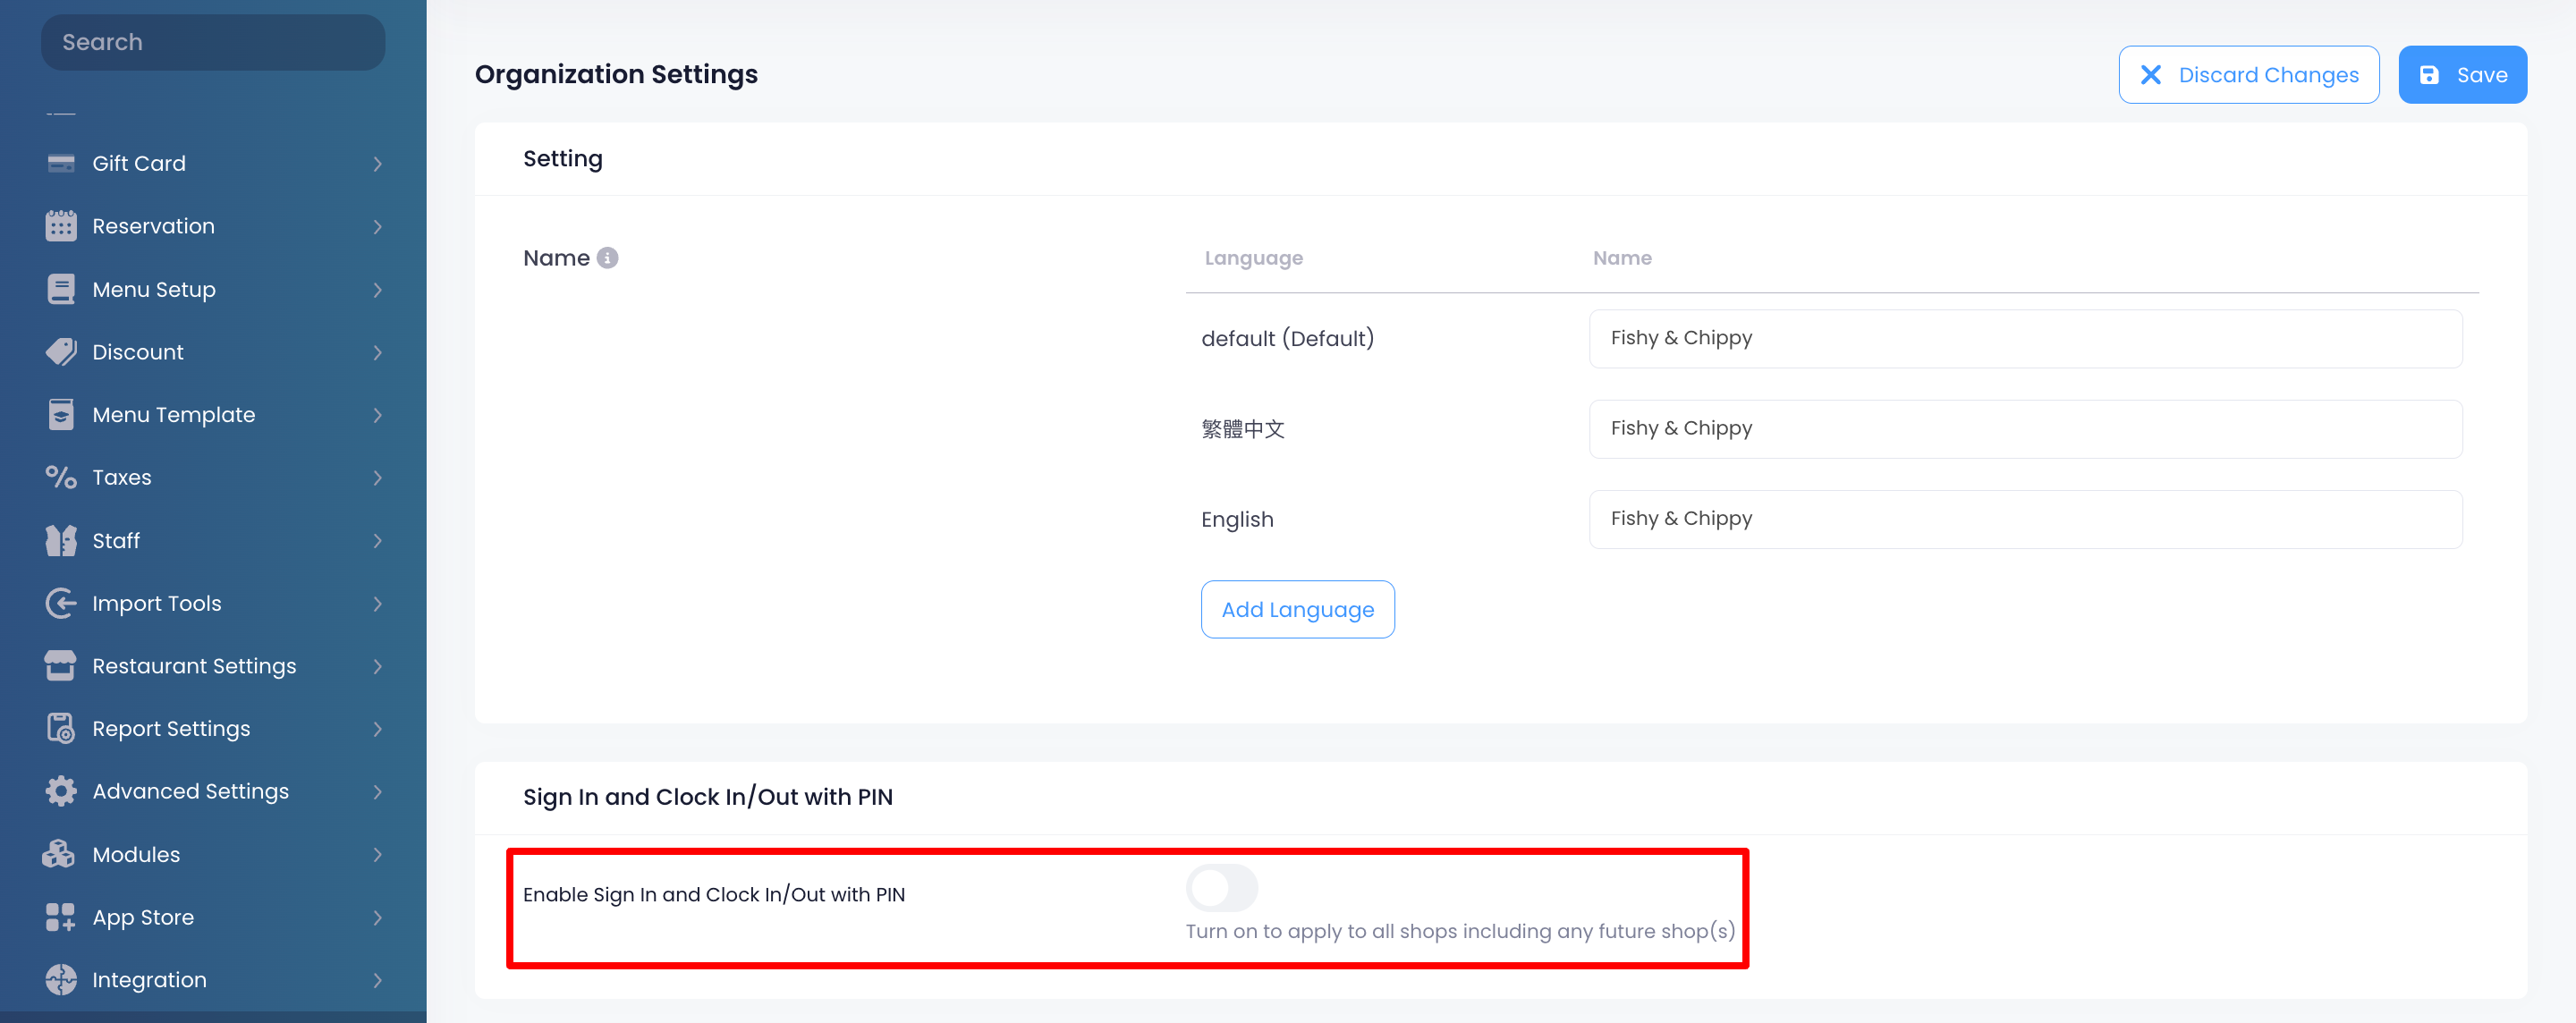
 - Under “Name,” enter the new organization name per language. To add more language, click on Add Language.

- At the top right, click on Save to confirm.
Enable PIN login
By default, users must select their user account on the POS login page and then enter their PIN. By enabling PIN login, you’re allowing staff members to directly enter their PIN without having to select their user account.
To set up the PIN login method for your restaurant, follow the steps below:
- Log in to the Merchant Portal.
- On the left panel, click on Organization SettingsOrganization Settings.
- Under “Sign In and Clock In/Out With PIN,” turn on Enable Sign In and Clock In/Out with Pin
 .
.
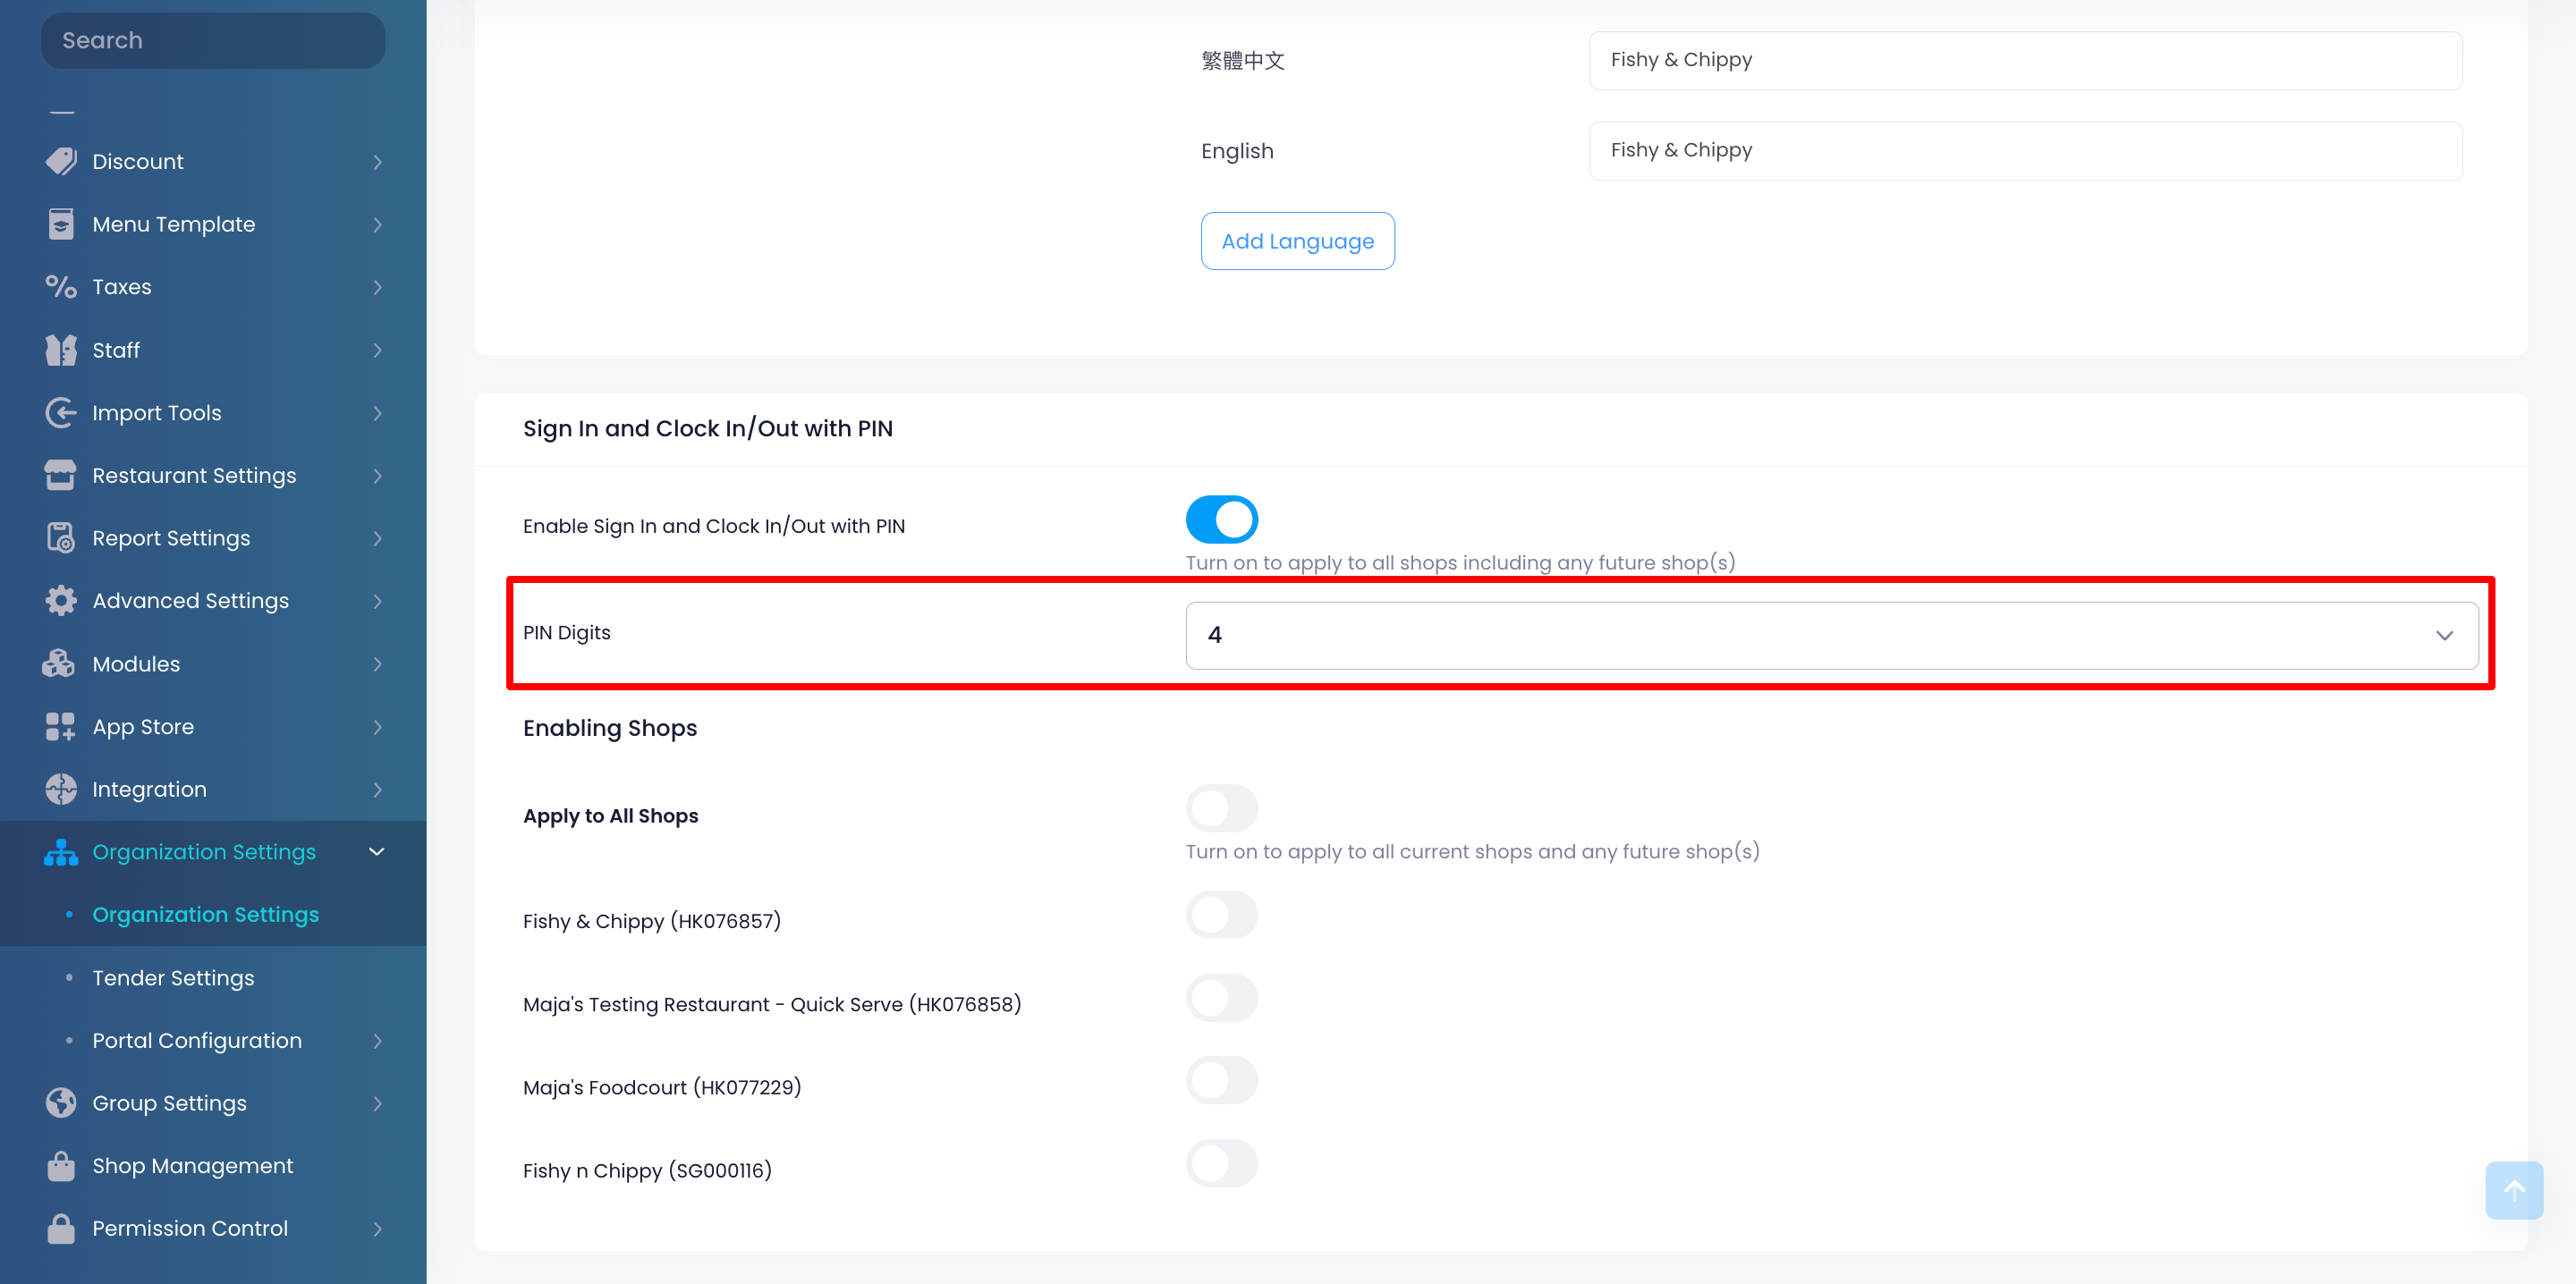
- Next to “PIN Digits,” click on the drop-down button and select the number of digits required for login PIN codes.

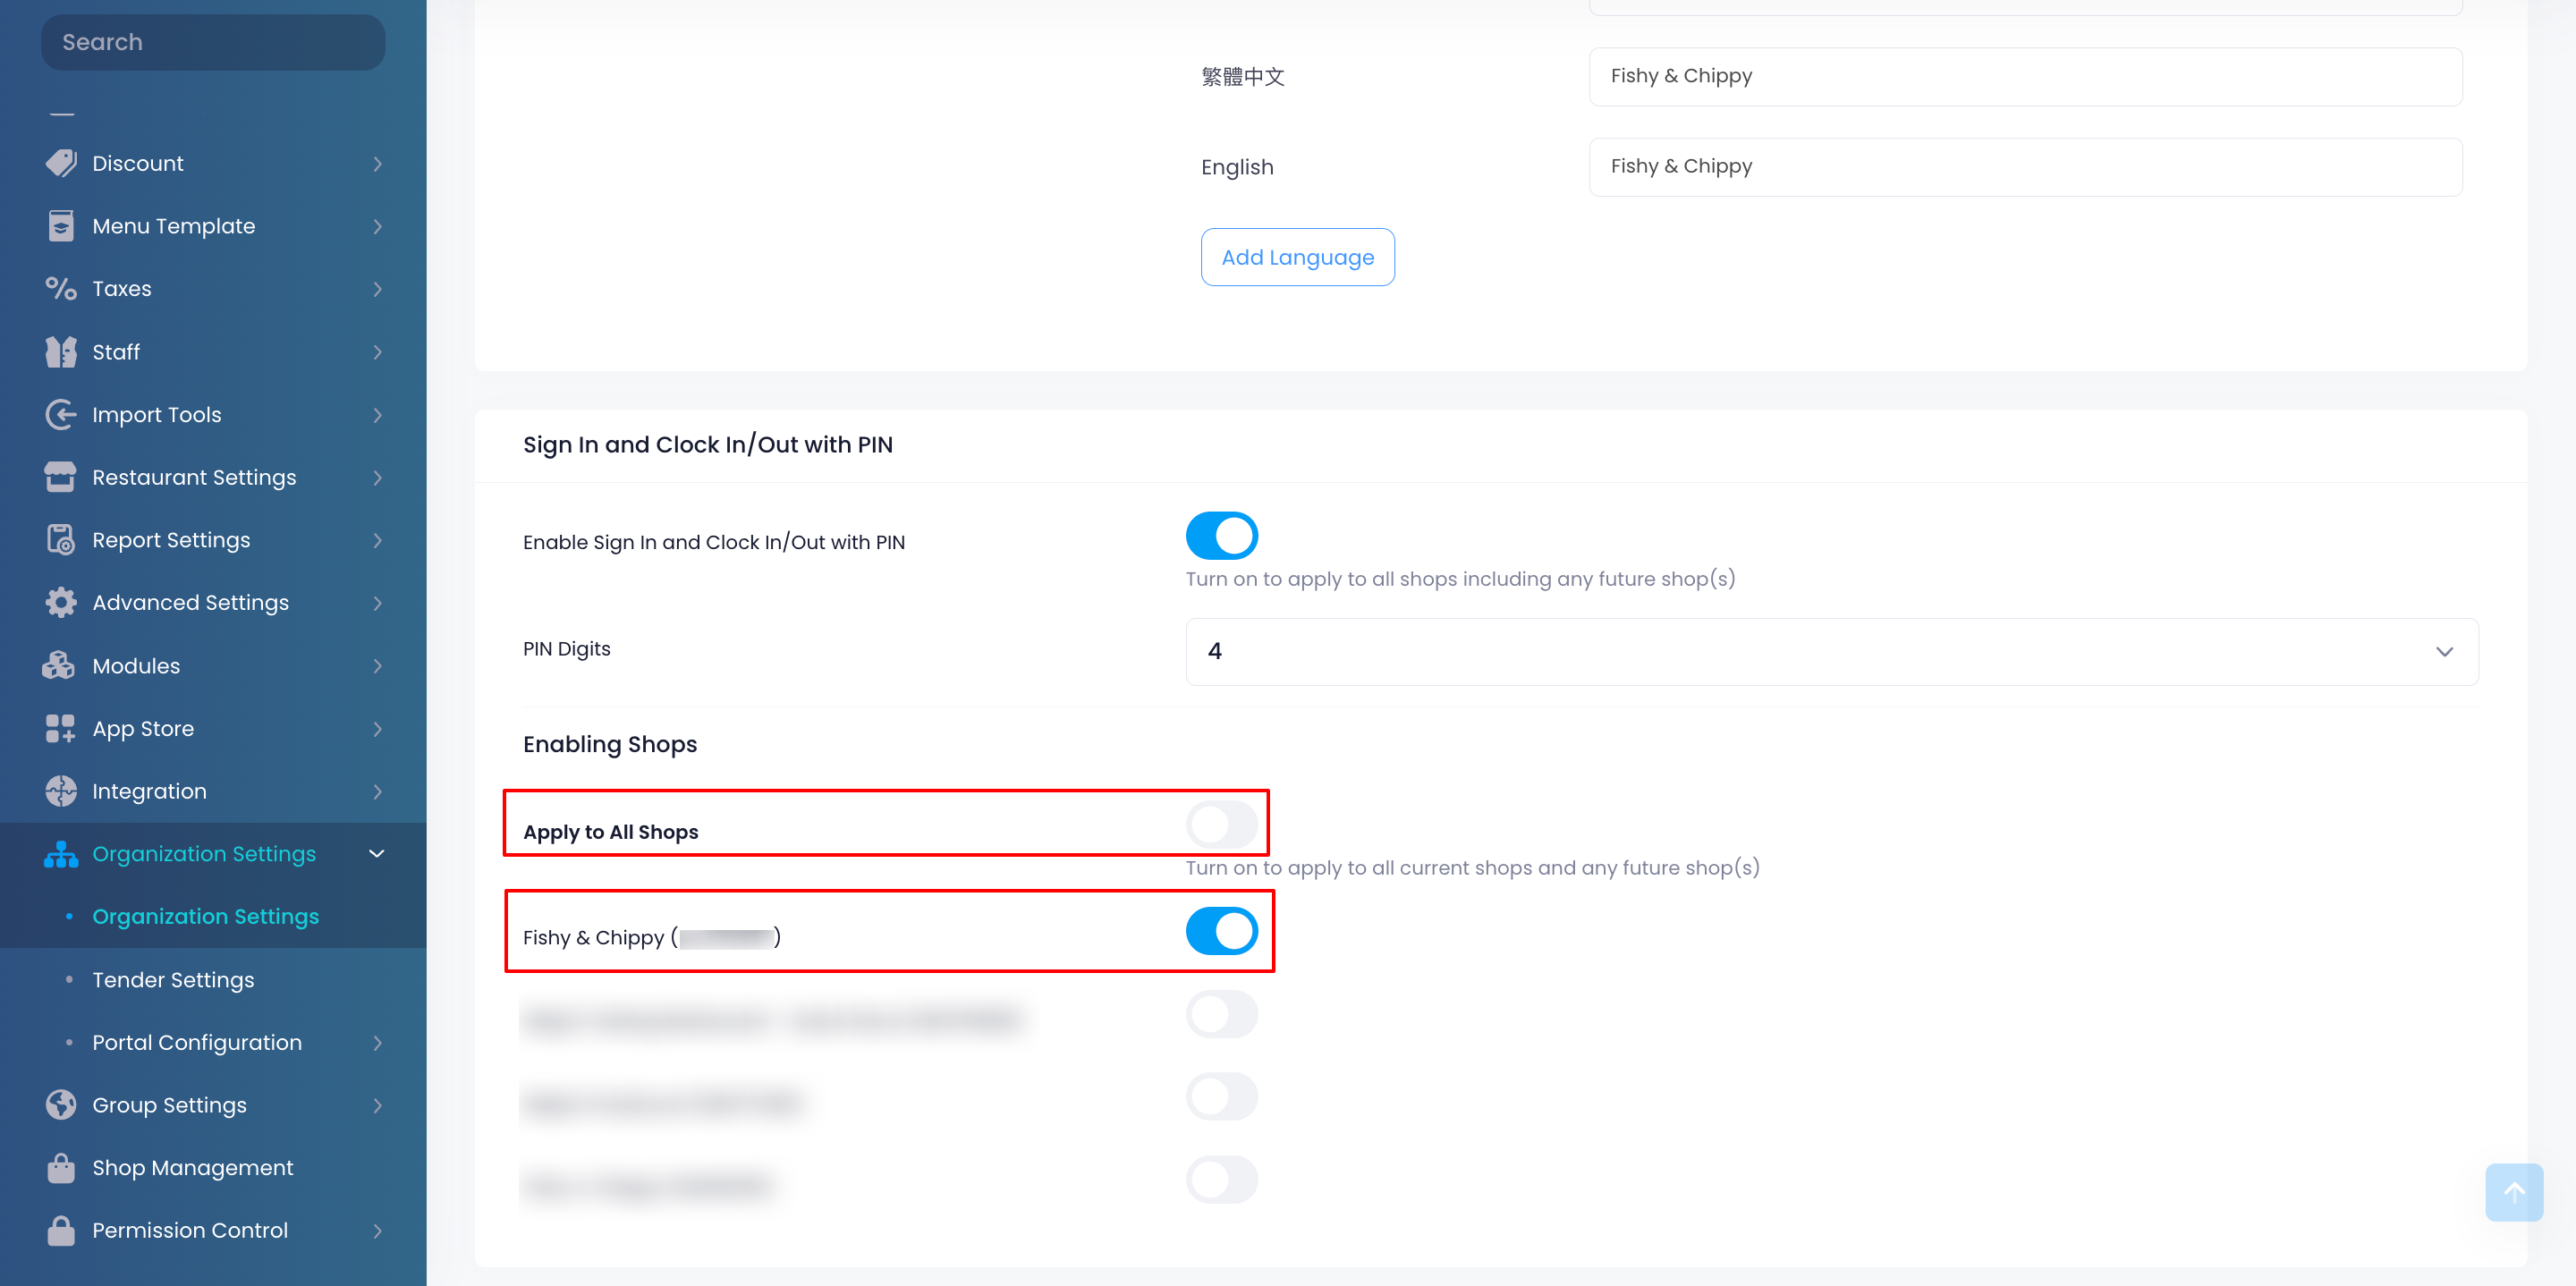
- Under “Enabling Shops,” select the restaurants that you want to allow logging in directly on the POS by entering a valid PIN. If you want to apply PIN login to all your restaurants, turn on Apply to All Shops
 .
.
- At the top right, click on Save to confirm.
Configure decimal place in reporting data
The “Decimal Place Setting in Reporting Data” setting allows you to customize how decimals appear on reports. You can configure different decimal place settings for various regions to ensure accurate and localized data presentation.
To configure decimal place in reports, follow the steps below:
- Log in to the Merchant Portal.
- On the left panel, click on Organization Settings
 Organization Settings.
 - Under “Decimal Place Setting in Reporting Data,” click on +Add Regional Decimal Places in Reporting Data.

- Select the country where you want the customized decimal place to apply.
- Select the decimal place that you want to use for reports.
- At the top right, click on Save to confirm.
Enable email notification for membership cancellation
The "Email Notification" setting allows relevant staff members to receive email notifications regarding membership cancellation requests initiated by customers through the Branded Online Store. Once a customer submits a request to cancel their membership, staff members will receive the notification through their associated email addresses and receive instructions to delete the customer's membership account manually from the system.
- Log in to the Merchant Portal.
- On the left panel, click on Organization Settings
 Organization Settings.
 - Under "Email Notification," toggle on Enable Notification for Member Account Deletion
 .
.
- Select the language you want to use in the email.
- Enter the email address where the email will be sent.
- To add more email recipients, click on +Add Email Recipient.
- Click on Save to confirm.
 Eats365 Products
 Merchant Guide
 Modules
 Membership
 Integrations
 Hardware
 Staff Operations
 Roles & Permissions
 Payments
 Reports
 What’s New
 Release Notes
 Troubleshooting
 Simulators
 Glossary
 Troubleshooter
 System Status