Eats365 Products
 Merchant Guide
 Modules
 Membership
 Integrations
 Hardware
 Staff Operations
 Roles & Permissions
 Payments
 Reports
 What’s New
 Release Notes
 Troubleshooting
 Simulators
 Glossary
 Troubleshooter
 System Status
Sales report
Table of Contents
View and manage Sales Summary
Learn how to get a Sales Summary report on the Merchant Portal.
The Sales Summary report provides a detailed breakdown of all transactions and sales within a selected time period.
The Sales Summary includes the following information, which can be used to analyze your restaurant’s sales performance:
- Net Sales
- Number of customers
- Average Daily Net Sales
- Average Daily customers
- Average spending per customer
- Discount amount
In this article, you’ll learn about Sales Summary and how to generate a Sales Summary report on the Merchant Portal.
View Sales Summary
To view your Sales Summary, follow the steps below:
Merchant Portal 2.0
Restaurant-level Sales Summary
- Log in to the Merchant Portal.
- On the left panel, click on Reporting
 Sales Summary.
 - Select the date range that you wish to include in the report.

- Set the time period of the report that you wish to generate.

- Filter the report by selecting the Dining Type or adding the Party Size.

- Select if you want to show sales items only, non sales items only, or show both.

- Click on Submit to retrieve the records.
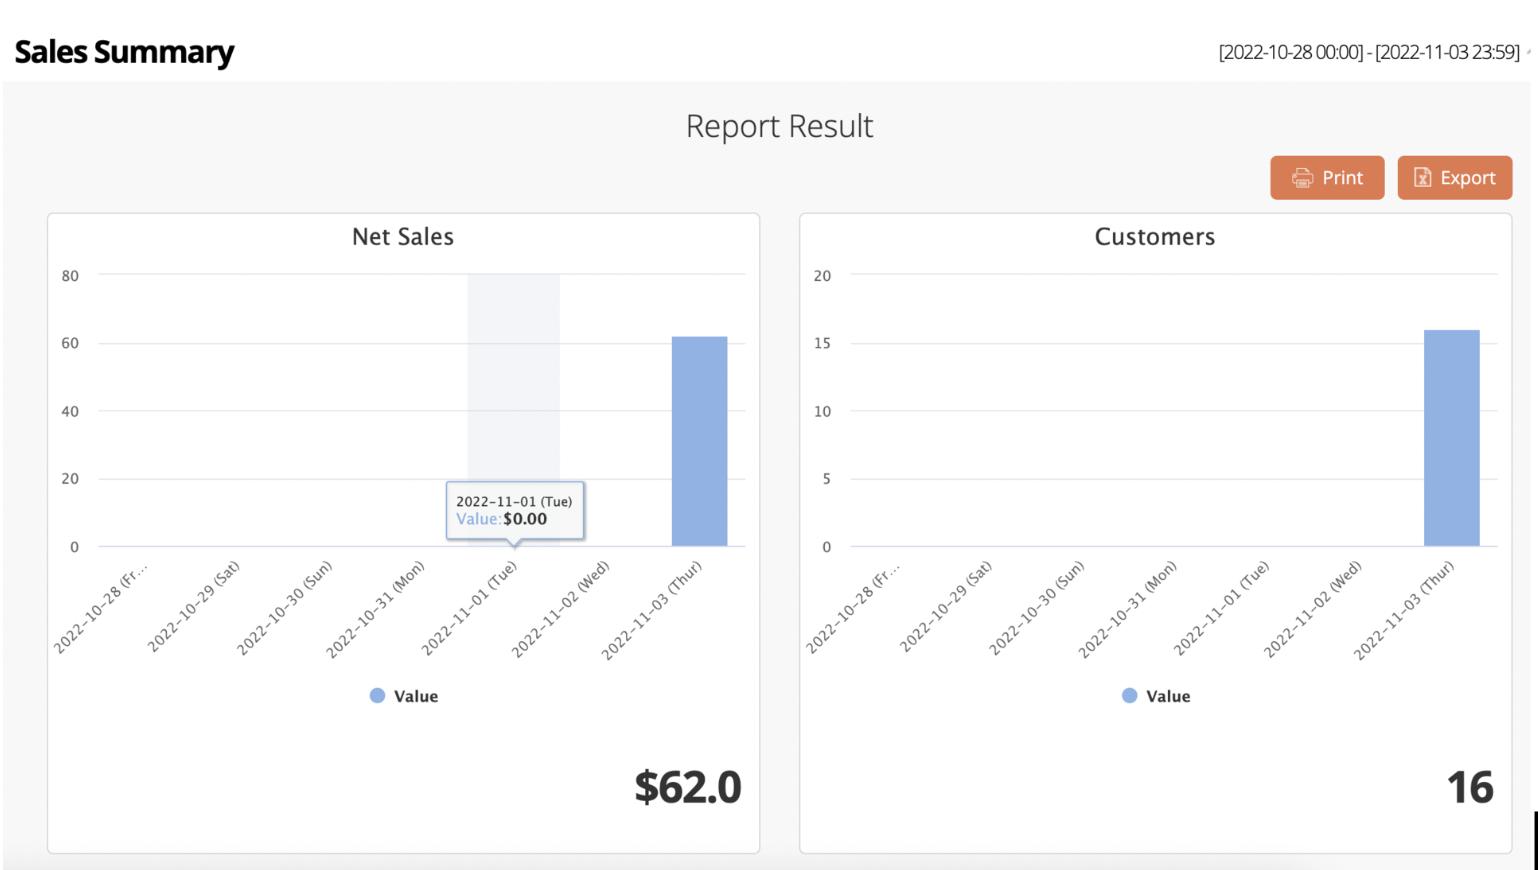
By default, the Sales Summary shows a Chart View and a Table View of the report. You can customize the Table View to show additional information in the Sales Summary.

Customize Report Result
To add more information to the Table View, scroll down to the Table View. Click on More  . Then, click on the checkbox of the information that you want to add.

Group or organization-level Sales Summary
- Log in to the Merchant Portal.
- On the left panel, click on Reporting Sales Summary.
- Select the sales month you wish to include in the report. If you would like to compare this year and last year's data, enable Compare with Last Year
 .
.
- Choose which restaurant branches you want to include in the reporting data.
-
All Shops: Includes the relevant data of all restaurant branches under your organization or group.

-
Select Shop(s): Allows you to select the restaurant branches you want to include in the reporting data. For every restaurant you want to include, click on the checkbox.

Tip: To narrow down the restaurant list, you can use the search function or filter the restaurant list by only including select Groups and Shop Tags. The "Group" filter only appears on Organization-level view.
-
All Shops: Includes the relevant data of all restaurant branches under your organization or group.
- If there are different currencies used in your group or organization, select the currency that will be used in the report.
Important: For multi-currency restaurants, you must set a default currency for reports in the Currency Exchange Rate for Report settings. - Click on Submit to retrieve the records.

Merchant Portal (Classic Theme)
- Log in to the Merchant Portal.
- On the left panel, click on Reporting.
- Select Sales Summary.
- Select the date range that you wish to include in the report.
- (Optional) Click on Advanced Filtering. Then, configure the following filter options:
- Time period
- Service Type
- Patron Size
- Click on Submit to retrieve the records.
By default, the Sales Summary shows a Chart View and a Table View of the report. You can customize the Table View to show additional information in the Sales Summary.
 Customize Table View
To add more information to the Table View, scroll down to the Table View. Then, next to the Sales Summary (Table View) header, click on Settings  . Click on the checkbox of the information that you want to add.
Print Sales Summary
Merchant Portal 2.0
To print a Sales Summary, at the top right, click on Print. Then, select the printer where you want to print the report. 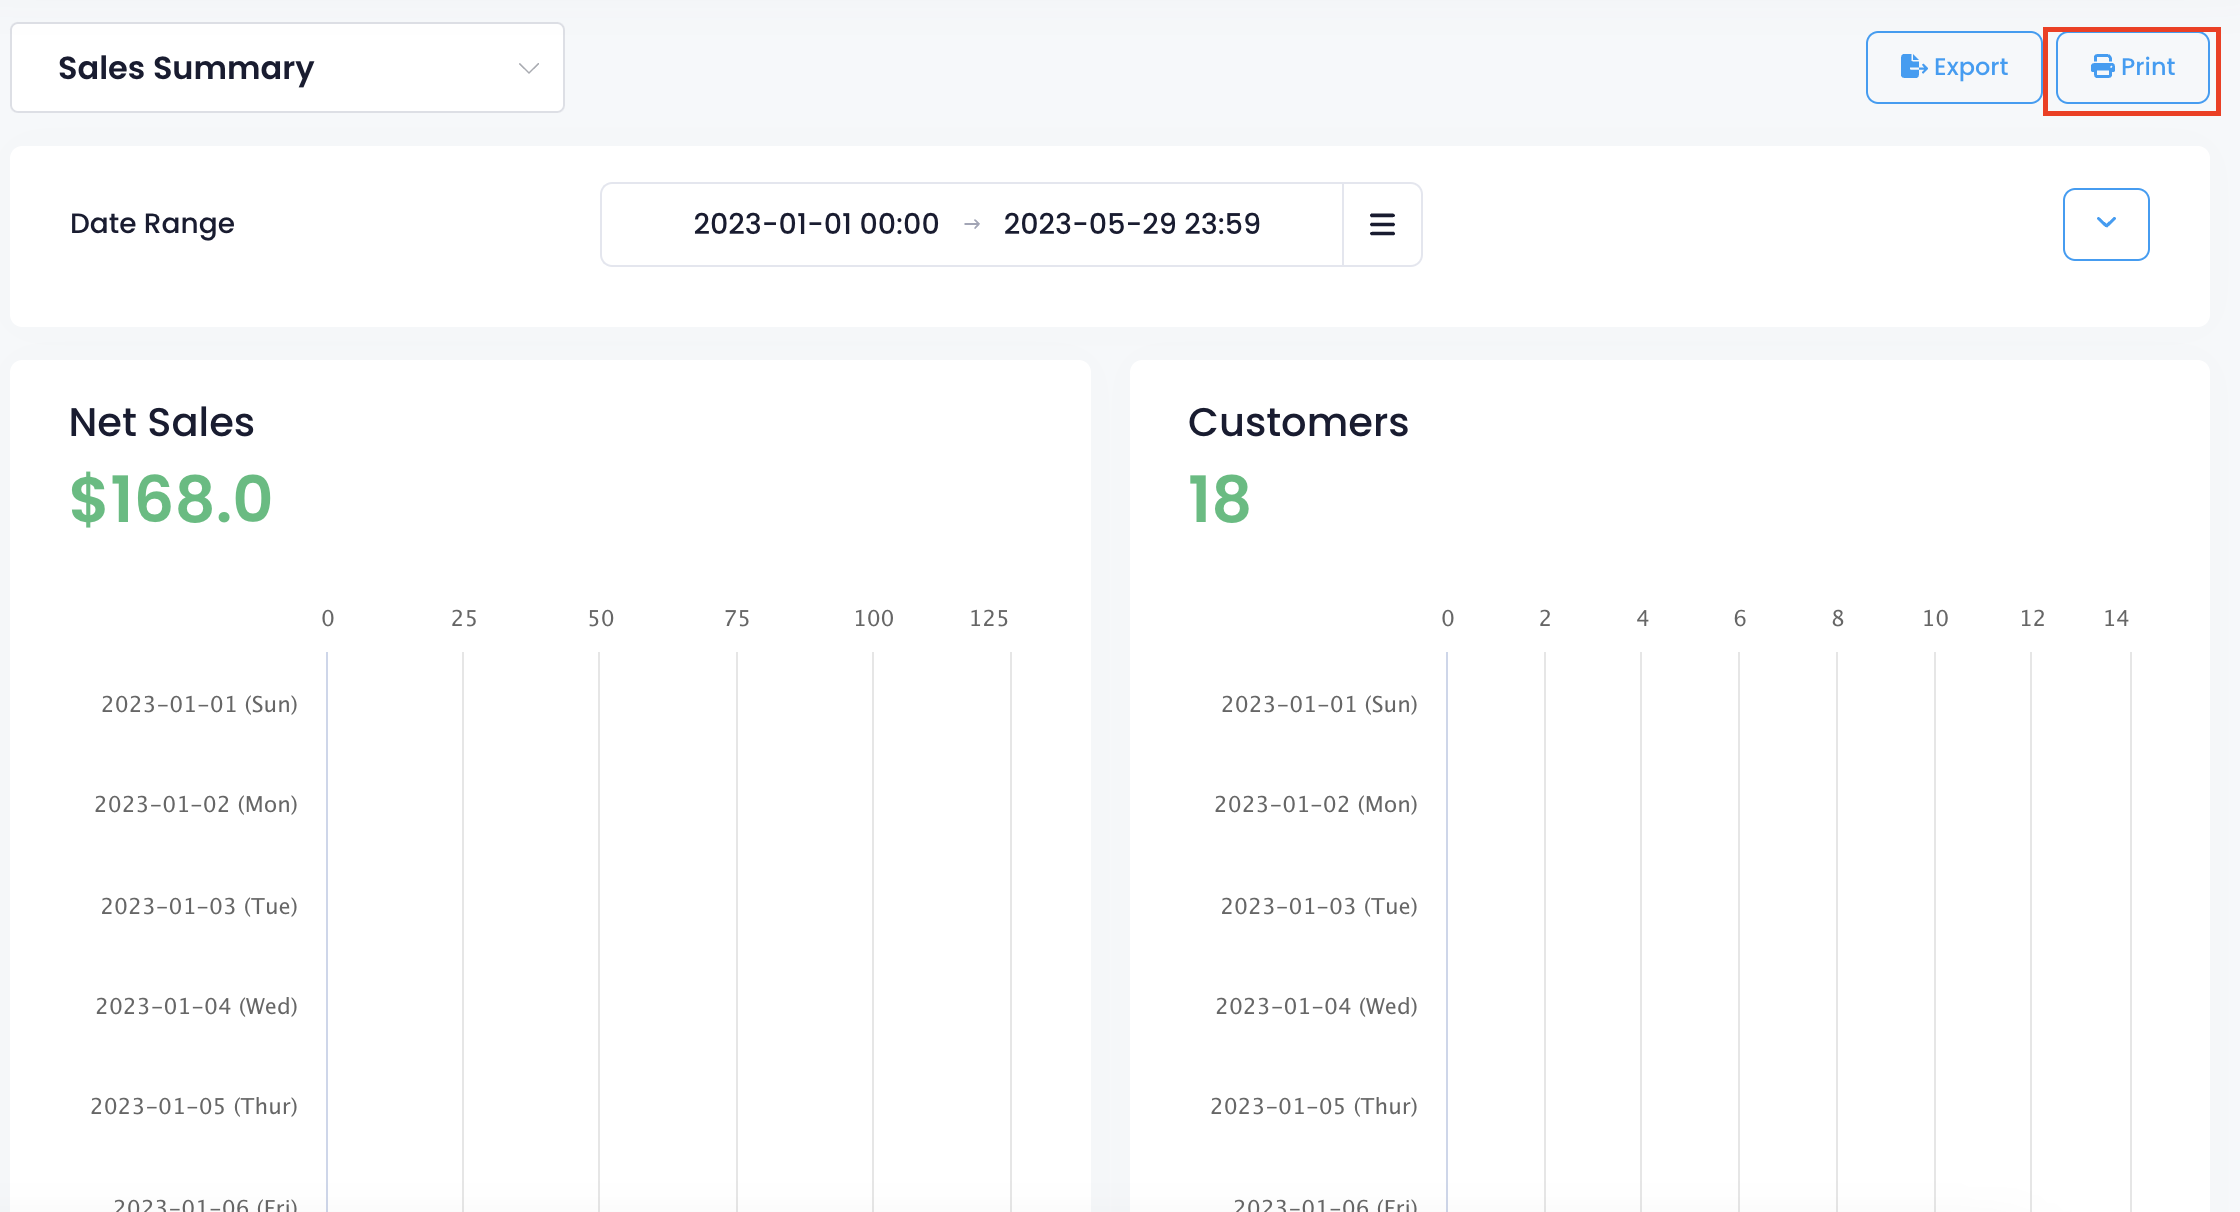
Merchant Portal (Classic Theme)
To print a Sales Summary, from the "Report Result," click on Print. Then, select the printer where you want to print the report. 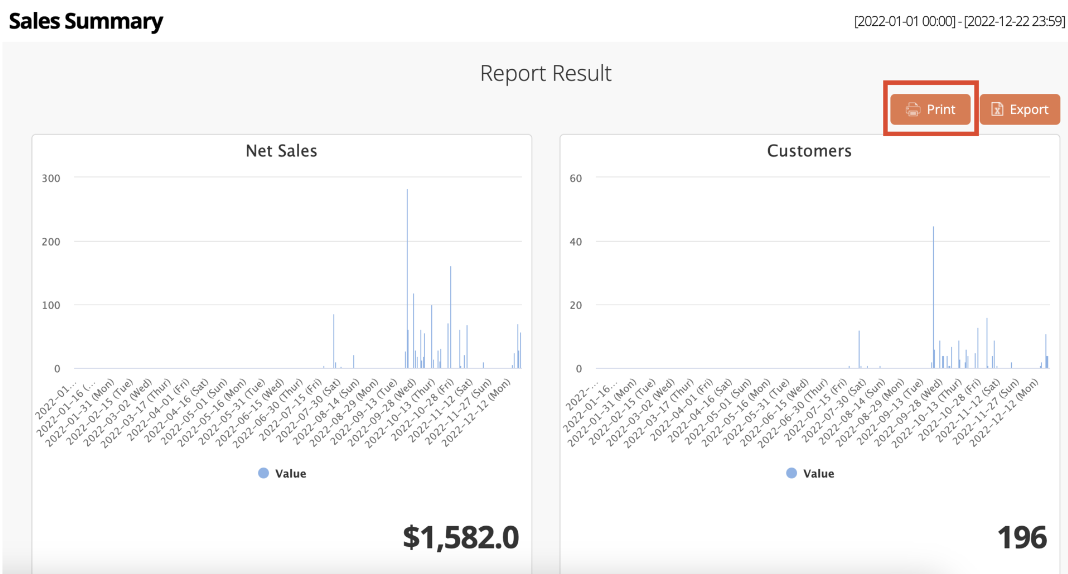
Export Sales Summary
Merchant Portal 2.0
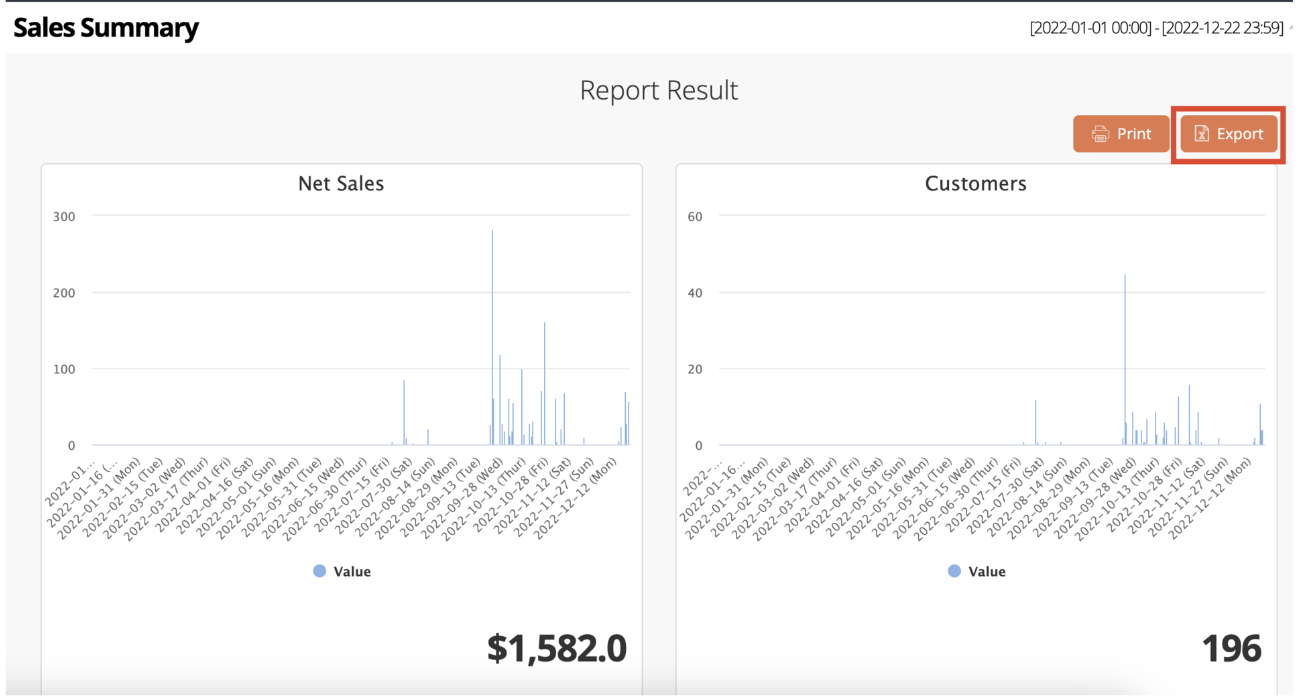
To export a Sales Summary, at the top right, click on Export. An Excel file of the report gets downloaded to your computer. Open the file to view your exported Sales Summary.