mPOS
Table of Contents
Manage tables in the mPOS app
Learn how to transfer, split, and clear tables in the mPOS app.
The mPOS module can be used in conjunction with the Eats365 POS to efficiently manage tables in your restaurant. With the mPOS, you can manage tables from a mobile device, eliminating the need to perform these actions solely on a stationary POS terminal, thereby saving time and increasing operational efficiency.
In this article, you’ll learn how to seat customers at a table, transfer orders to another table, split tables for different groups, and clear tables in the mPOS app.
Perform seating
To seat customers at a table, follow the steps below:
- Open the mPOS app.
- At the top right, tap Table
 .
.
- Select the party size.

- Select the table where you want the customer to be seated.
Transfer order to another table
To transfer a customer to a different table, follow the steps below:
- Open the mPOS app.
- Tap a table with an existing order, then at the top right, tap Transfer.

- Select an existing order, then choose a table that can accommodate the total number of people in the party.

- Tap Transfer to confirm.

Split a Table
To split a table, follow the steps below:
- Open the mPOS app.
- Tap a table with an existing order, then at the top right, tap Add+.

-
Enter the party size to be seated, then tap Confirm.

- Proceed in taking the customer’s orders, then tap Confirm Order.
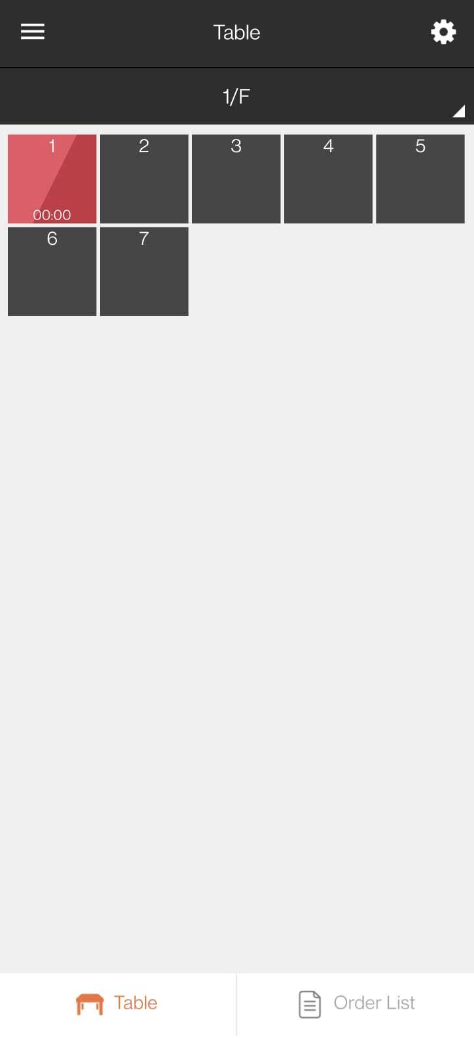
The table automatically creates a split and is represented by having a two-toned shade. Tap the table to display all active orders.

Clear a table
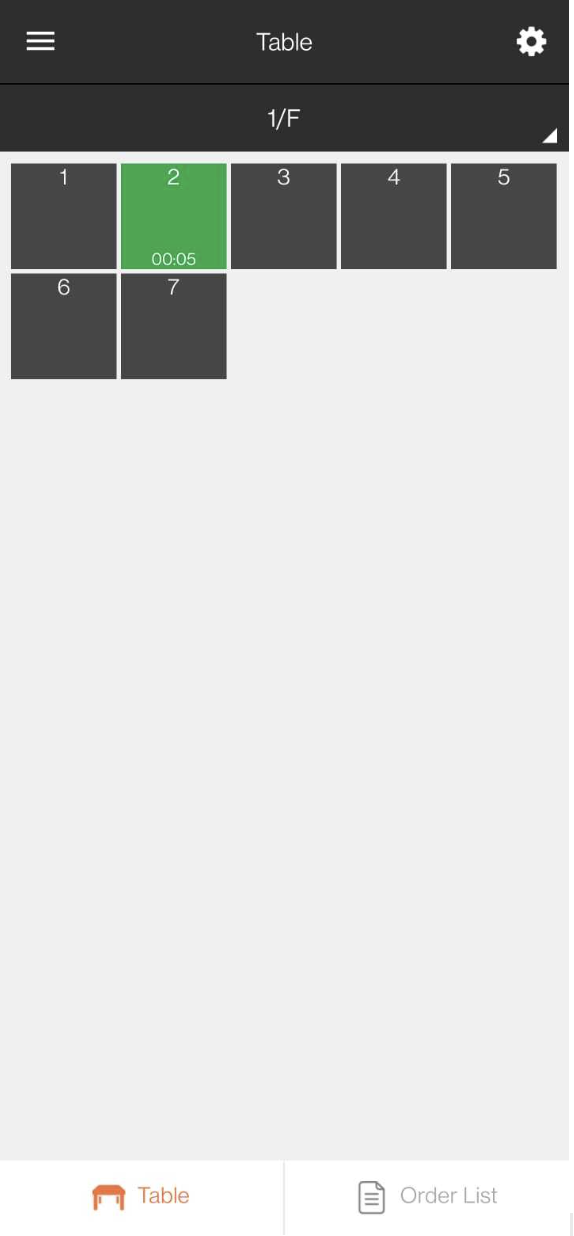
Once a table’s bill has been settled, the table’s status will turn green. This indicates that the table can be cleared. To clear a table, follow the steps below:
- Open the mPOS app.
-
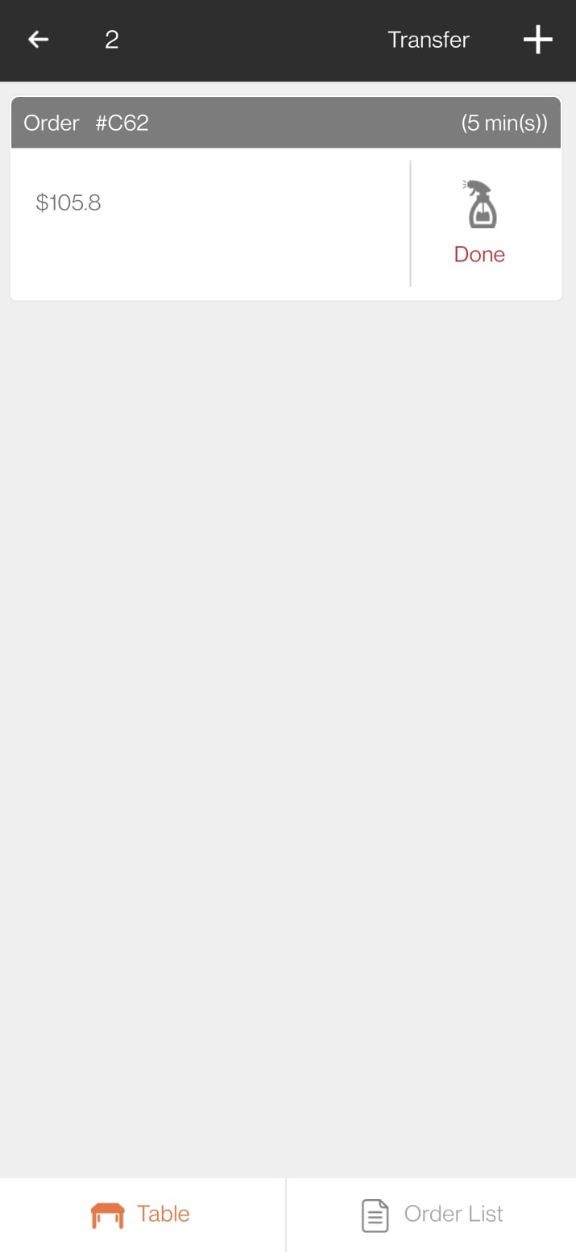
On the table map screen, tap the table you’d like to mark as clear.
Note: Tables that are ready for cleanup are indicated by the color green.
- To clear the table, tap Done.

 Eats365 Products
 Merchant Guide
 Modules
 Membership
 Integrations
 Hardware
 Staff Operations
 Roles & Permissions
 Payments
 Reports
 What’s New
 Release Notes
 Troubleshooting
 Simulators
 Glossary
 Troubleshooter
 System Status