 Eats365 产品
 商家指南
商家指南 模块
模块 会员
会员 整合
整合 硬件
硬件 员工操作
员工操作 职级和权限
职级和权限 付款
付款 报表
报表 最新消息
最新消息 产品更新
产品更新 故障排除
故障排除 探索 Eats365 产品
 Eats365 POS 词汇表
 问题排解
问题排解品牌网上商店
All Product
Table of Contents
设置短信通知
了解如何设置短信通知,以便顾客能透过行动装置接收有关订单状态变更的讯息。
在预设情况下,当顾客透过线上下单网站下单时,他们会透过其注册的电子邮件收到有关订单状态的通知。为了让顾客更轻松地查看订单进度,您可以启用 “短信通知”,以将讯息直接发送至顾客的行动装置。
在本文中,您将了解如何设置短信通知,以便顾客可以透过行动装置掌握订单状态。
启用短信通知
若要设置短信通知,请按照以下步骤操作:
商家界面(经典主题)
- 登入商家界面。
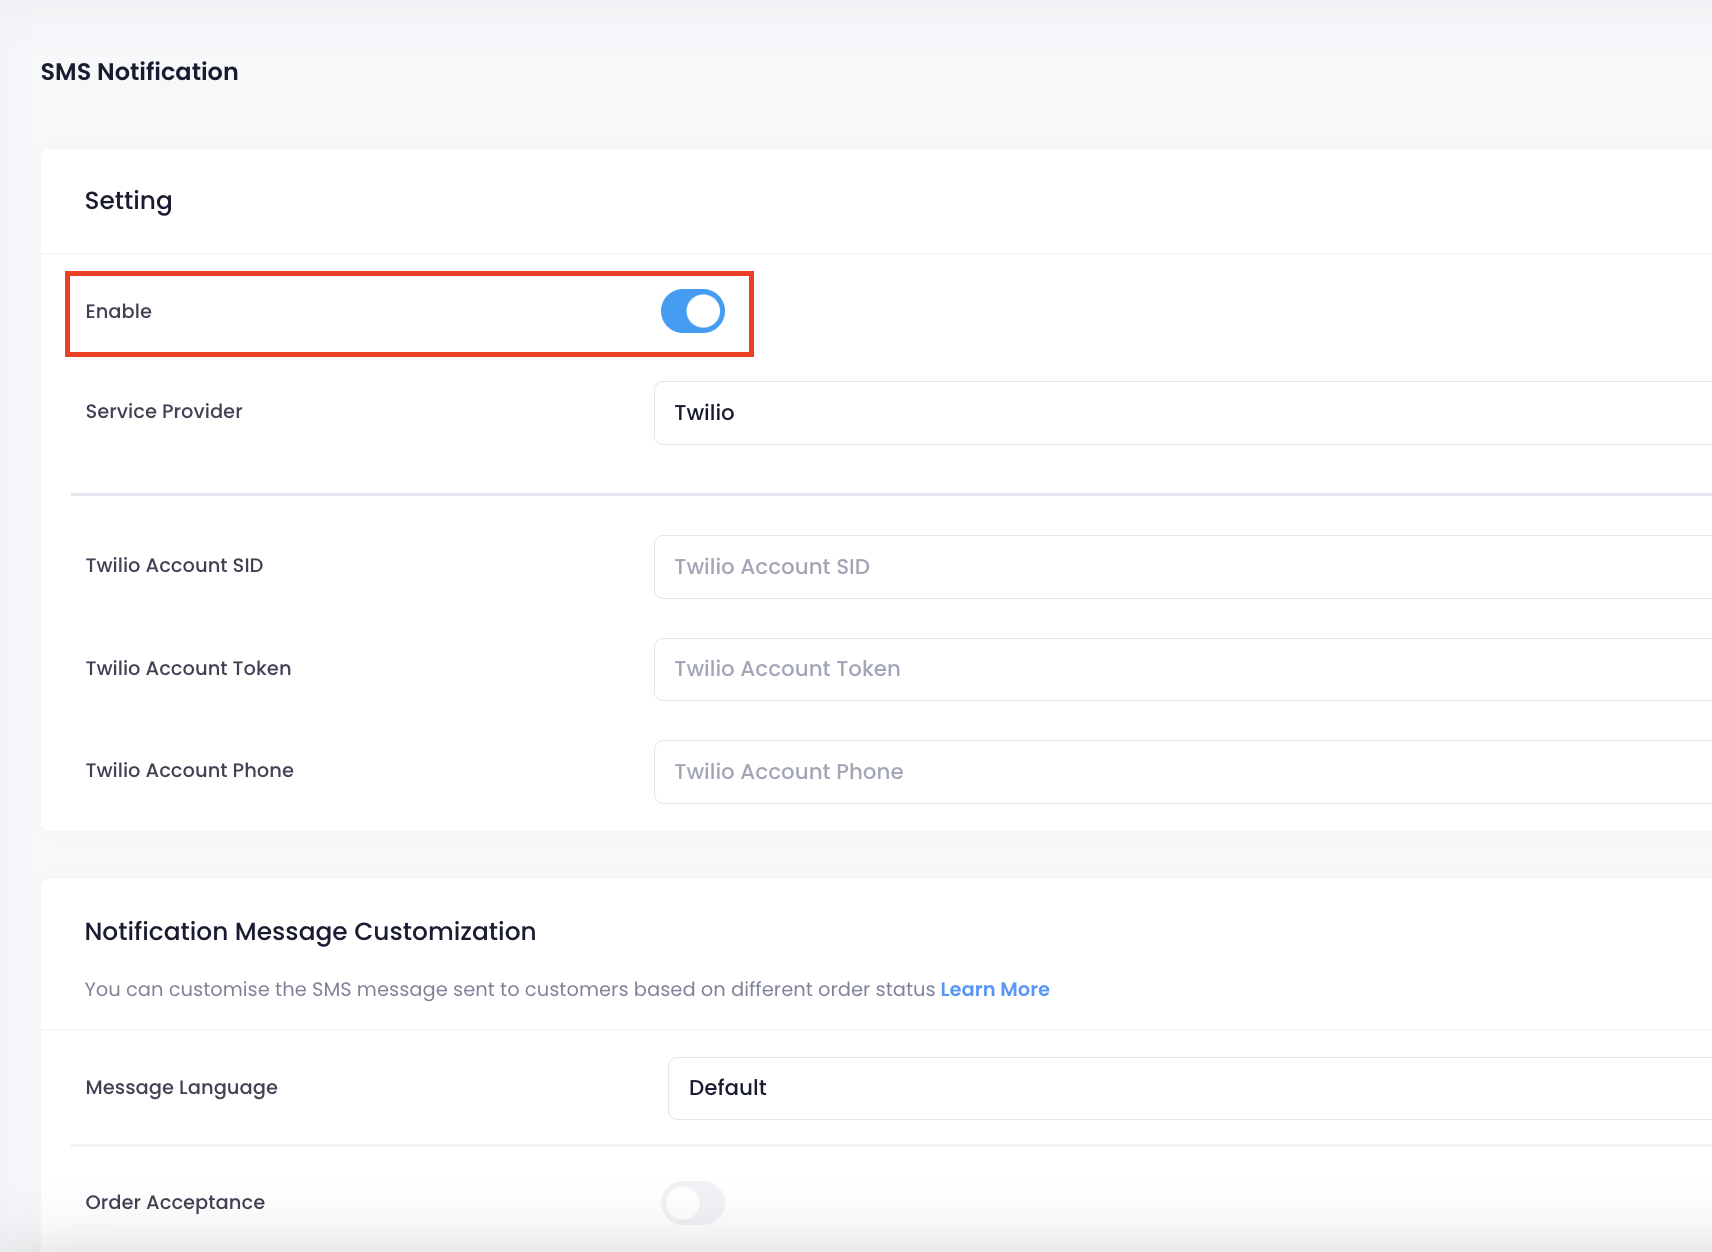
- 在左侧面板上,点击「整合」。然后,选择「SMS Notification」。
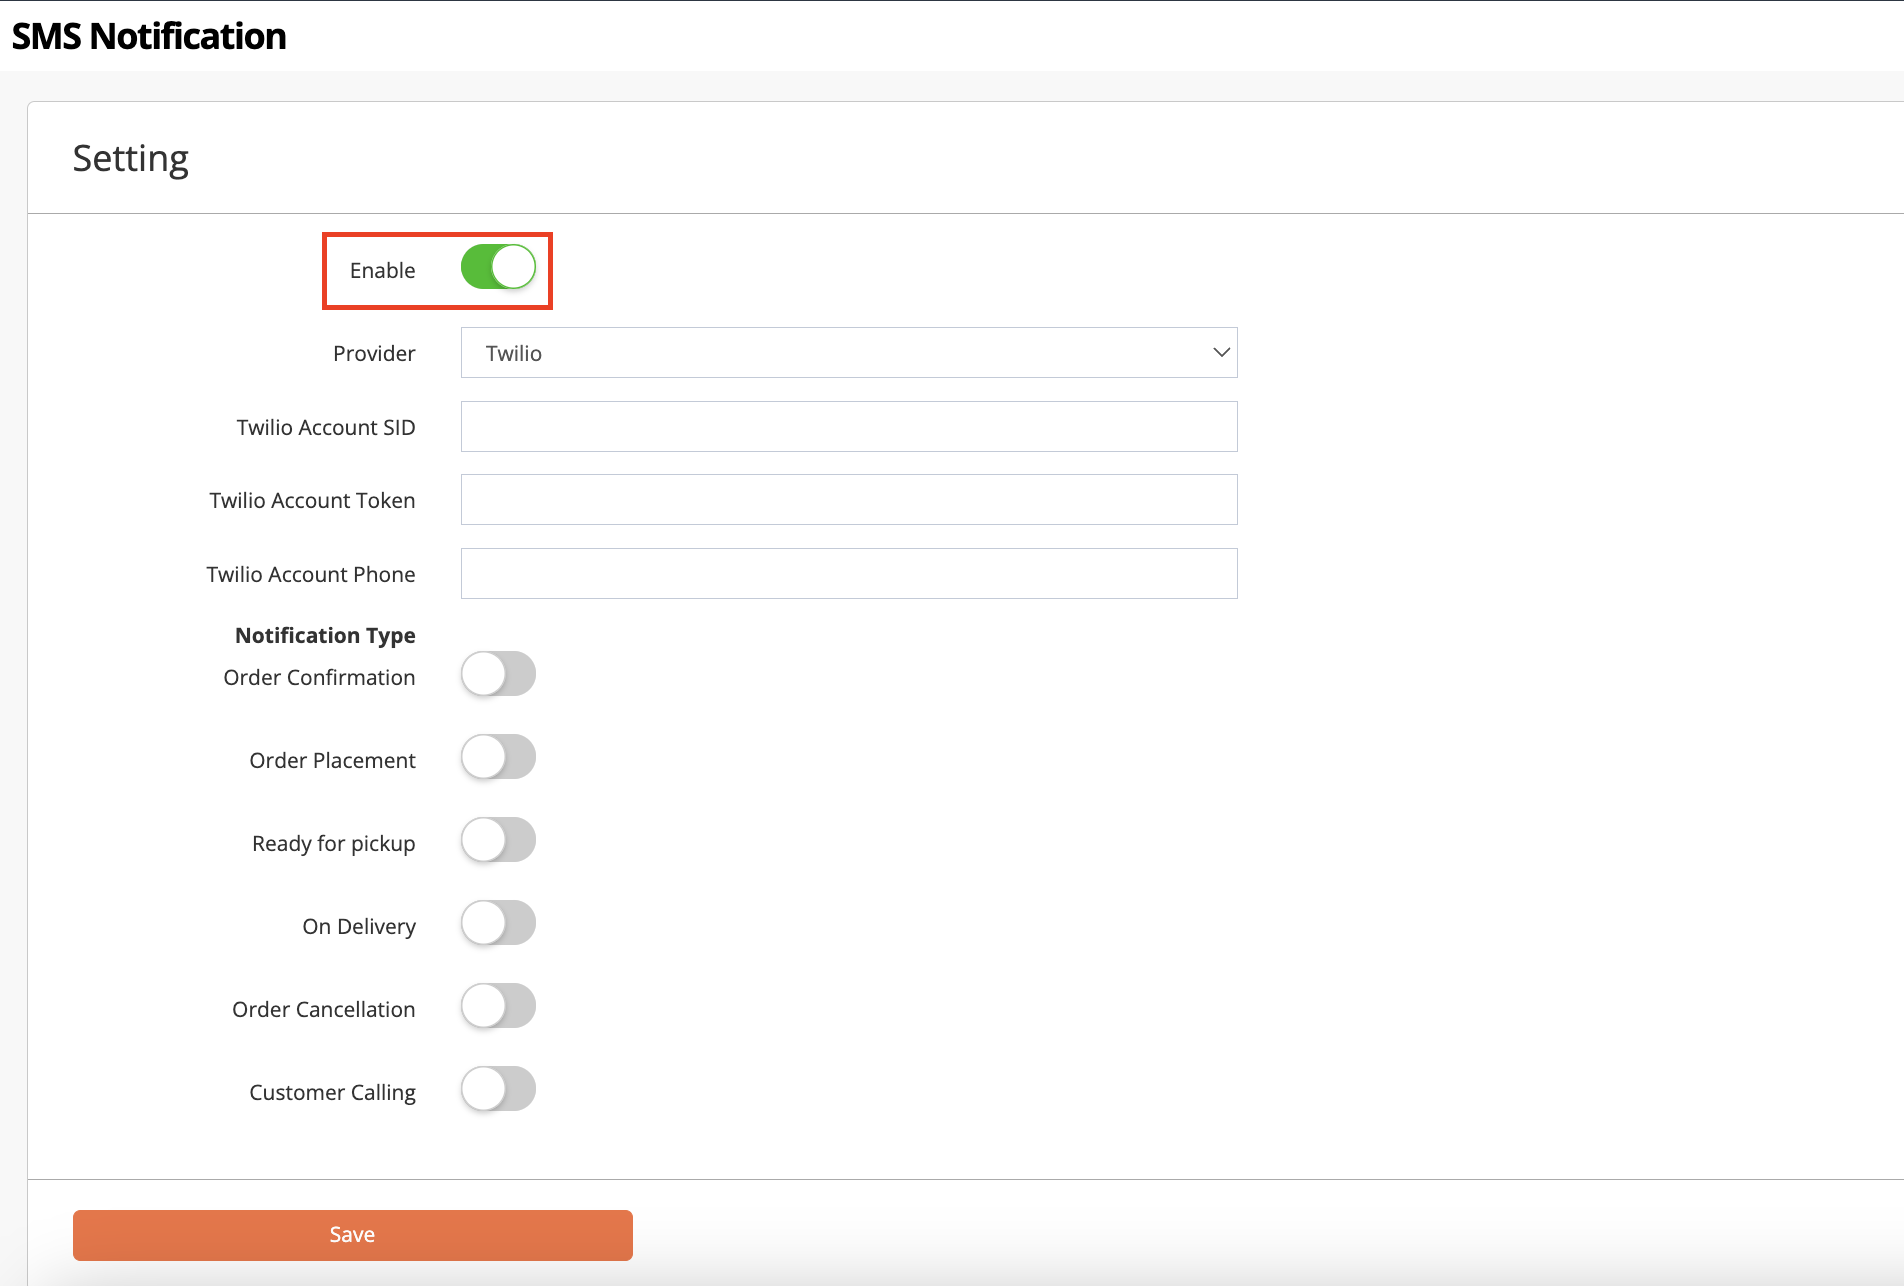
- 若要启用短信通知,请启用「启用」
 。
。
- 选择您要使用的 SMS Service Provider。
- 输入您的帐户详细资讯。
注意:您可以从 SMS Service Provider 处取得 Account SID、Account Token 和 Account Phone。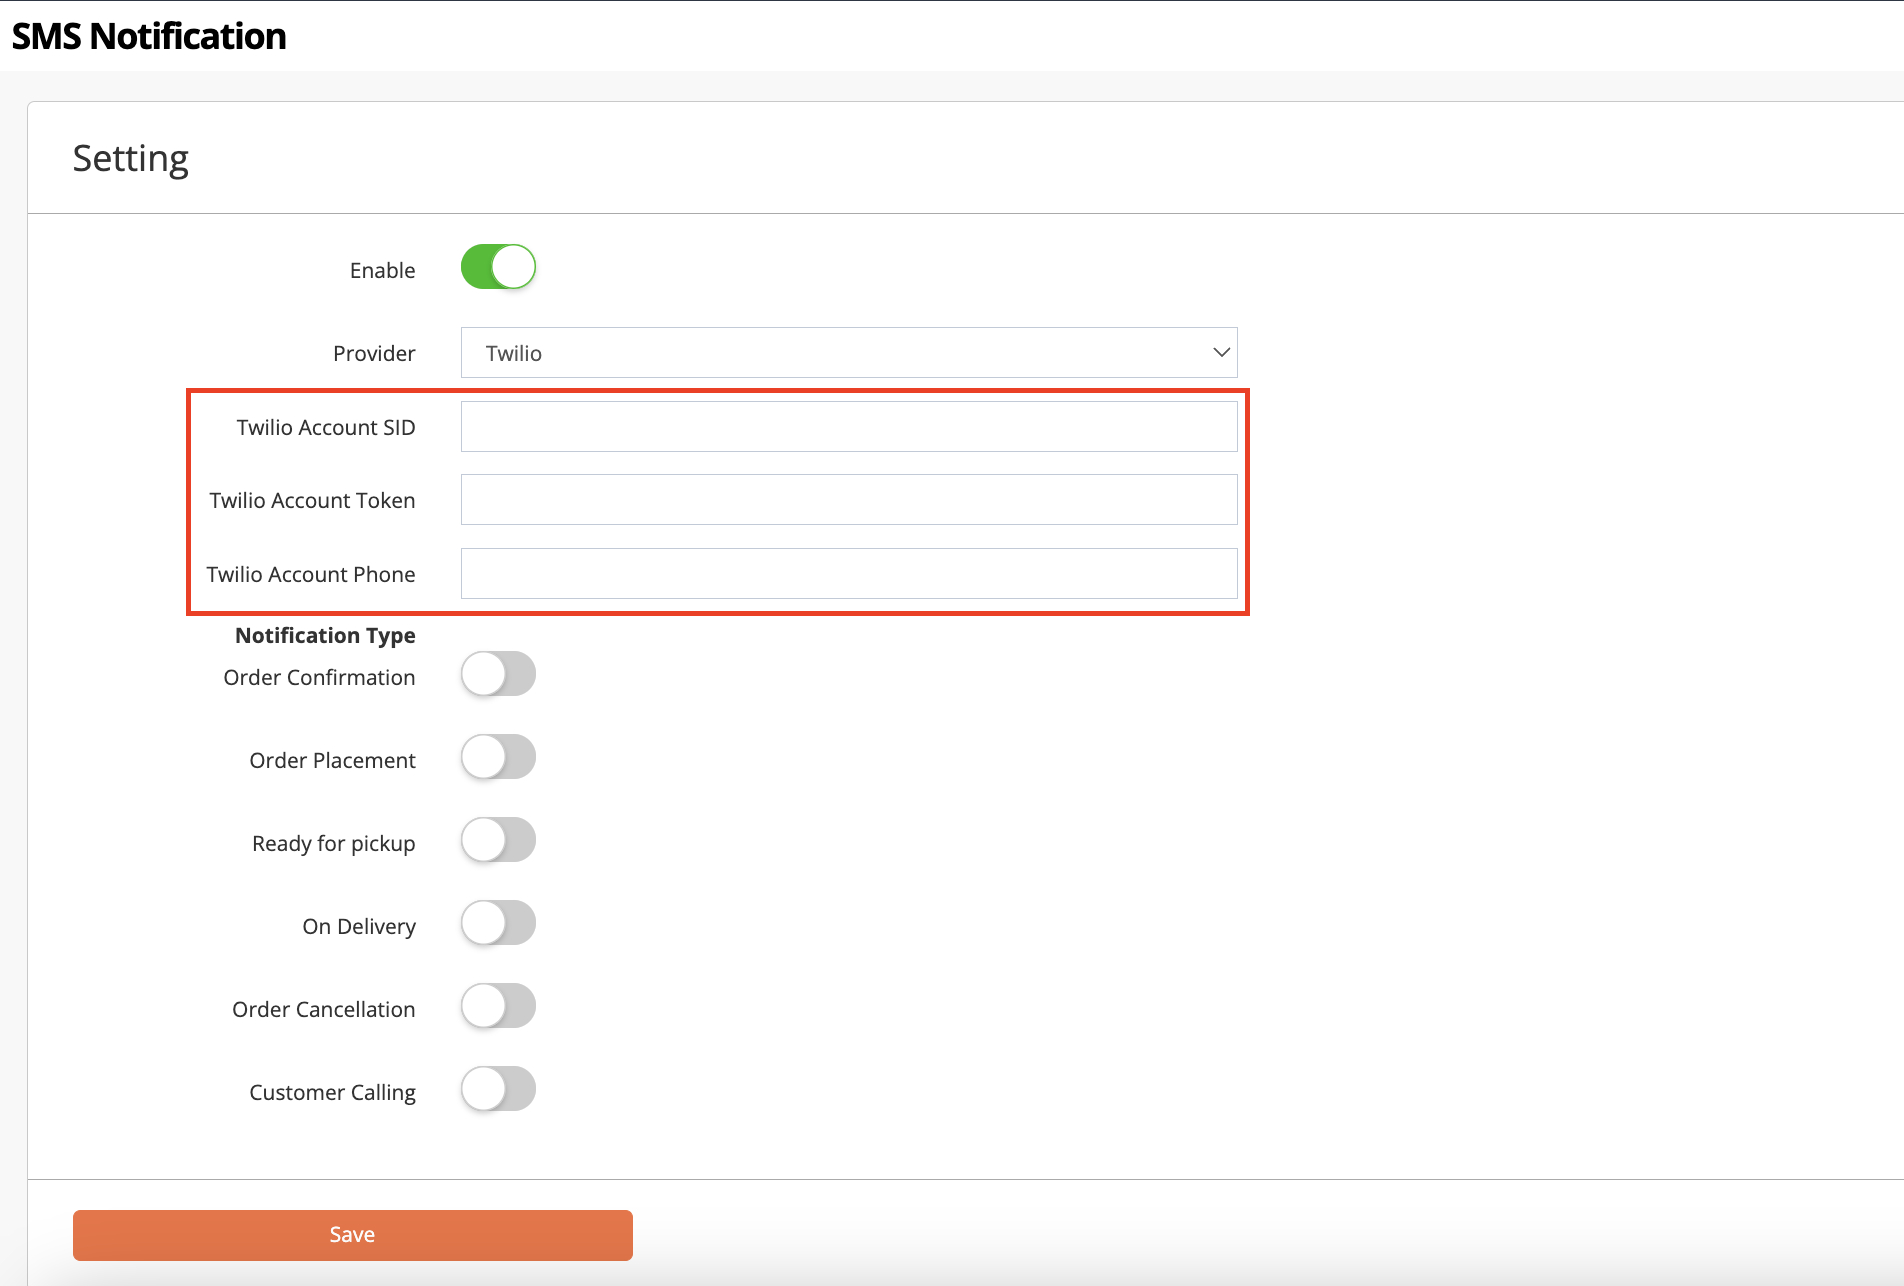
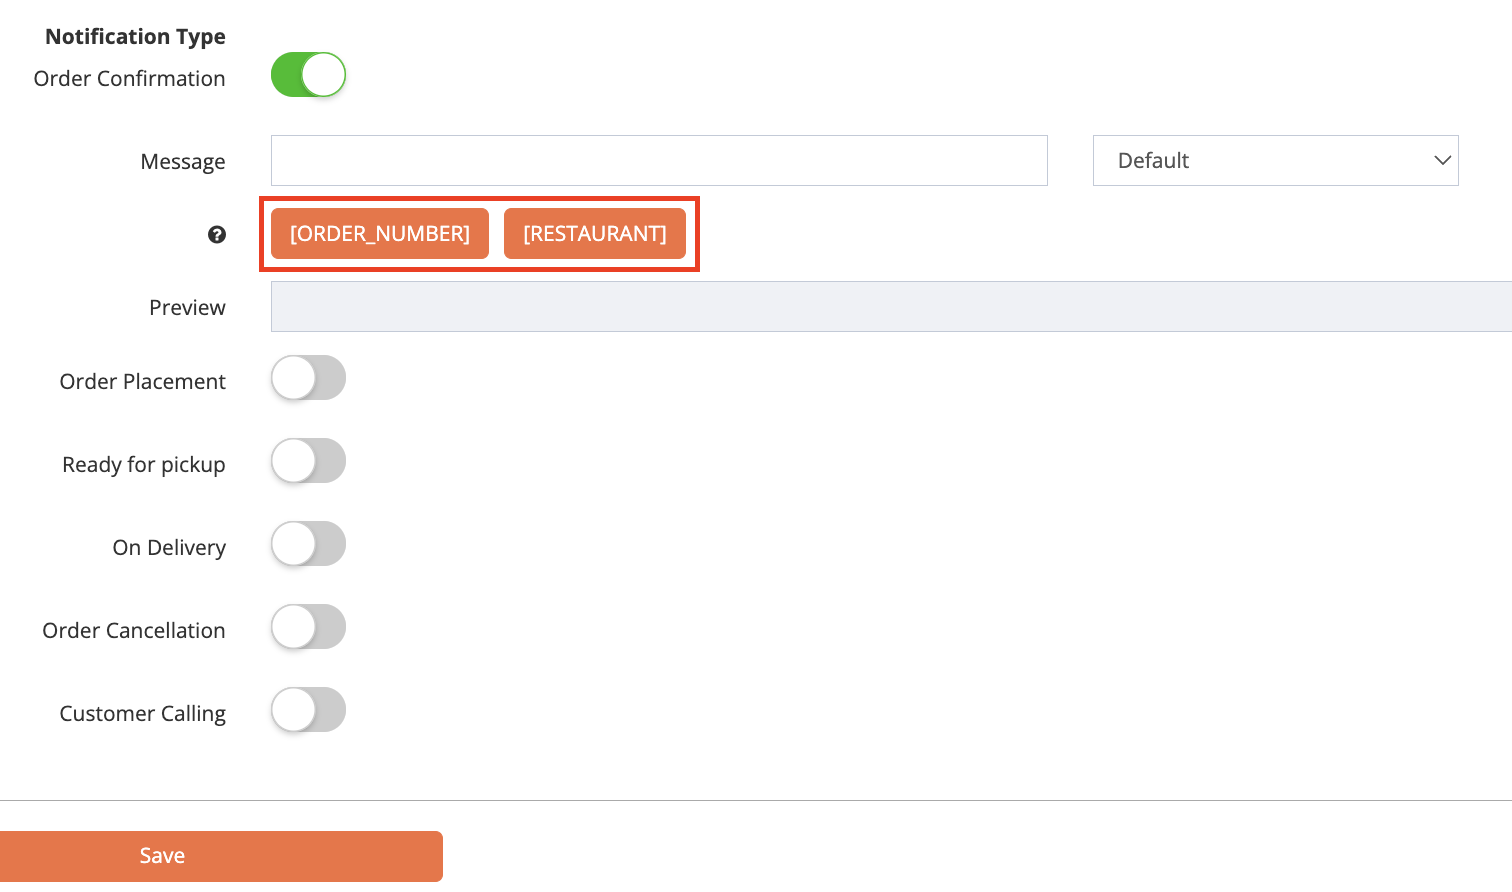
- 在 “Notification Type” 下方,选择您希望顾客接收的通知类型。您可以选择以下选项:
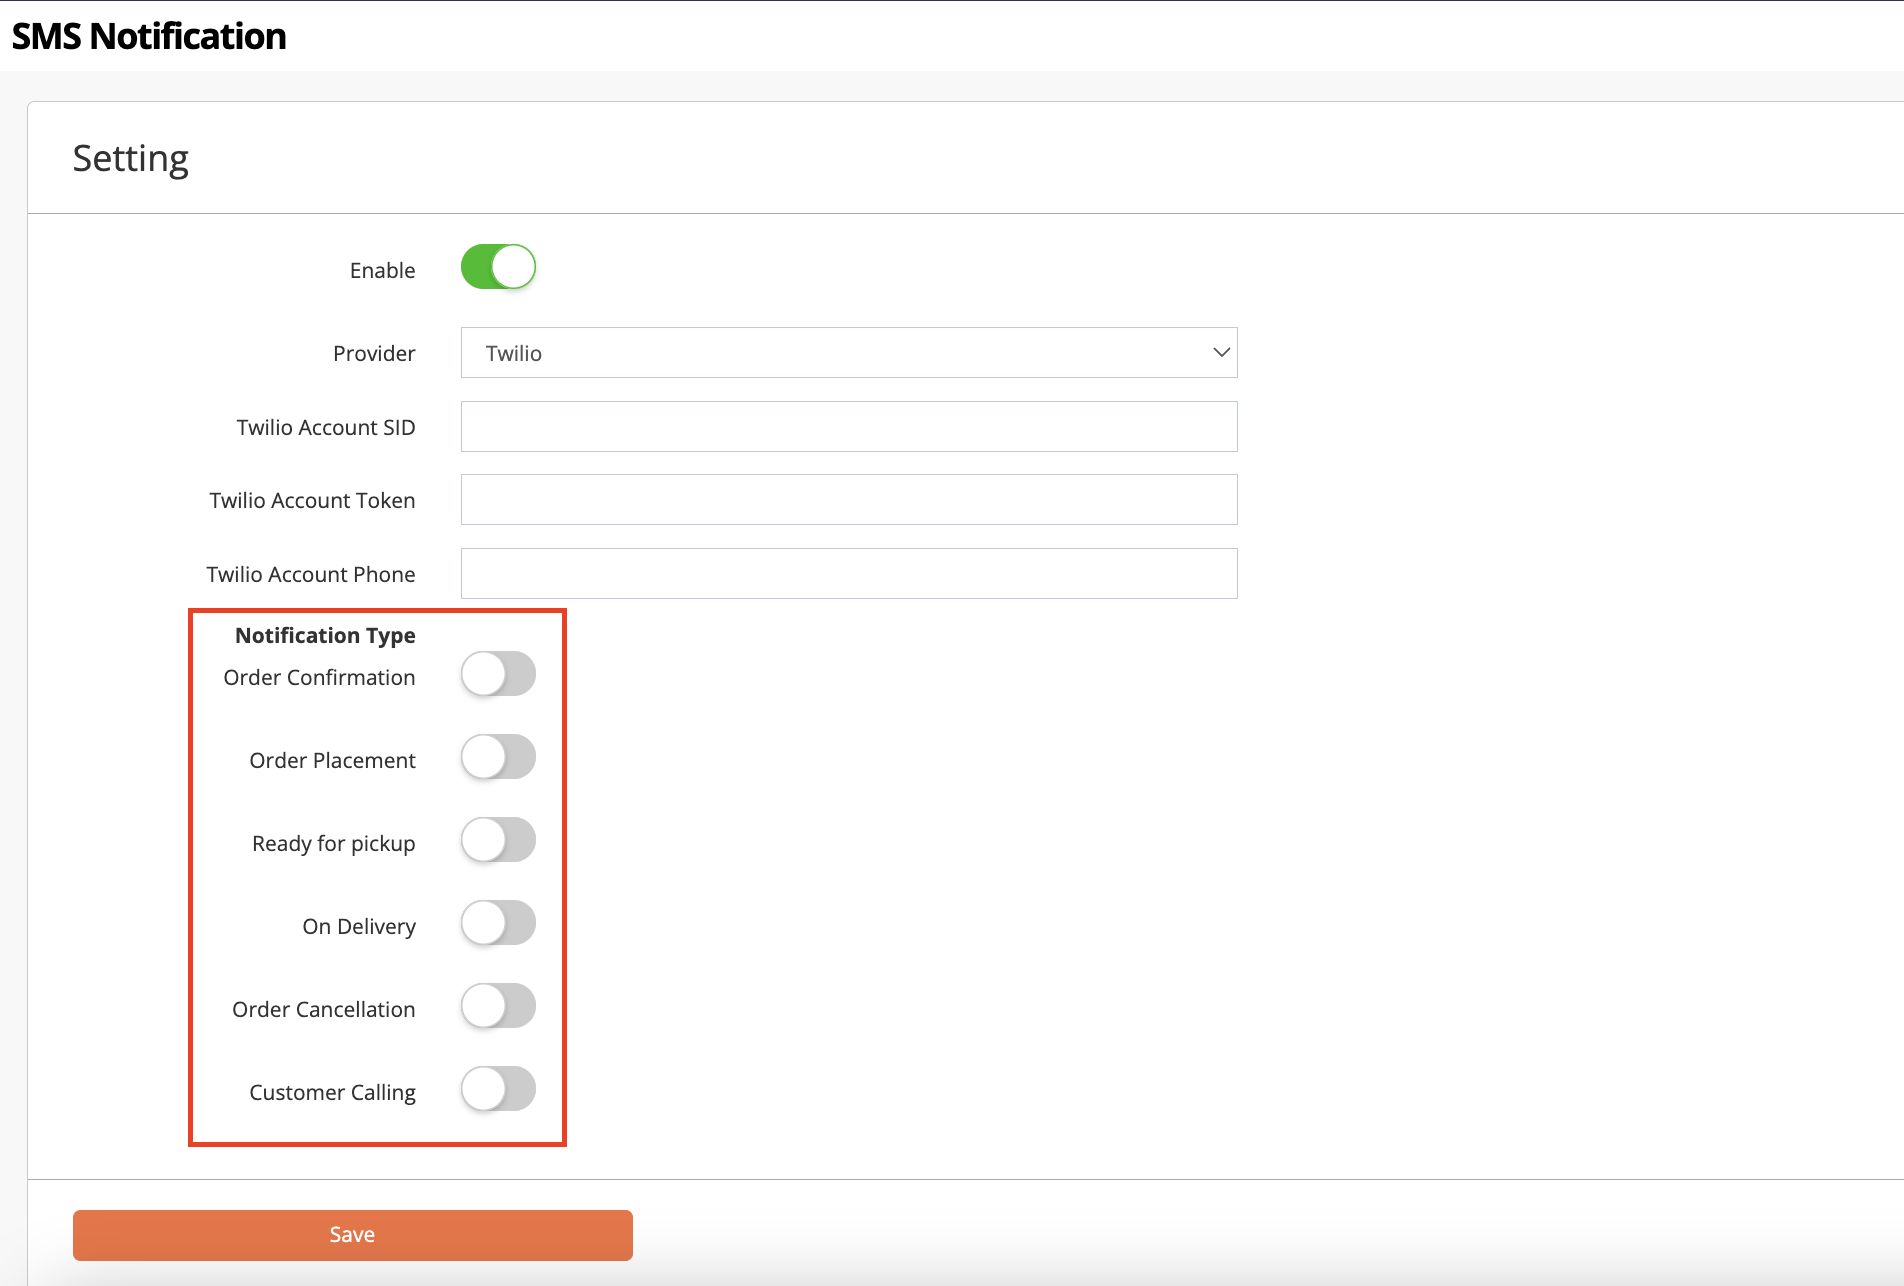
- Order Confirmation - 当订单在 Eats365 POS 上被确认时,顾客将收到通知。
- Order Placement - 当顾客在线上下单网站成功下单时,顾客将收到通知。
- 可以取餐 - 当订单已经准备好可供取餐时,顾客将收到通知。
- On Delivery - 当订单正在配送途中时,顾客将收到通知。
- Order Cancellation - 当订单被取消时,顾客将收到通知。
- Customer Calling - 当透过出餐系统 (Expedite Display) 呼叫顾客的订单号时,顾客将收到通知。
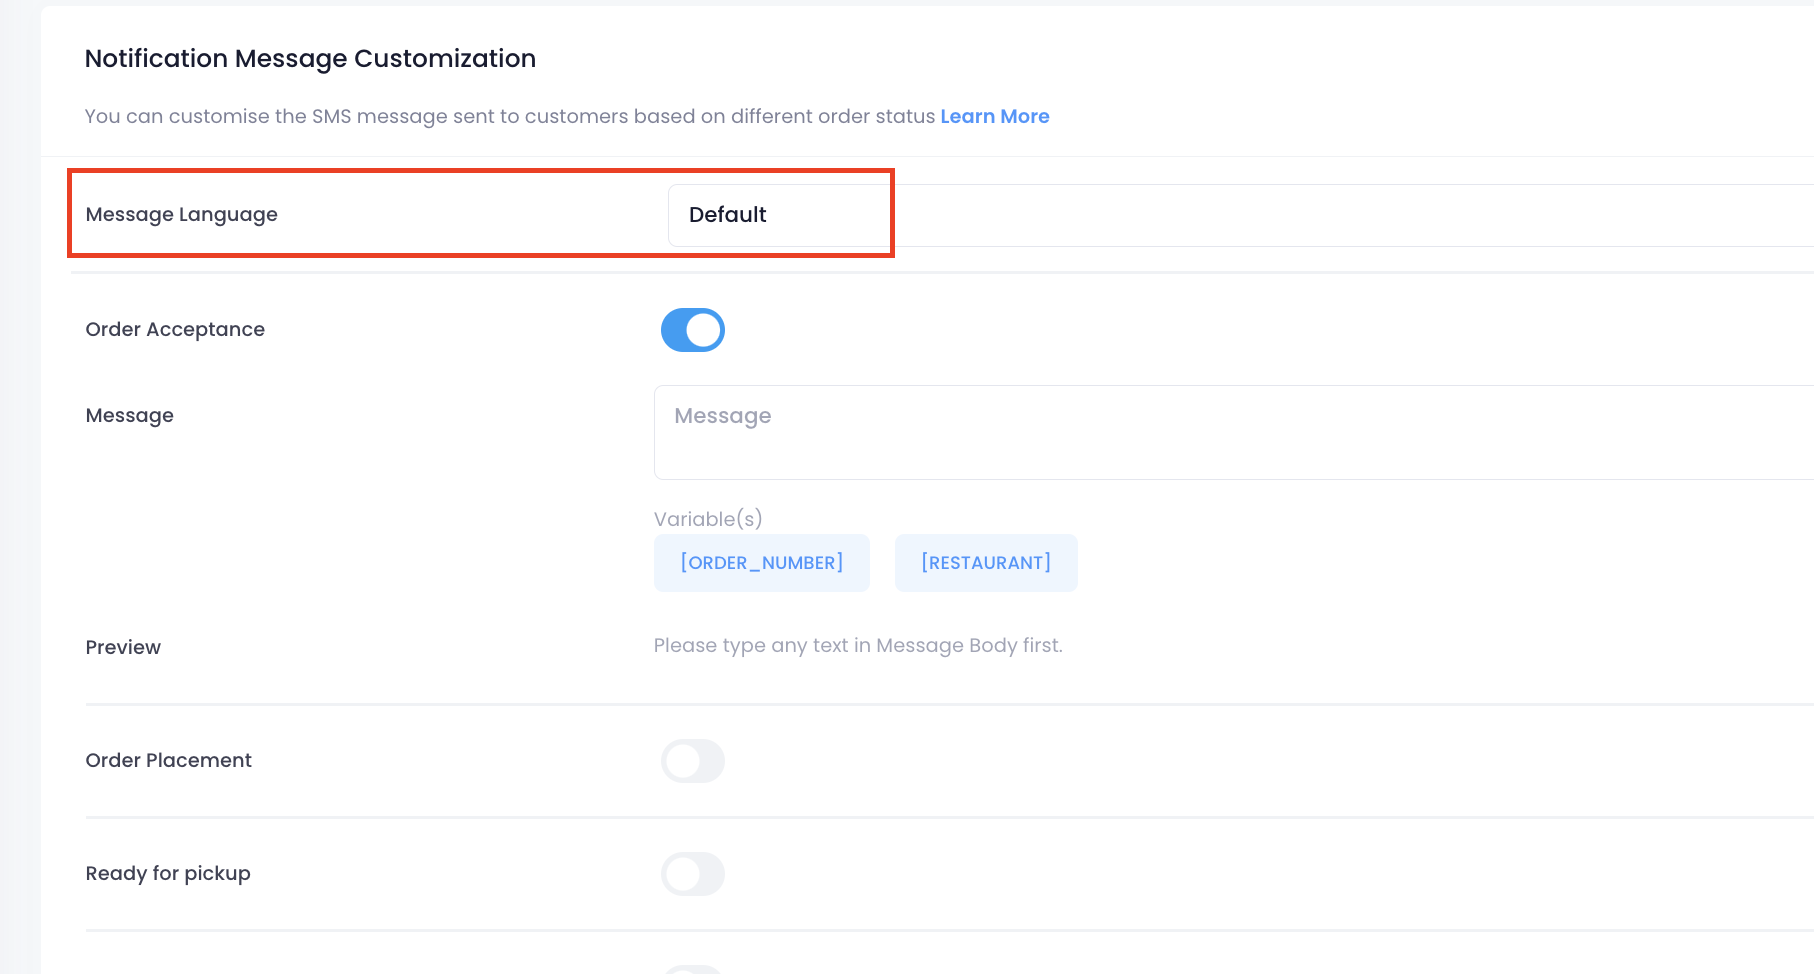
- 根据不同语言设置短信通知的自订讯息。
- 您必须先设置预设语言的自订讯息。若要新增其他语言的讯息,请点击语言下拉式清单并选择另一种语言。
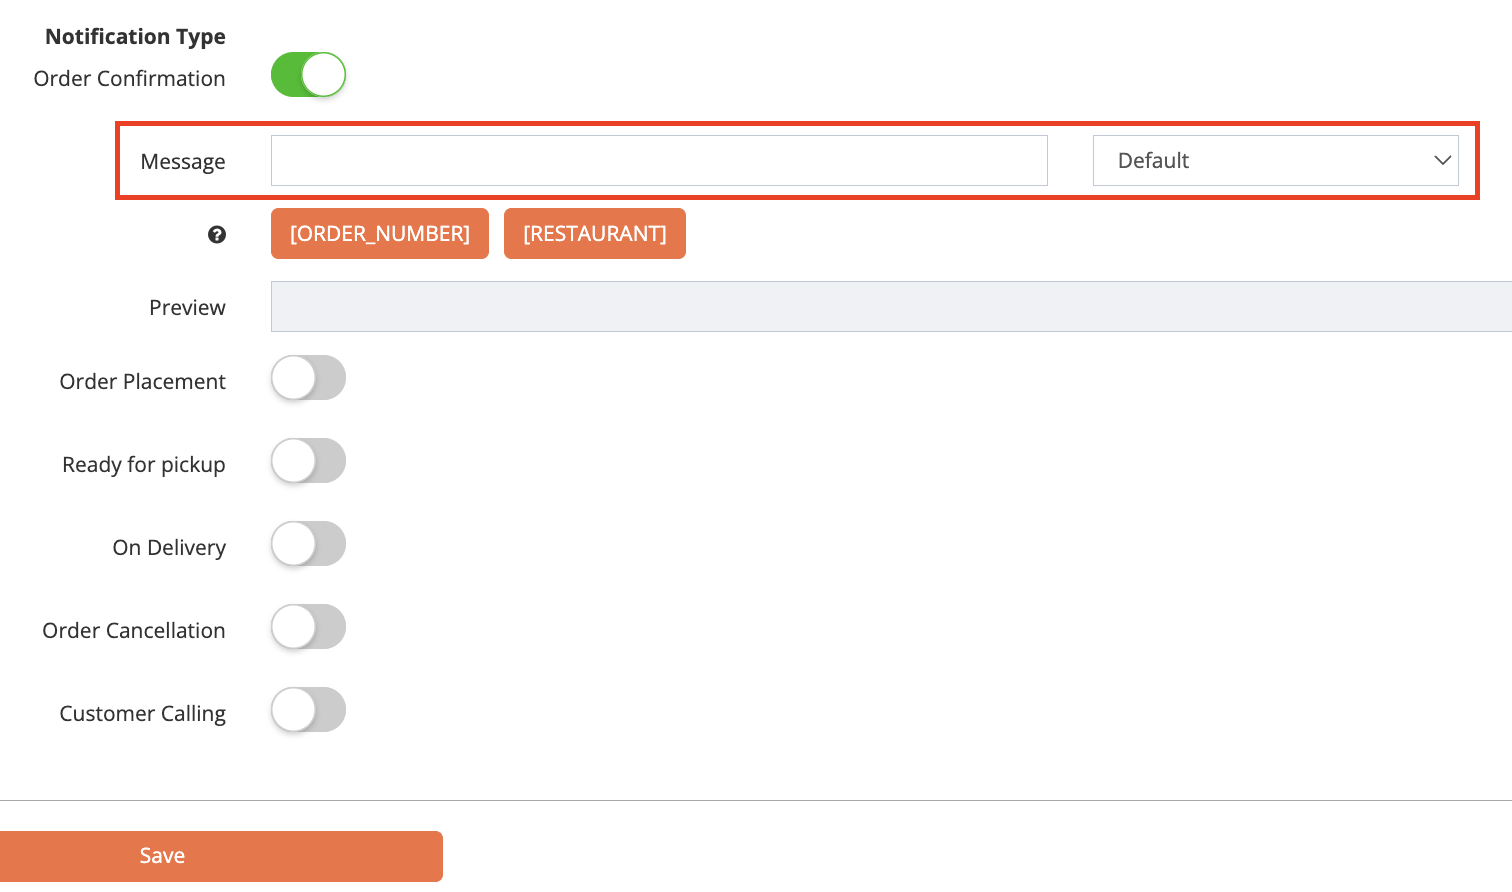
- 如果您想在通知中加入餐厅名称和顾客订单号,请点击下列 Variable (s)。
- 在 “预览” 旁,您可以查看您正在建立的自订讯息范例。
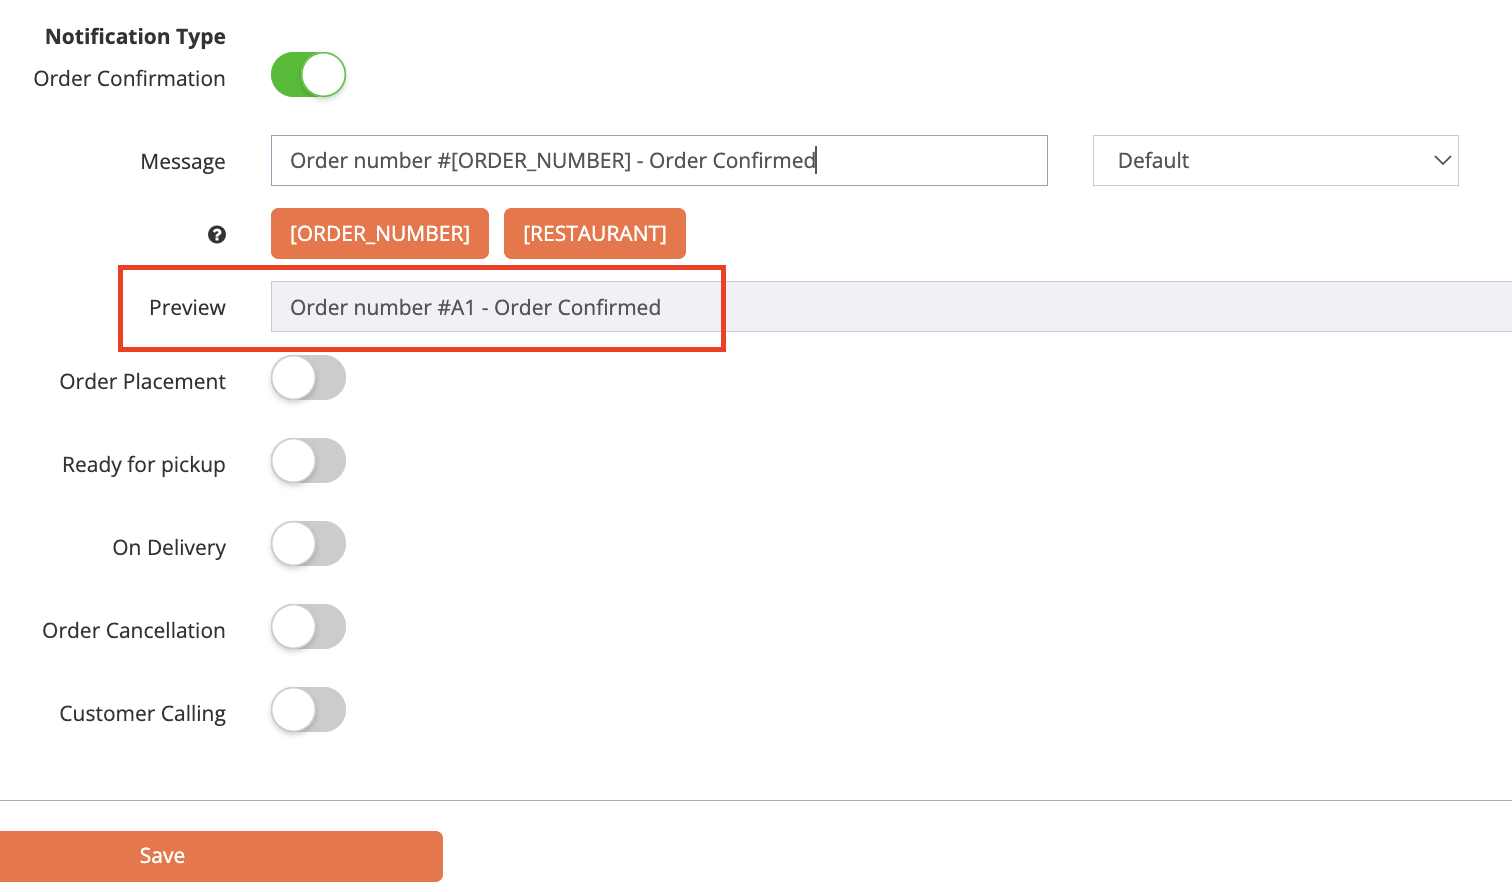
- 点击「储存」以进行确认。
商家界面 2.0
- 登入商家界面。
- 在左侧面板上,点击「模组」。然后,选择「线上下单网站」。
- 点击「SMS 服务整合」。
- 若要启用短信通知,请启用「启用」
 。
。
- 选择您要使用的 SMS Service Provider。
- 输入您的帐户详细资讯。
注意:您可以从 SMS Service Provider 处取得 Account SID、Account Token 和 Account Phone。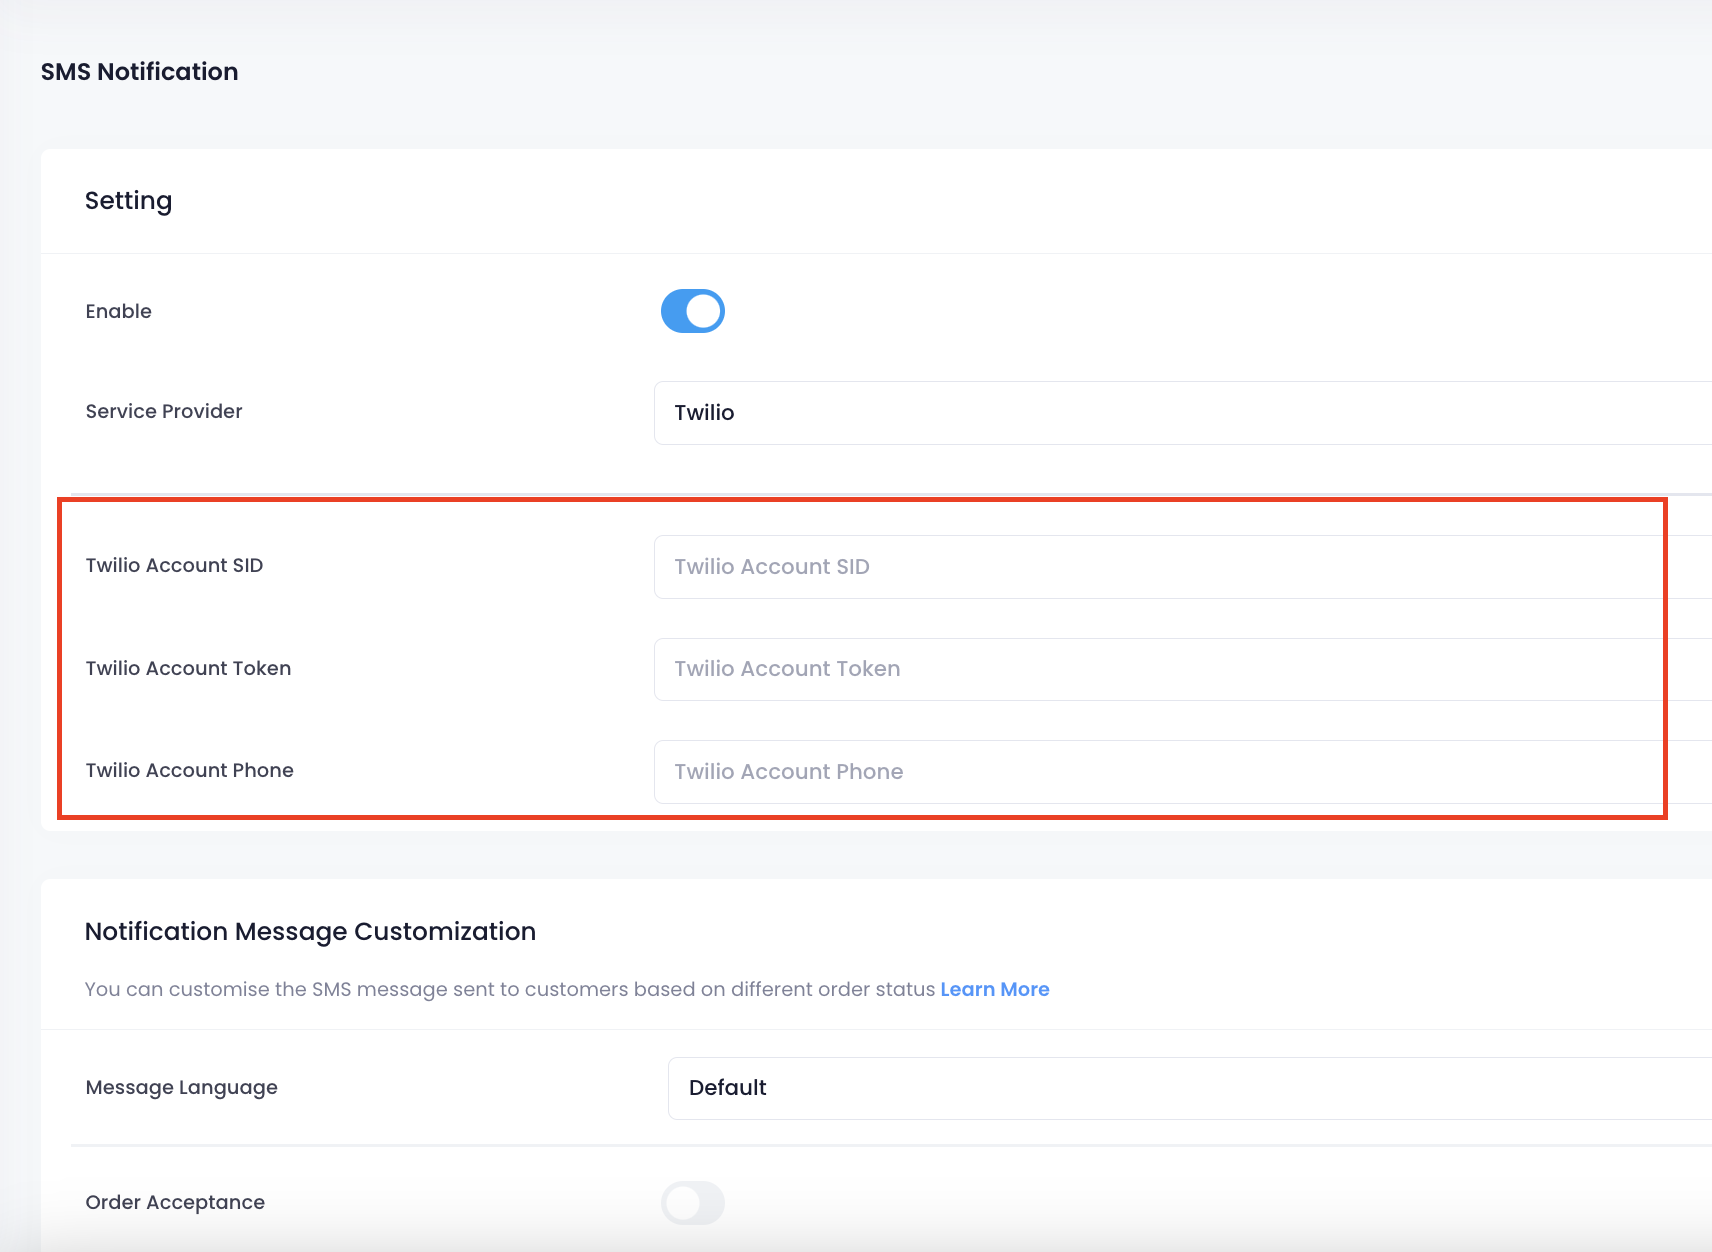
-
在 “电话国家代码设定” 下,点击「可用国家代码」的下拉式选单,并选择您偏好的电话国家代码清单设定。此电话国家代码清单偏好将应用于线上下单网站的 “注册帐户” 和 “访客下单” 部分。

- 预设国家代码: 此清单将显示所有电话国家代码。
- 特定国家: 您可以选择要包含在清单中的电话国家代码。
- 在 “自订提示信息” 下方,选择您希望顾客接收的通知类型。您可以选择以下选项:
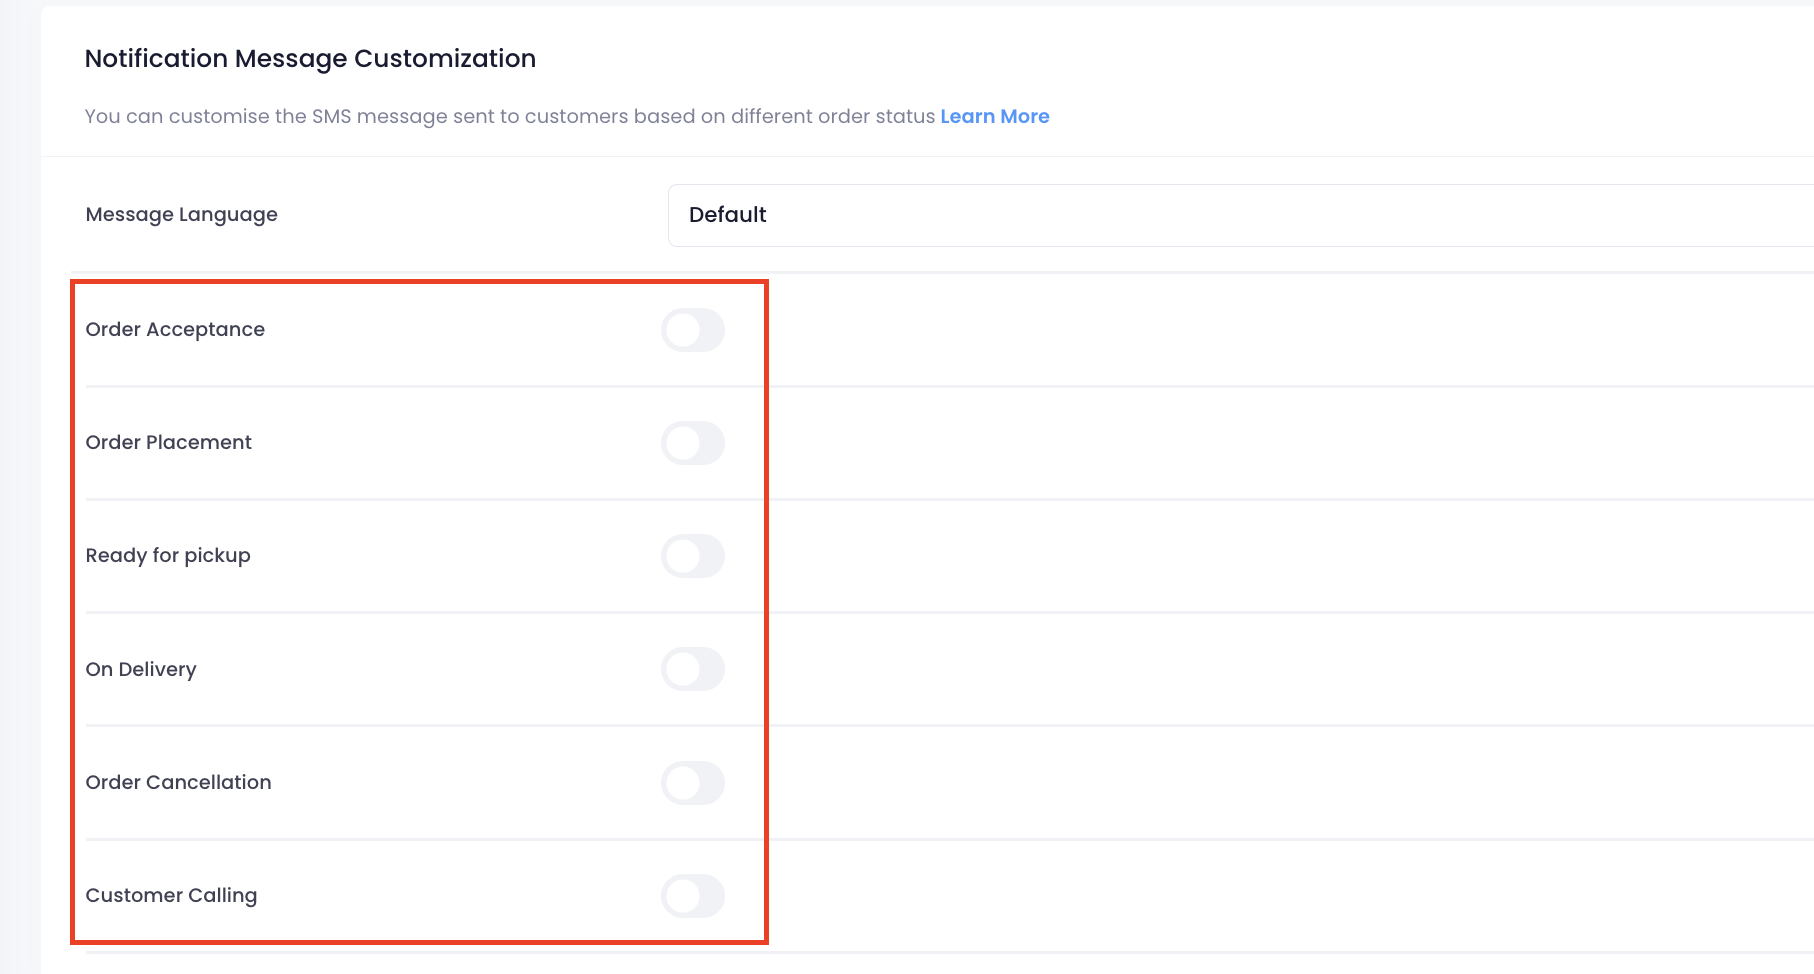
- 餐厅接受订单 - 当订单在 Eats365 POS 上被确认时,顾客将收到通知。
- 下单确认 - 当顾客在线上下单网站成功下单时,顾客将收到通知。
- 可以取餐 - 当订单已经准备好可供取餐时,顾客将收到通知。
- 送货中 - 当订单正在配送途中时,顾客将收到通知。
- 取消订单 - 当订单被取消时,顾客将收到通知。
- 呼叫客户 - 当透过出餐系统 (Expedite Display) 呼叫顾客的订单号时,顾客将收到通知。
- 根据不同语言设置短信通知的自订讯息。
- 您必须先设置预设语言的自订讯息。若要新增其他语言的讯息,请点击语言下拉式清单并选择另一种语言。
- 如果您想在通知中加入餐厅名称和顾客单号,请点击下列变数。
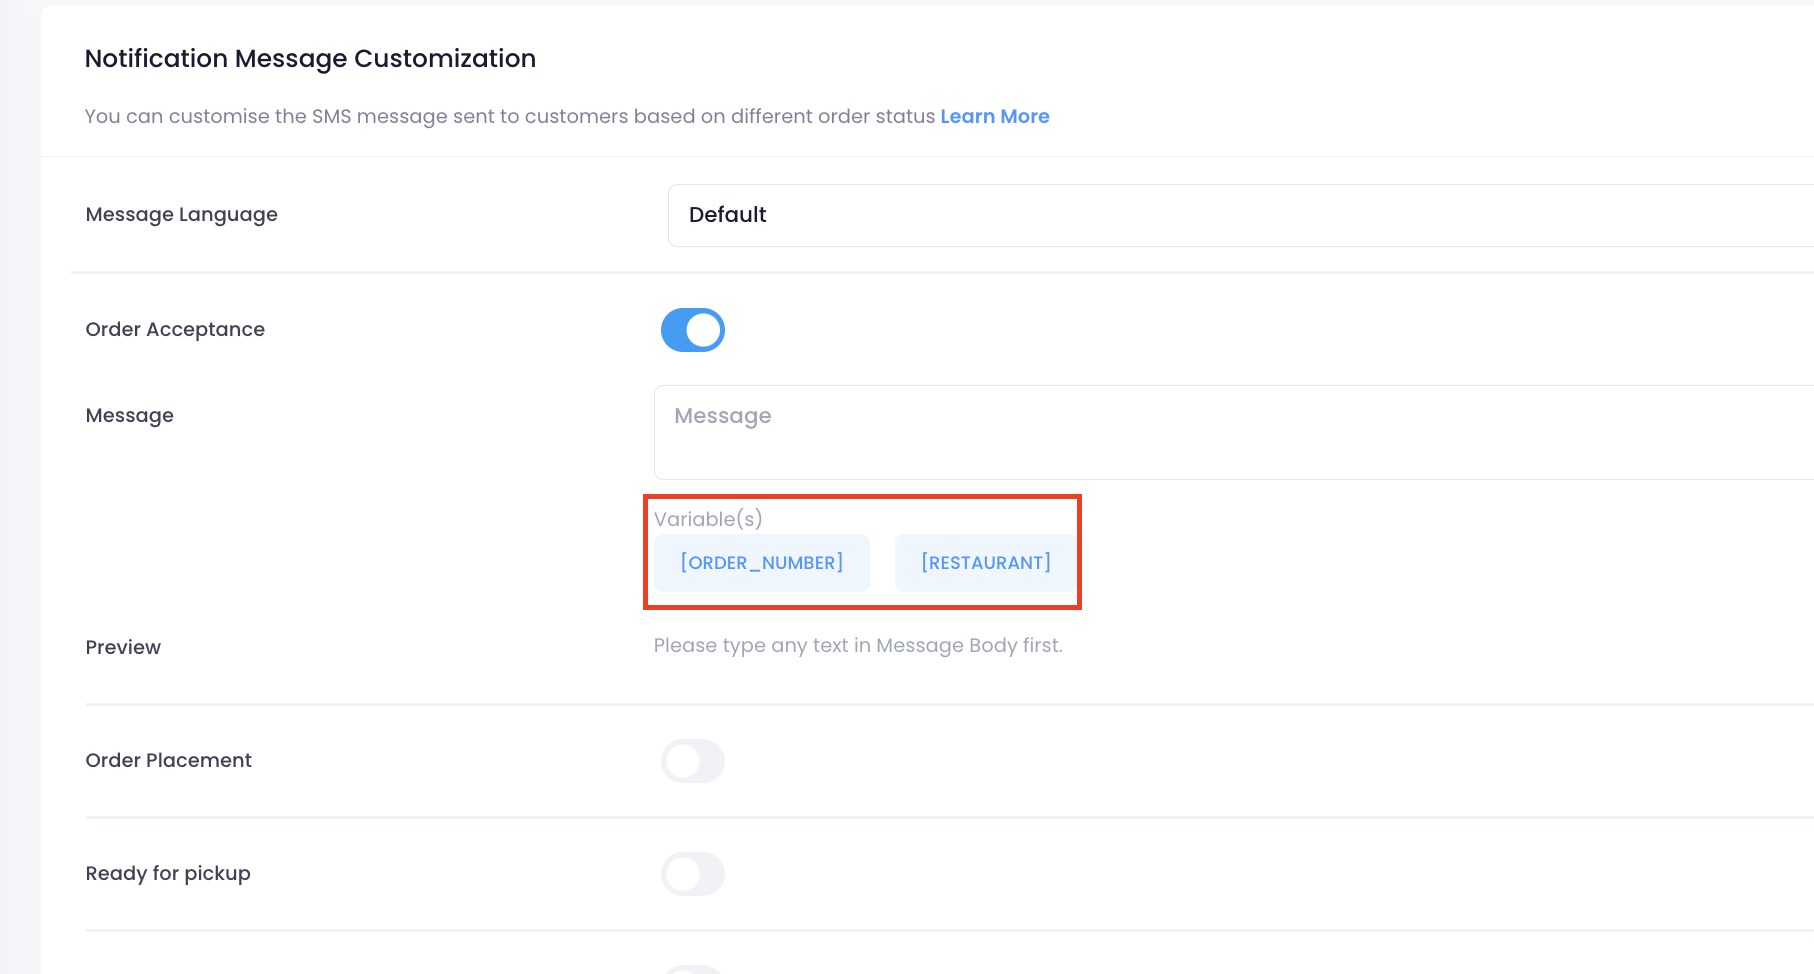
- 在 “预览” 旁,您可以查看您正在建立的自订讯息范例。

- 点击「储存」以进行确认。