Order Handling
All Product
Apply modifiers to an order
Learn how to apply modifiers to customize customers’ orders on the Eats365 POS.
Customers can customize their orders by choosing from the modifiers available for an item.
In this article, you’ll learn about how to add modifiers to a customer’s order.
For more information on how to set up modifiers, refer to Set up and manage Modifiers and Set up and manage Modifier Masters.
To apply modifiers to an order, follow the steps below:
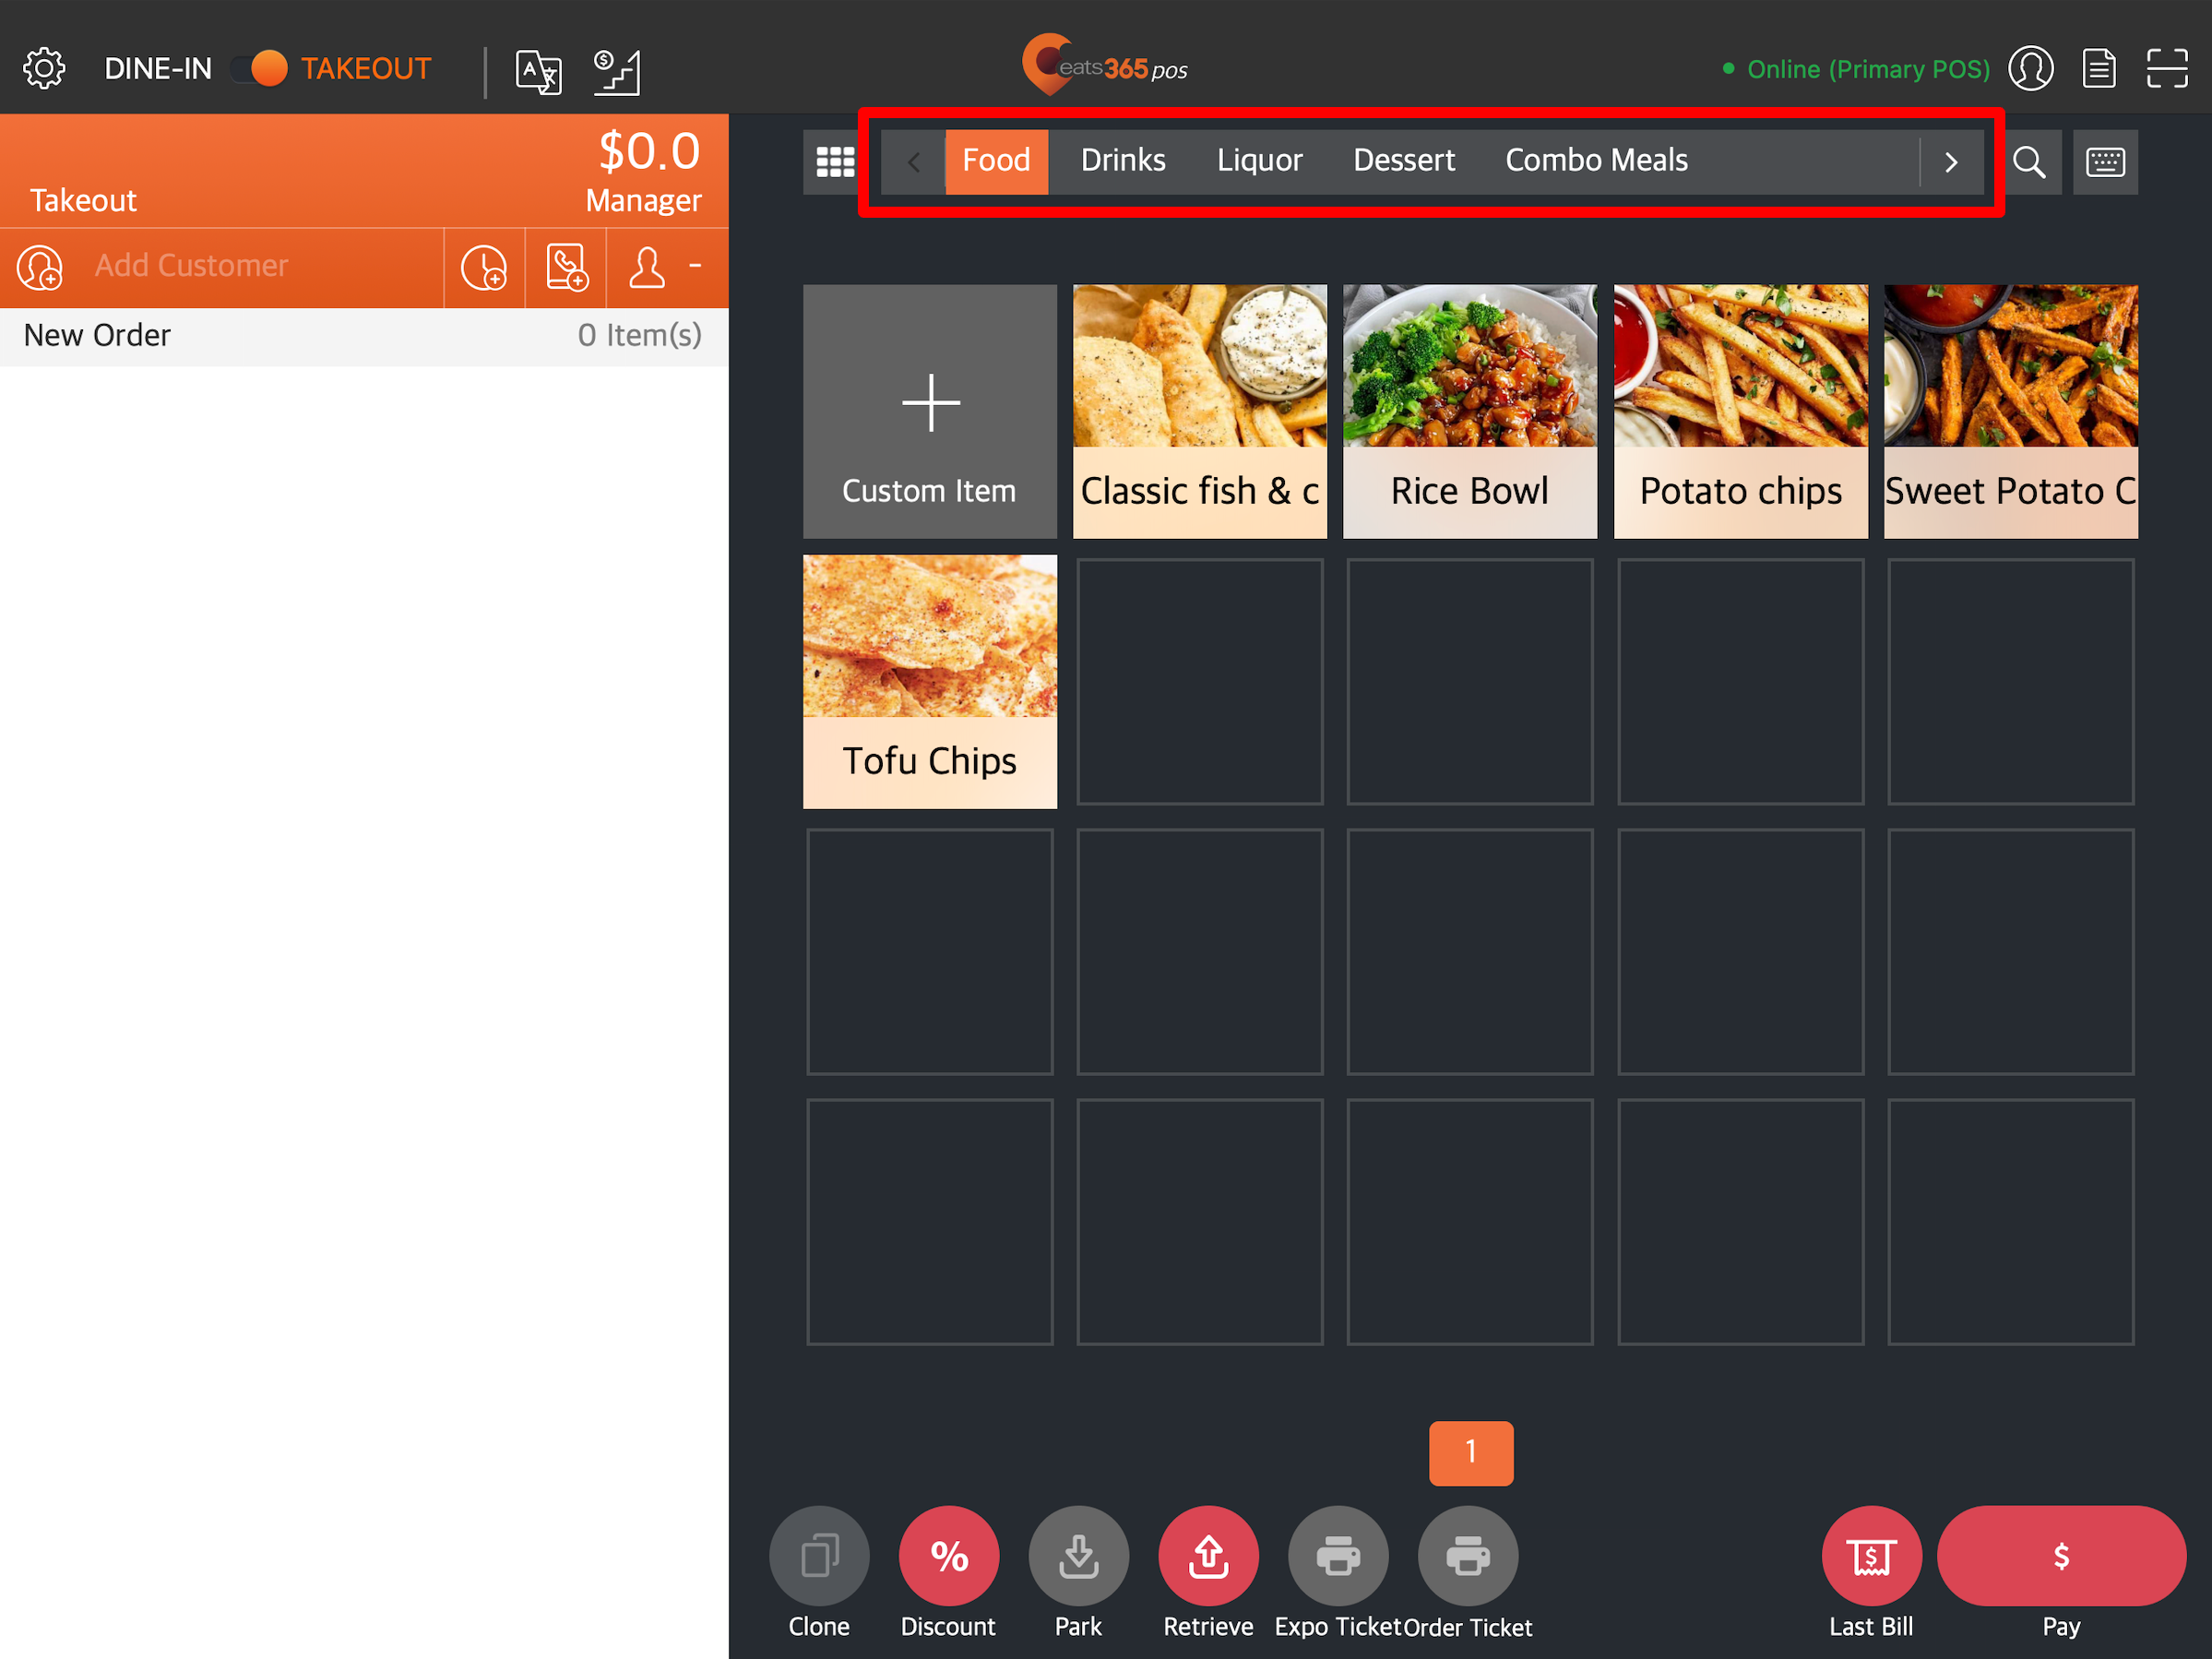
- On the order-taking screen, select the item that you want to add to the customer's order.
- To browse through different categories, tap the left and right arrows on the categories bar.
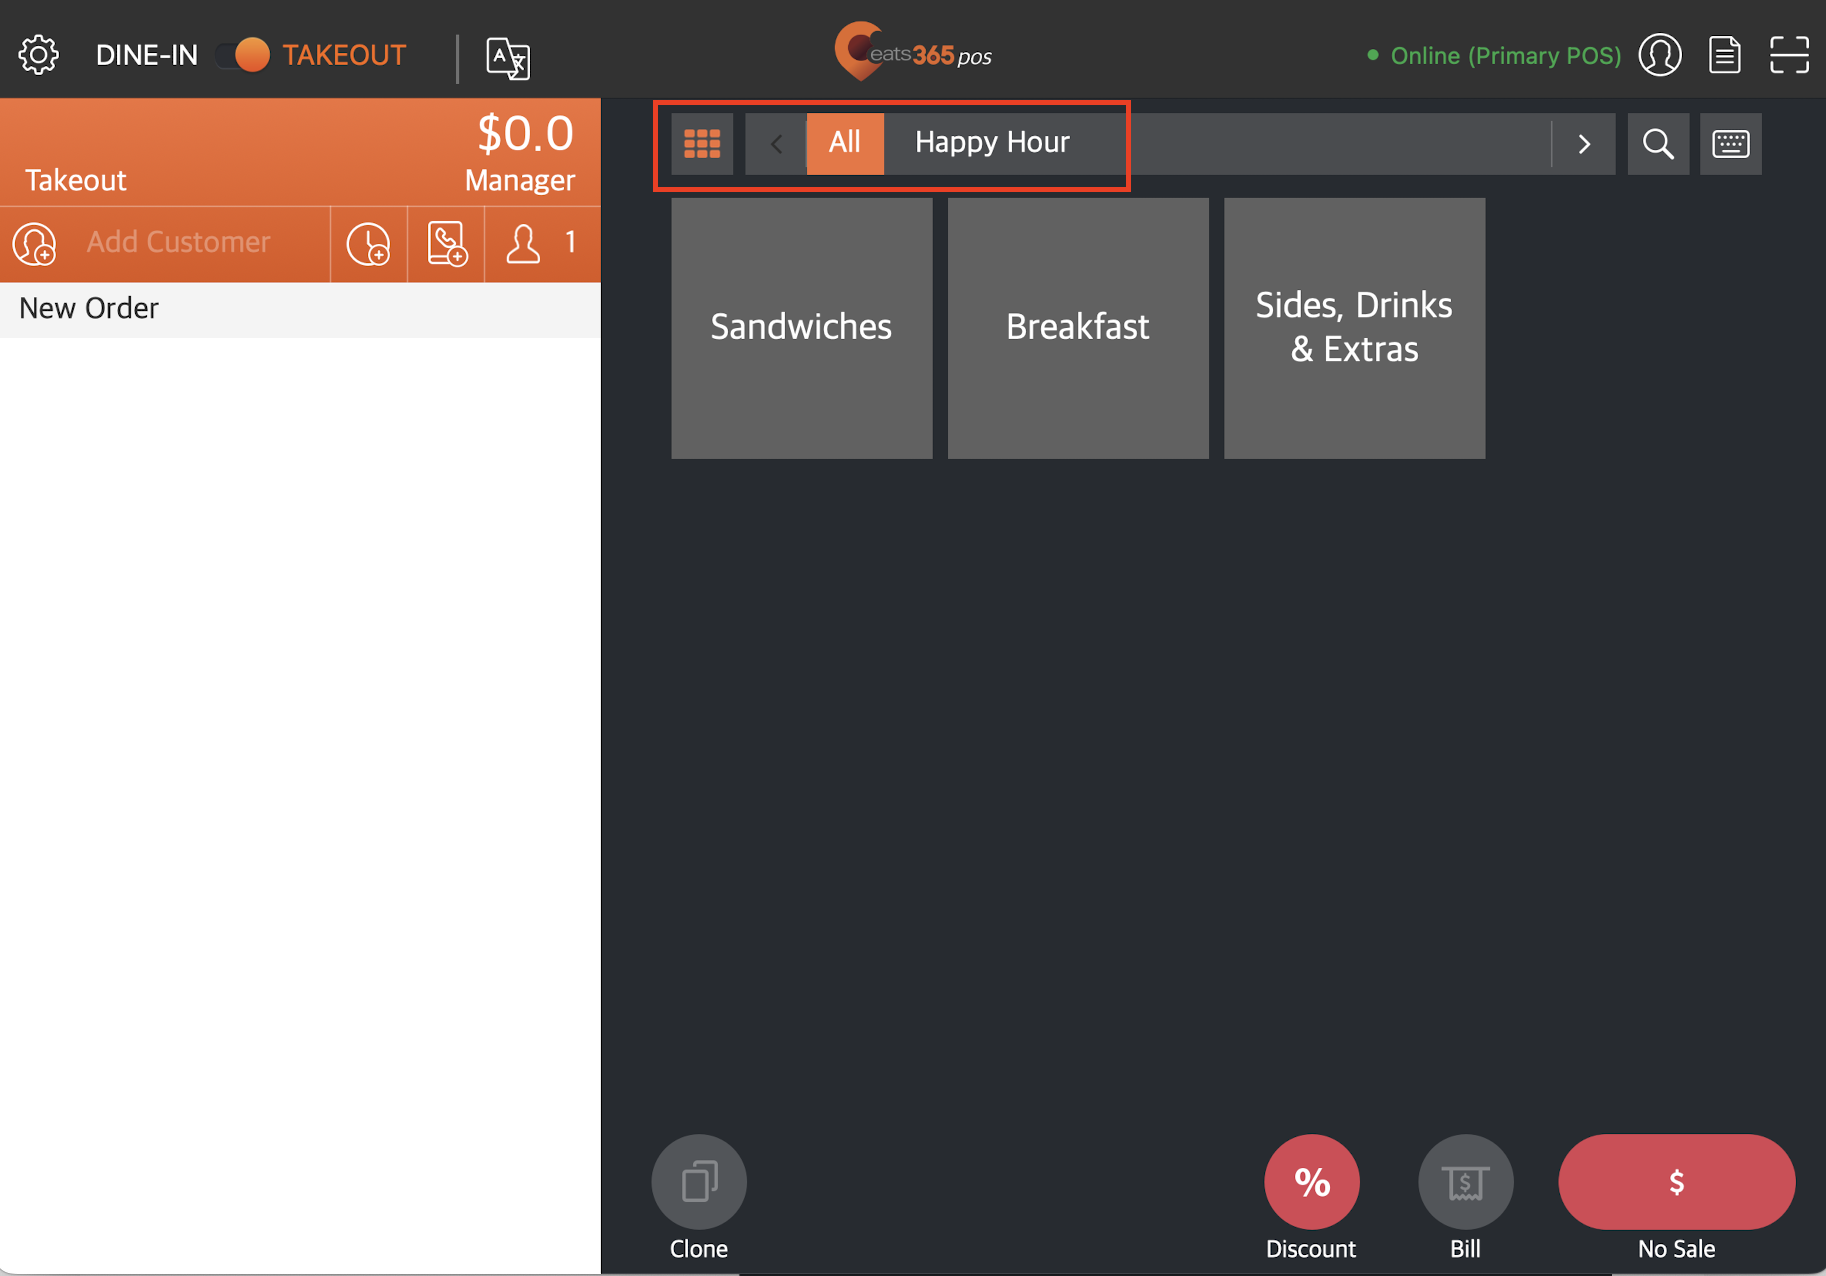
- If you created a Custom Menu, tap All then select your Custom Menu to switch menus.
Note: A Custom Menu only appears in the time slot that you set it to appear. For more information about Custom Menu, refer to Set up and manage a Custom Menu.
- To browse through different categories, tap the left and right arrows on the categories bar.
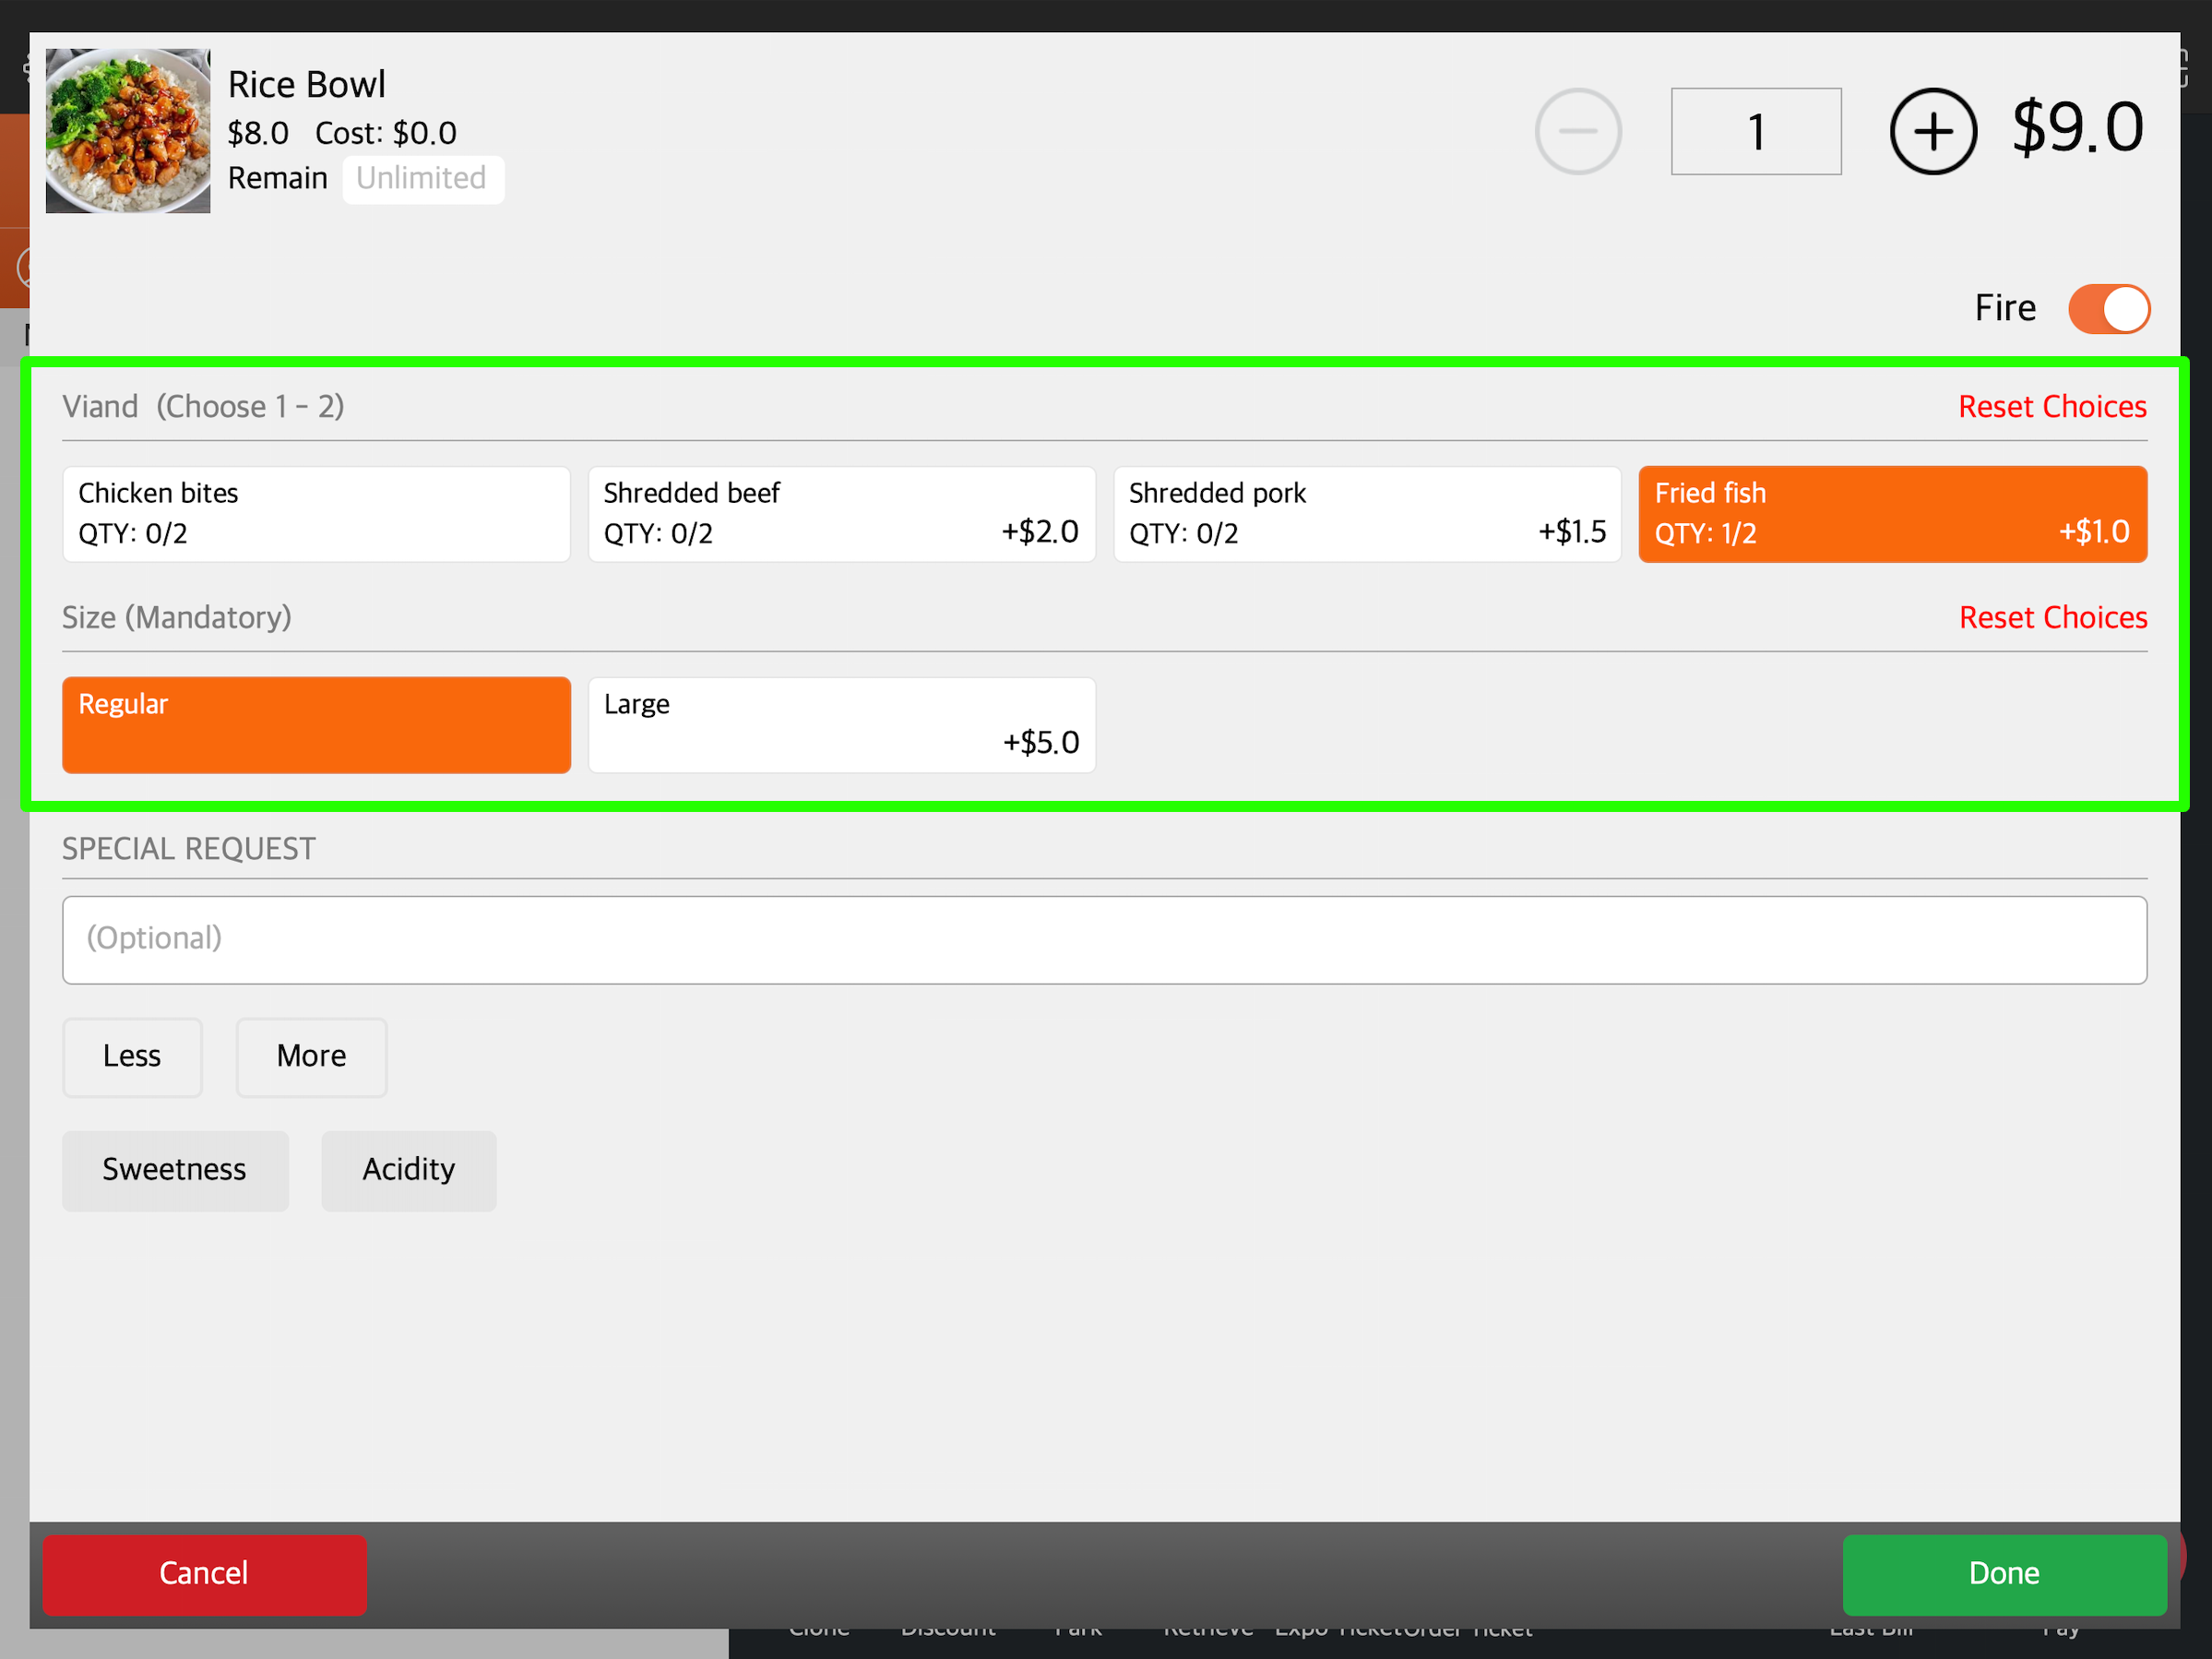
- If the item has modifiers set up, the Modifier screen shows up. Select the relevant modifiers to apply them to the order.
Tip:- If you have Quick Order Entry Mode turned on, the modifiers won’t immediately appear when you select an item. To get to the Modifier page, you must press and hold an item.
- If you want the modifiers to always appear even if Quick Order Entry Mode is on, turn on Mandatory when you set up your modifiers from the Modifier settings.
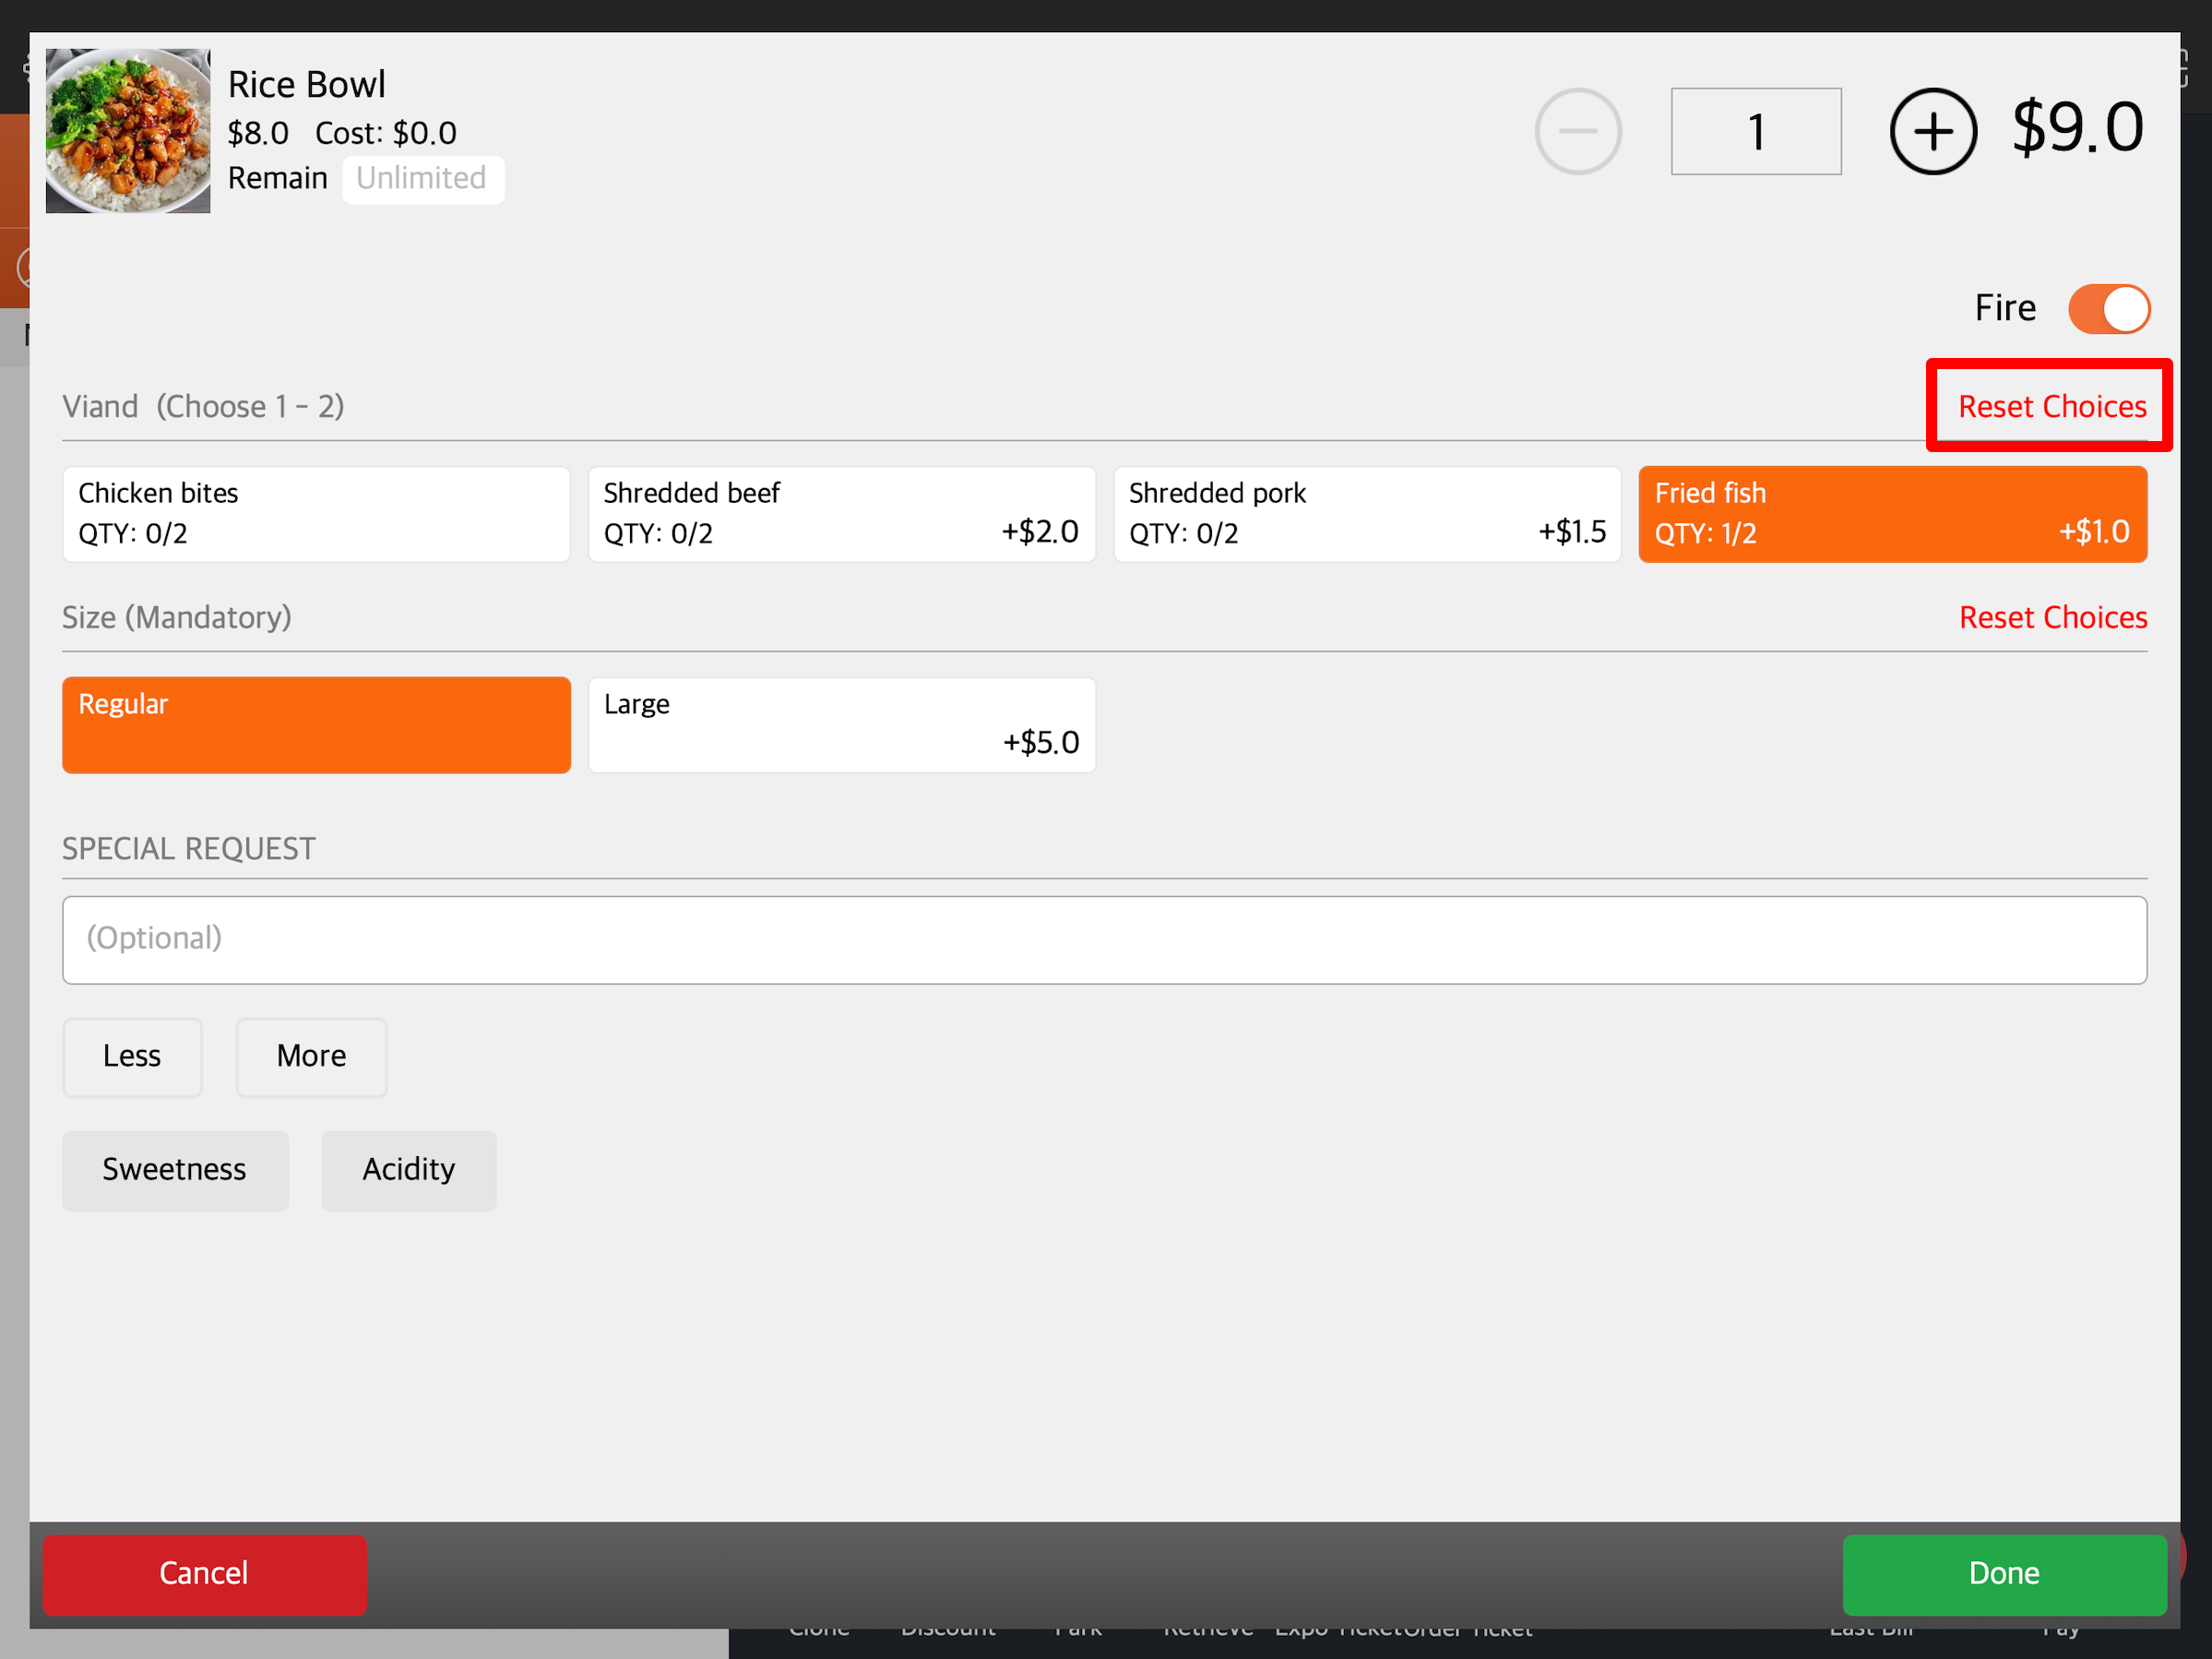
- To reset your selections, tap Reset Choices.
Note: Reset Choices only removes the selection in the modifier category that you selected. To remove all modifiers, tap Cancel to go back to the order-taking screen and repeat the process, or tap Reset Choices for each modifier category.
- When you’ve completed adding modifiers to the item, tap Done.