 Eats365 Products
 Merchant Guide
 Modules
 Membership
 Integrations
 Hardware
 Staff Operations
 Roles & Permissions
 Payments
 Reports
 What’s New
 Release Notes
 Troubleshooting
 Simulators
 Glossary
 Troubleshooter
 System Status
System Preferences
Table of Contents
Manage General Preferences
Learn how to customize and change general preferences on the Eats365 POS.
General Preferences can be configured to make using the POS app effortless and convenient, based on your personal preferences.
In this article, you’ll learn about General Preferences and how to change them in the Eats365 POS app.
Change General Preferences
To customize General Preferences, follow the steps below:
- Log in to the Eats365 POS.
- At the top left, tap Settings
 .
. - Under "General," tap Preferences.
- Choose a setting to customize.
- At the top right, tap Save to confirm.
Preference Options
Language
Change the POS app language.
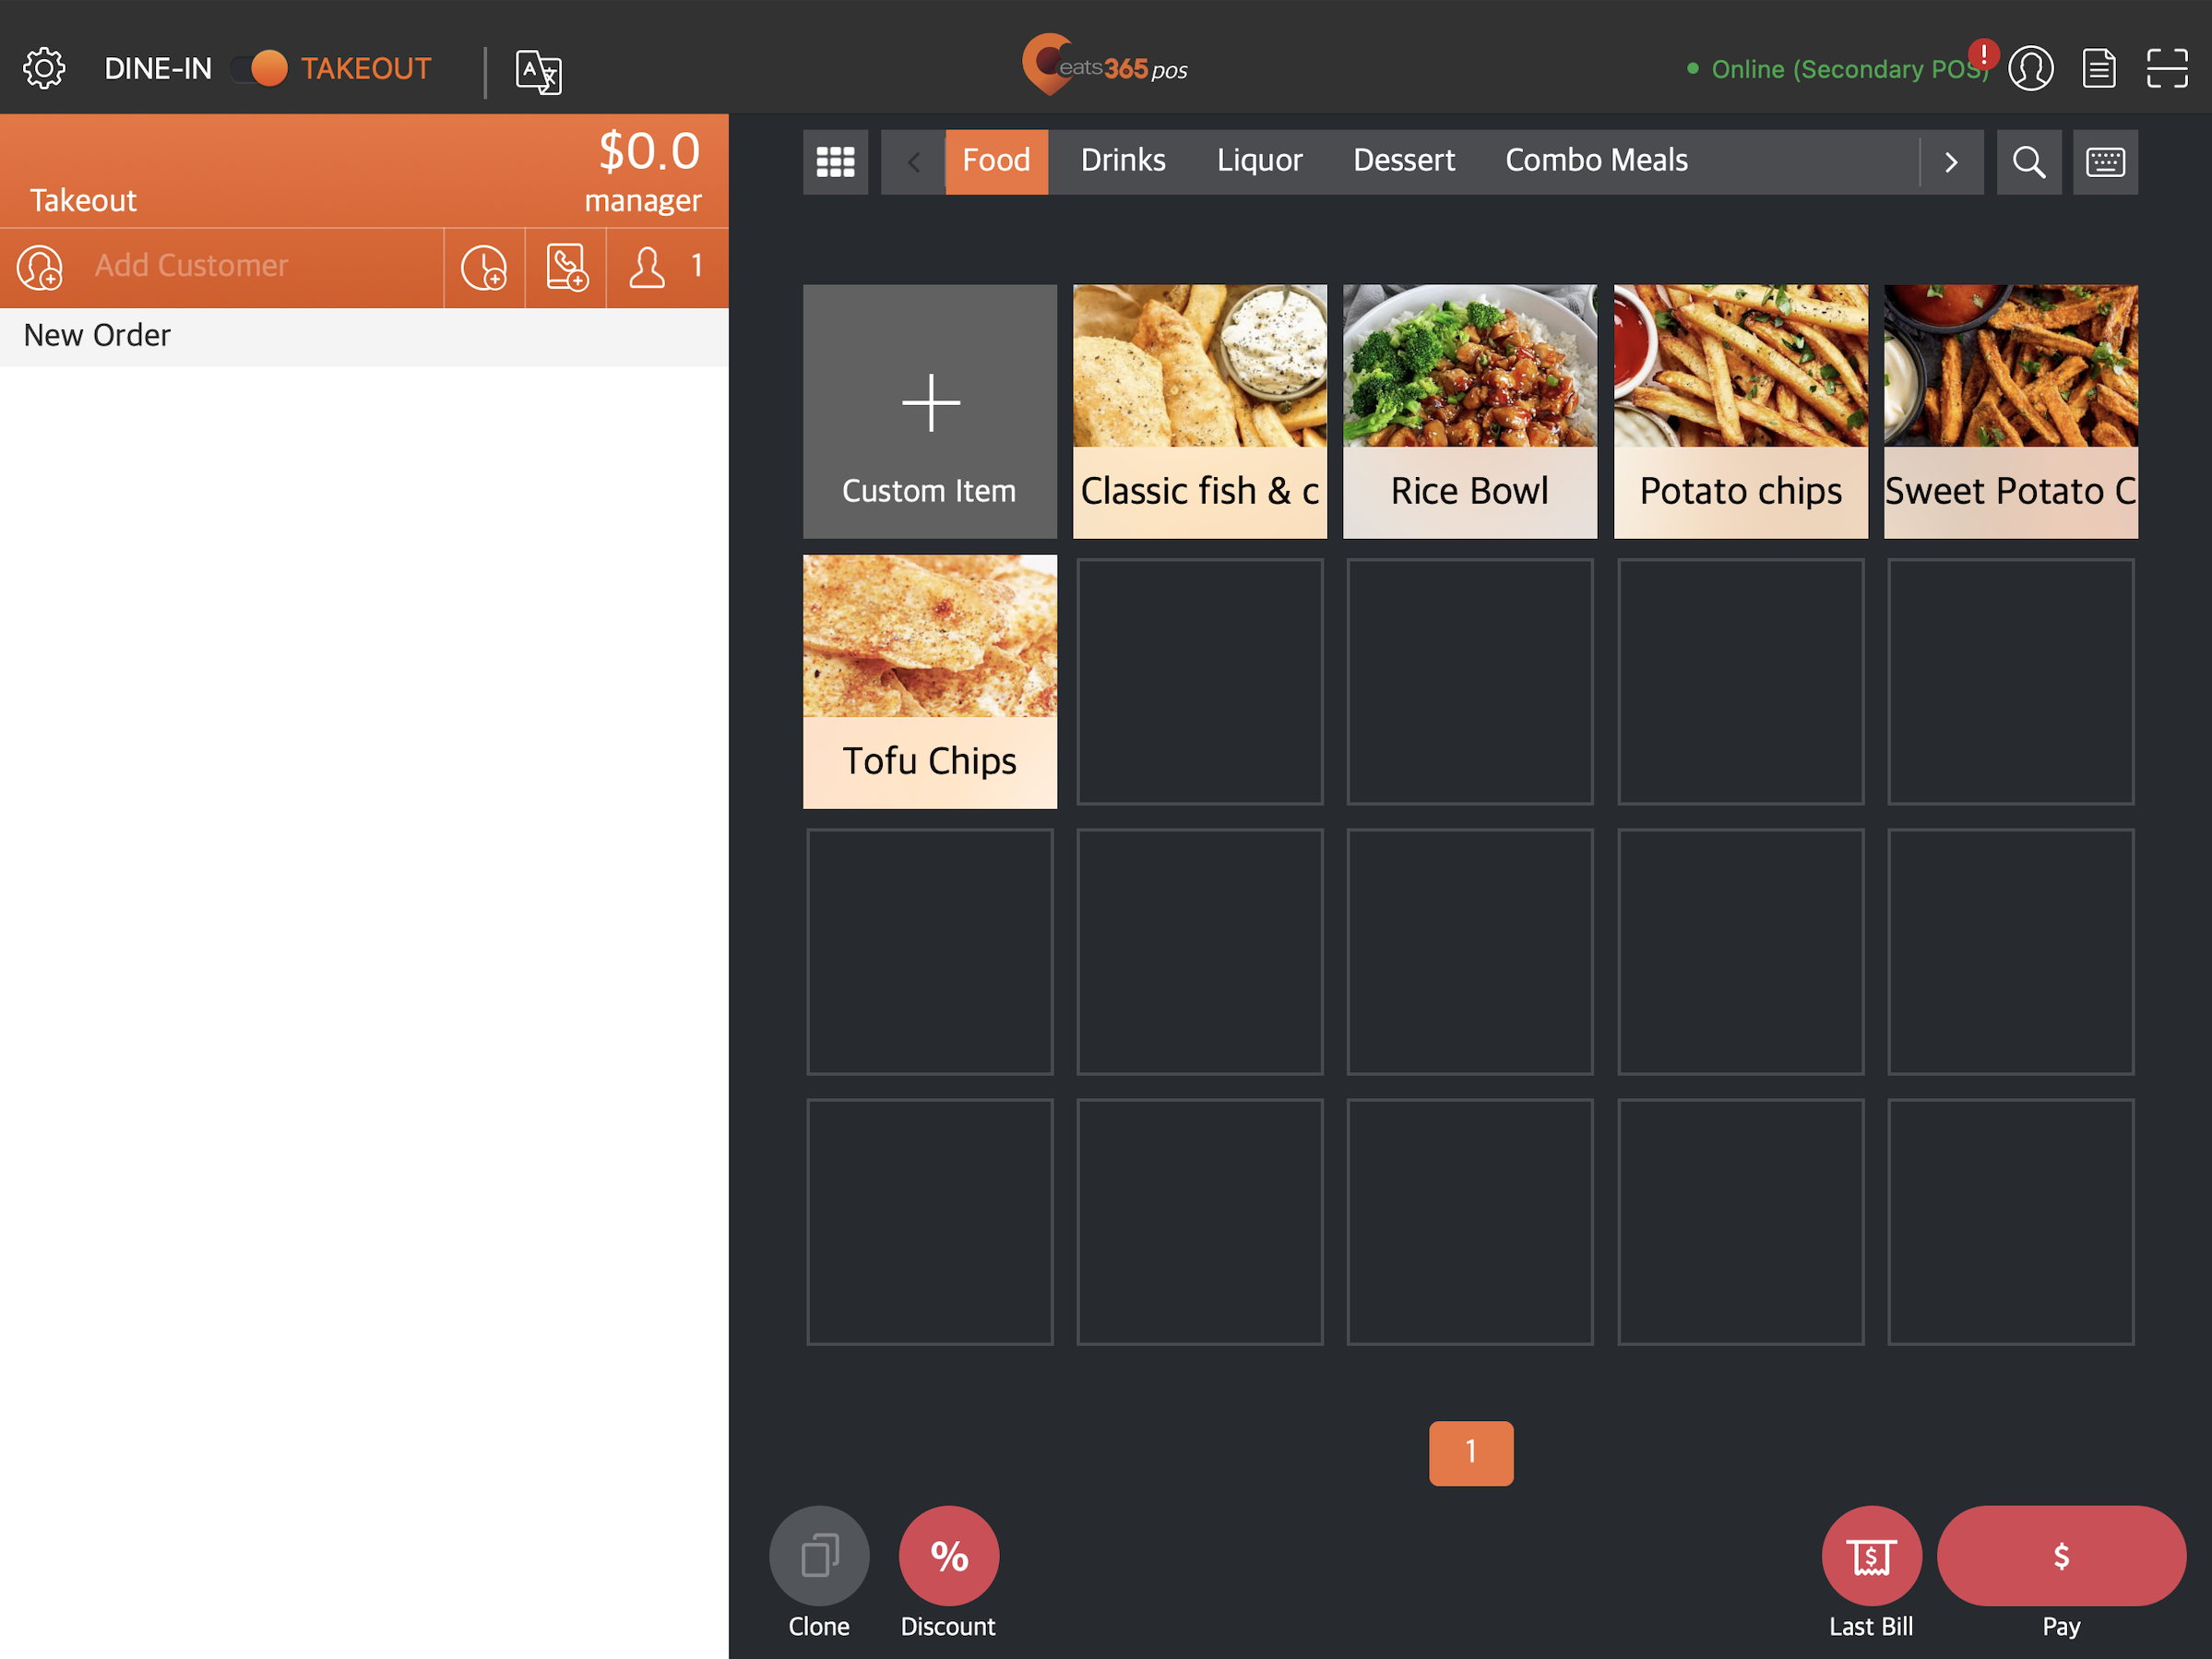
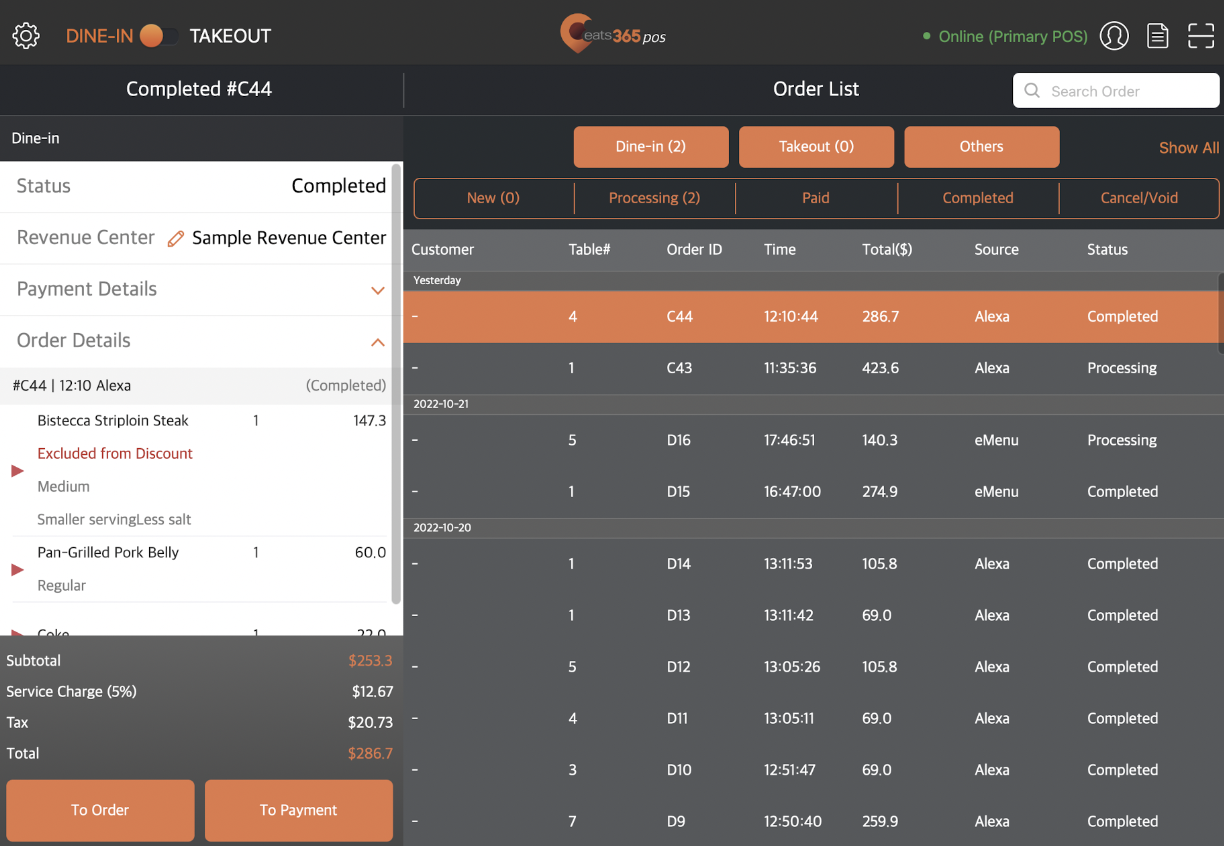
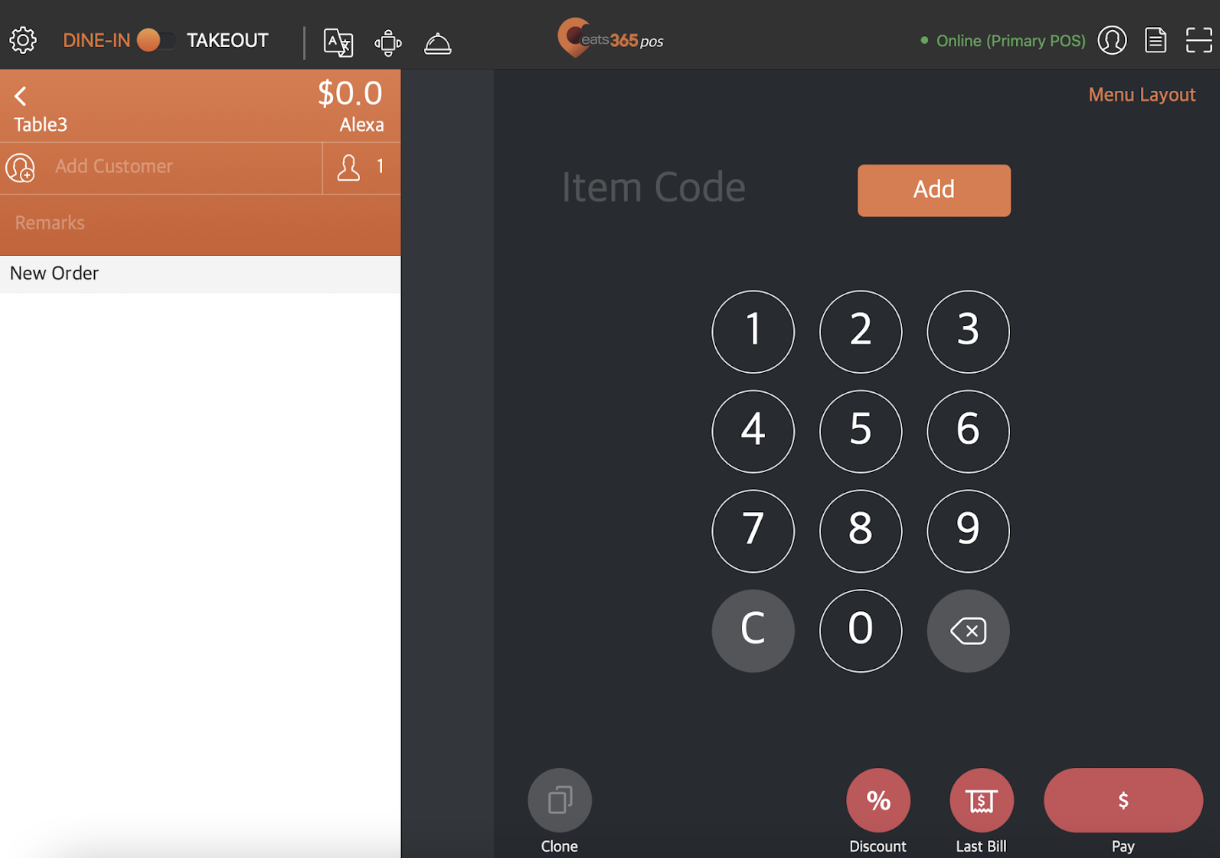
Default Mode
Set the default POS view. Choose from the following views:
-
Dine-In
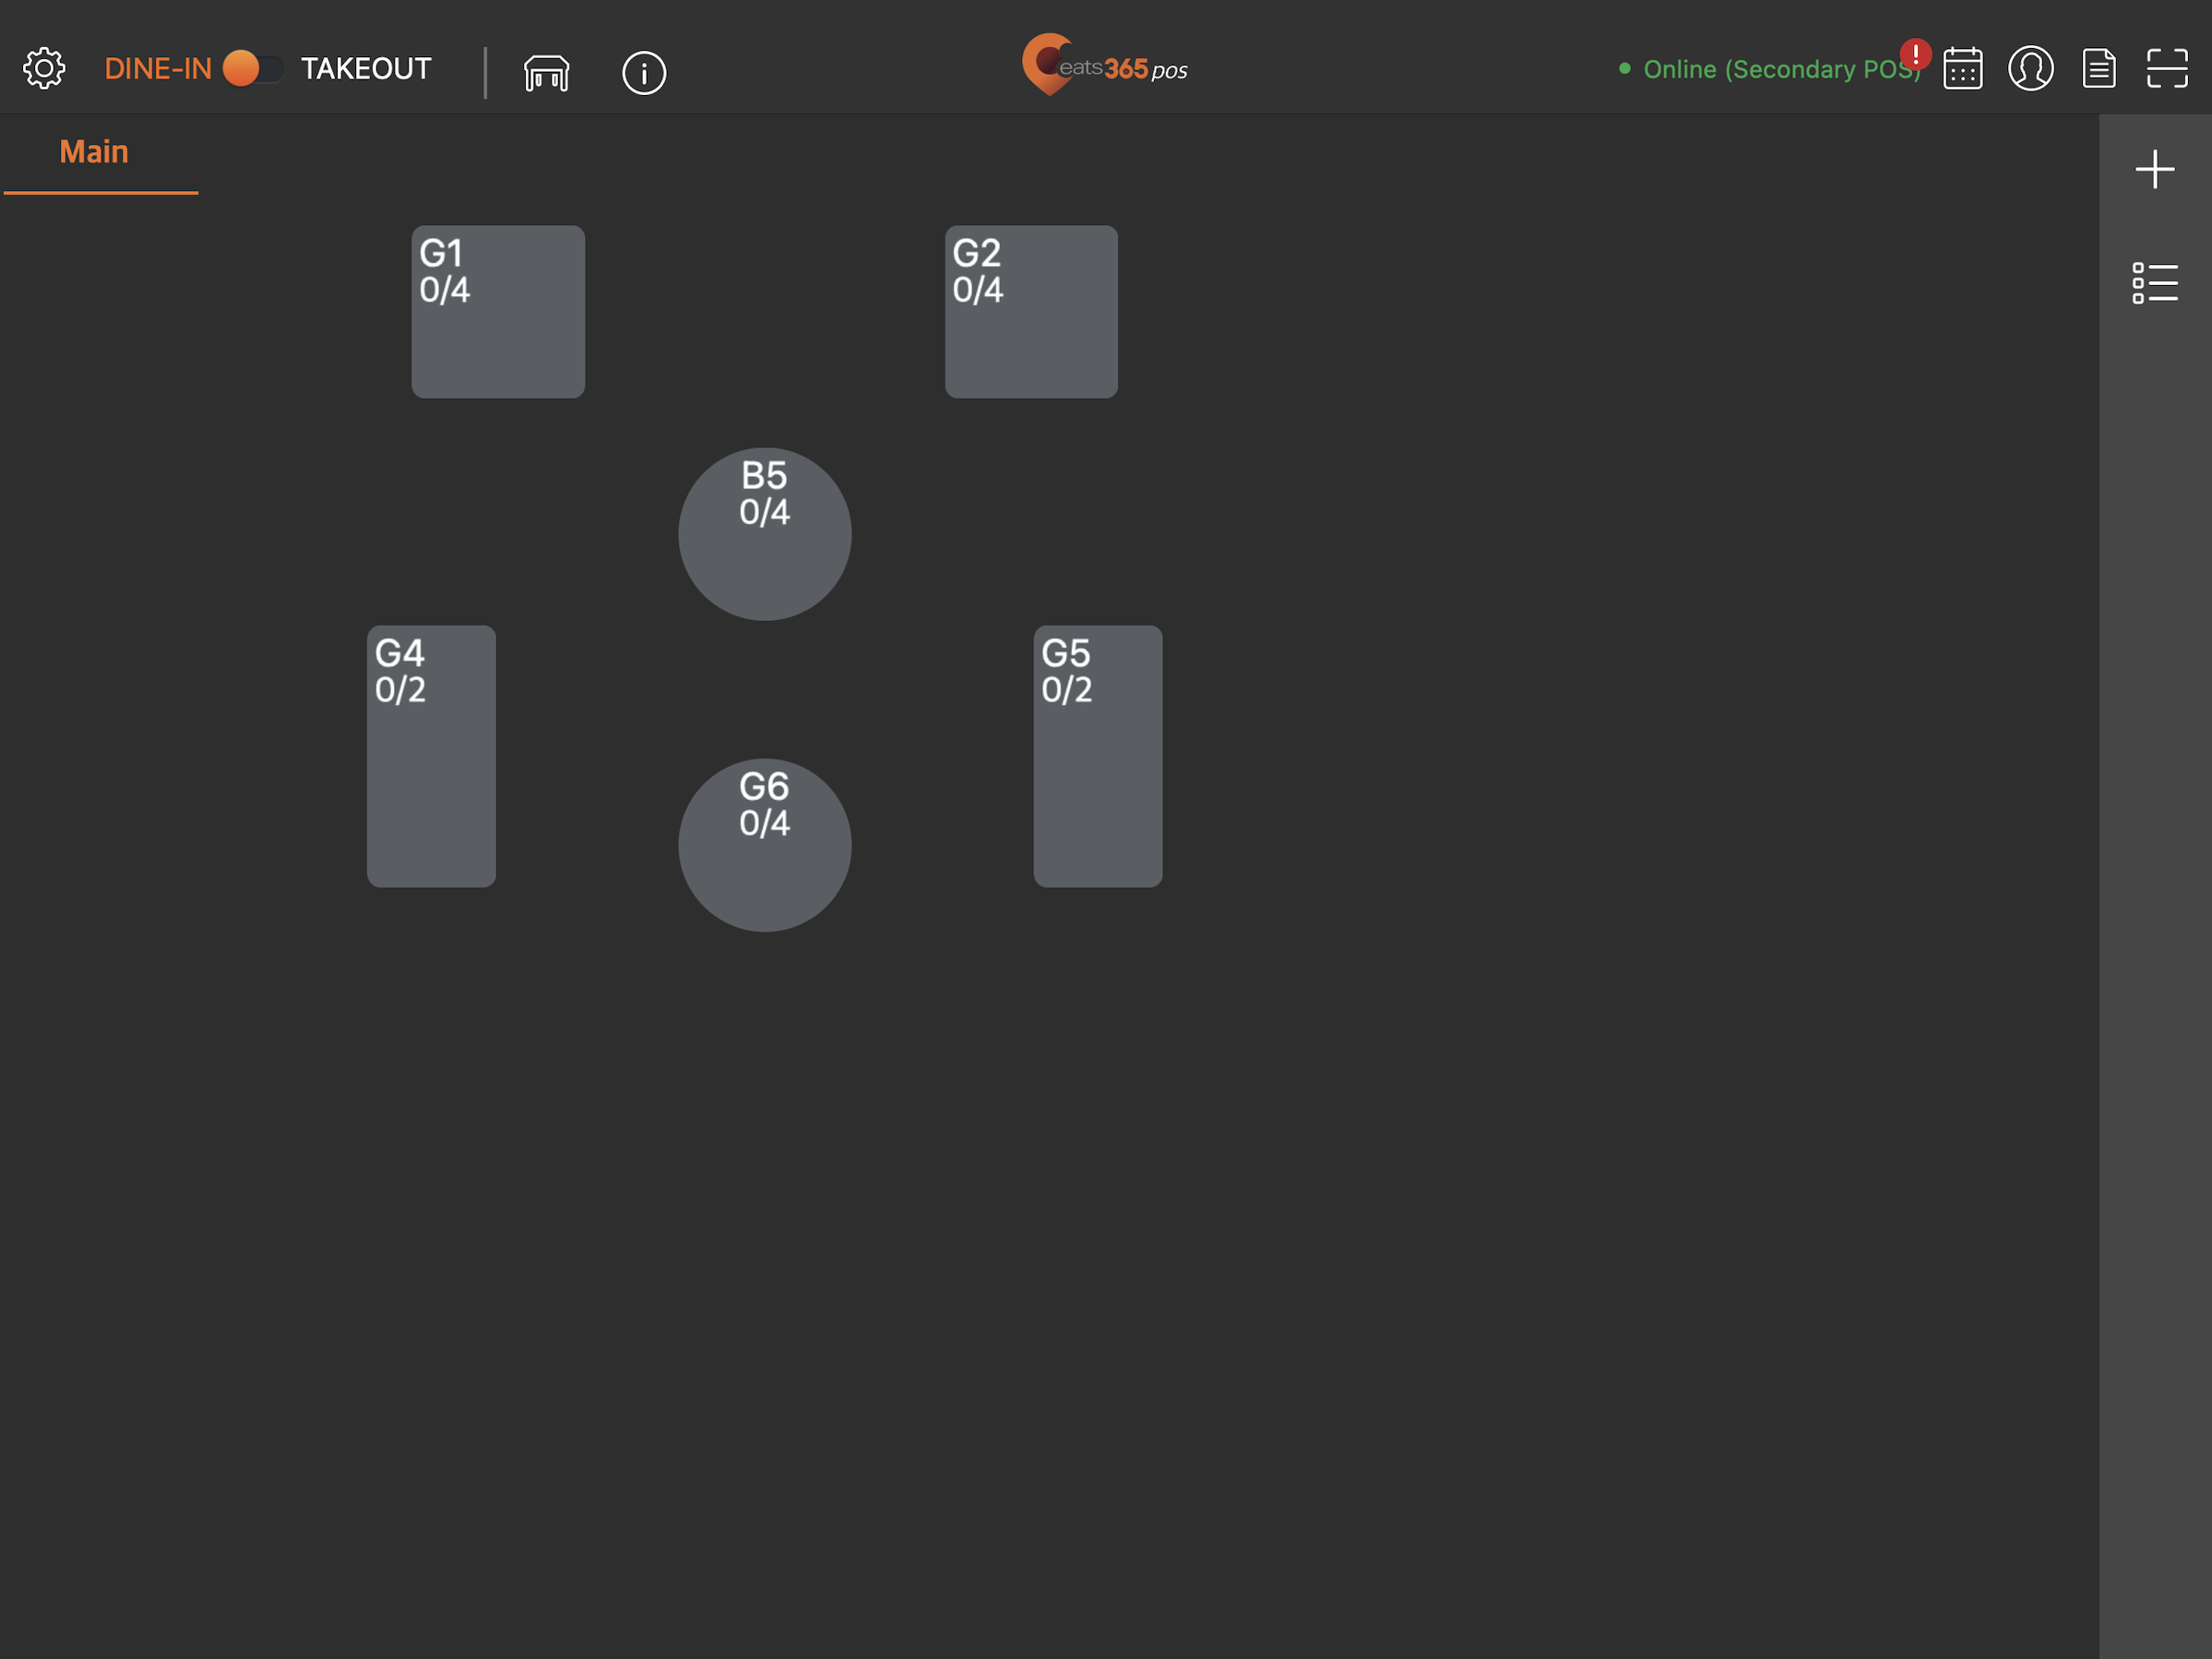
-
Takeout
-
Order list
Home Button
Set the behavior when the Eats365 logo home button is pressed. Choose from:
- Default Mode Selected Option
- Sign-out (Sign-in screen)

Default Order View Mode
Set the default view when taking orders. Choose from:
-
Menu Layout
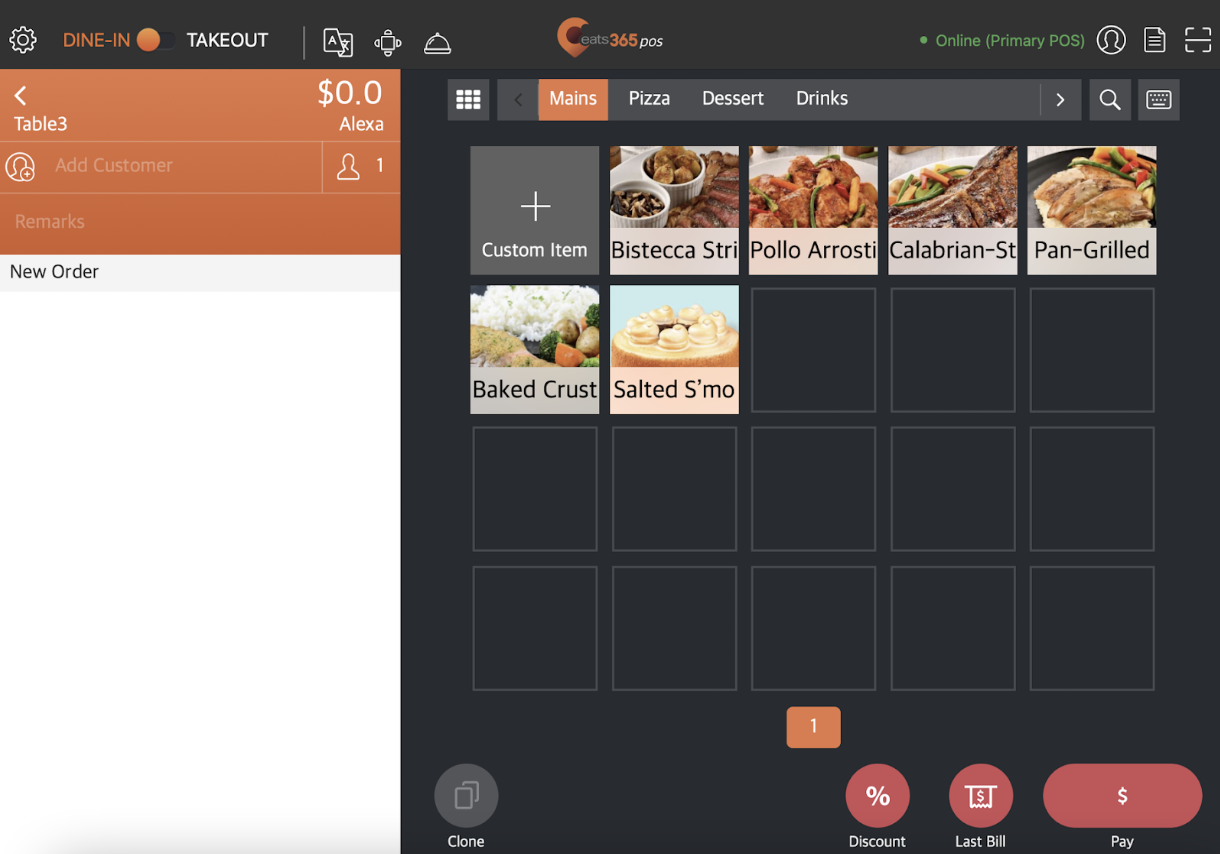
-
Product Code Layout
Quick Order Entry Mode
Enable this setting to skip the modifiers page when adding an item. You can then long-press on an item to enter the modifier page.
Use Keypad to Input Party Size
Enable this setting to use the keypad as the input method when adding the party size. When disabled, the input method becomes a number scroll option.
| Enabled | Disabled |
 |
 |
Default Area
Set the default area or floor. Useful for multi-story establishments.
Default Expand Discount Content in Order Page
Enable this setting to show discount content information on the order page by default. When enabled, the discount content drop-down expands automatically.
| Enabled | Disabled |
 |
 |
Enable Debug Mode
Enable this setting to record usage logs. Usage logs help identify issues on the POS.
System Font Size Control
Set the default system font size throughout the POS app.
Enable Audio and Visual Effects
Enable this setting to use audio and visual effects on the Eats365 POS. When enabled, the following features become available:
- Show a video when you launch the app
- Play audio alerts whenever you interact with the app
Audio Effect Repeating Frequency
Set the duration for the audio effect frequency. For example, if you set the "Audio Effect Repeating Frequency" to 10 seconds, the audio alert for new orders or service calls will play every 10 seconds.
Alert Tones
Select the alert tone that you want to use for audio alerts and service calls. You can choose from the following:
- Note
- Classic
Alert Volume
Configure the volume level of audio alerts. You can adjust the volume of the following:
-
Order Notification Sound Control - Adjusts the volume of audio alerts for new orders.
Note: The "Classic" tone must be selected as the "Alert Tone" to adjust the volume of order notifications. - Payment Complete Sound Control - Adjusts the volume of audio alerts after payment completion.
POS Terminal Number
Assign a terminal number to the POS.
Revenue Center
Set the default Revenue Center.
Order Number Prefix
Set the prefix that can be assigned to the POS. The prefix assigned to the POS helps identify which POS processed an order. The POS details are printed on every receipt.
Show Only Orders Entered from this POS
Set the POS to only process and display orders made on this device.
Auto Sign Out
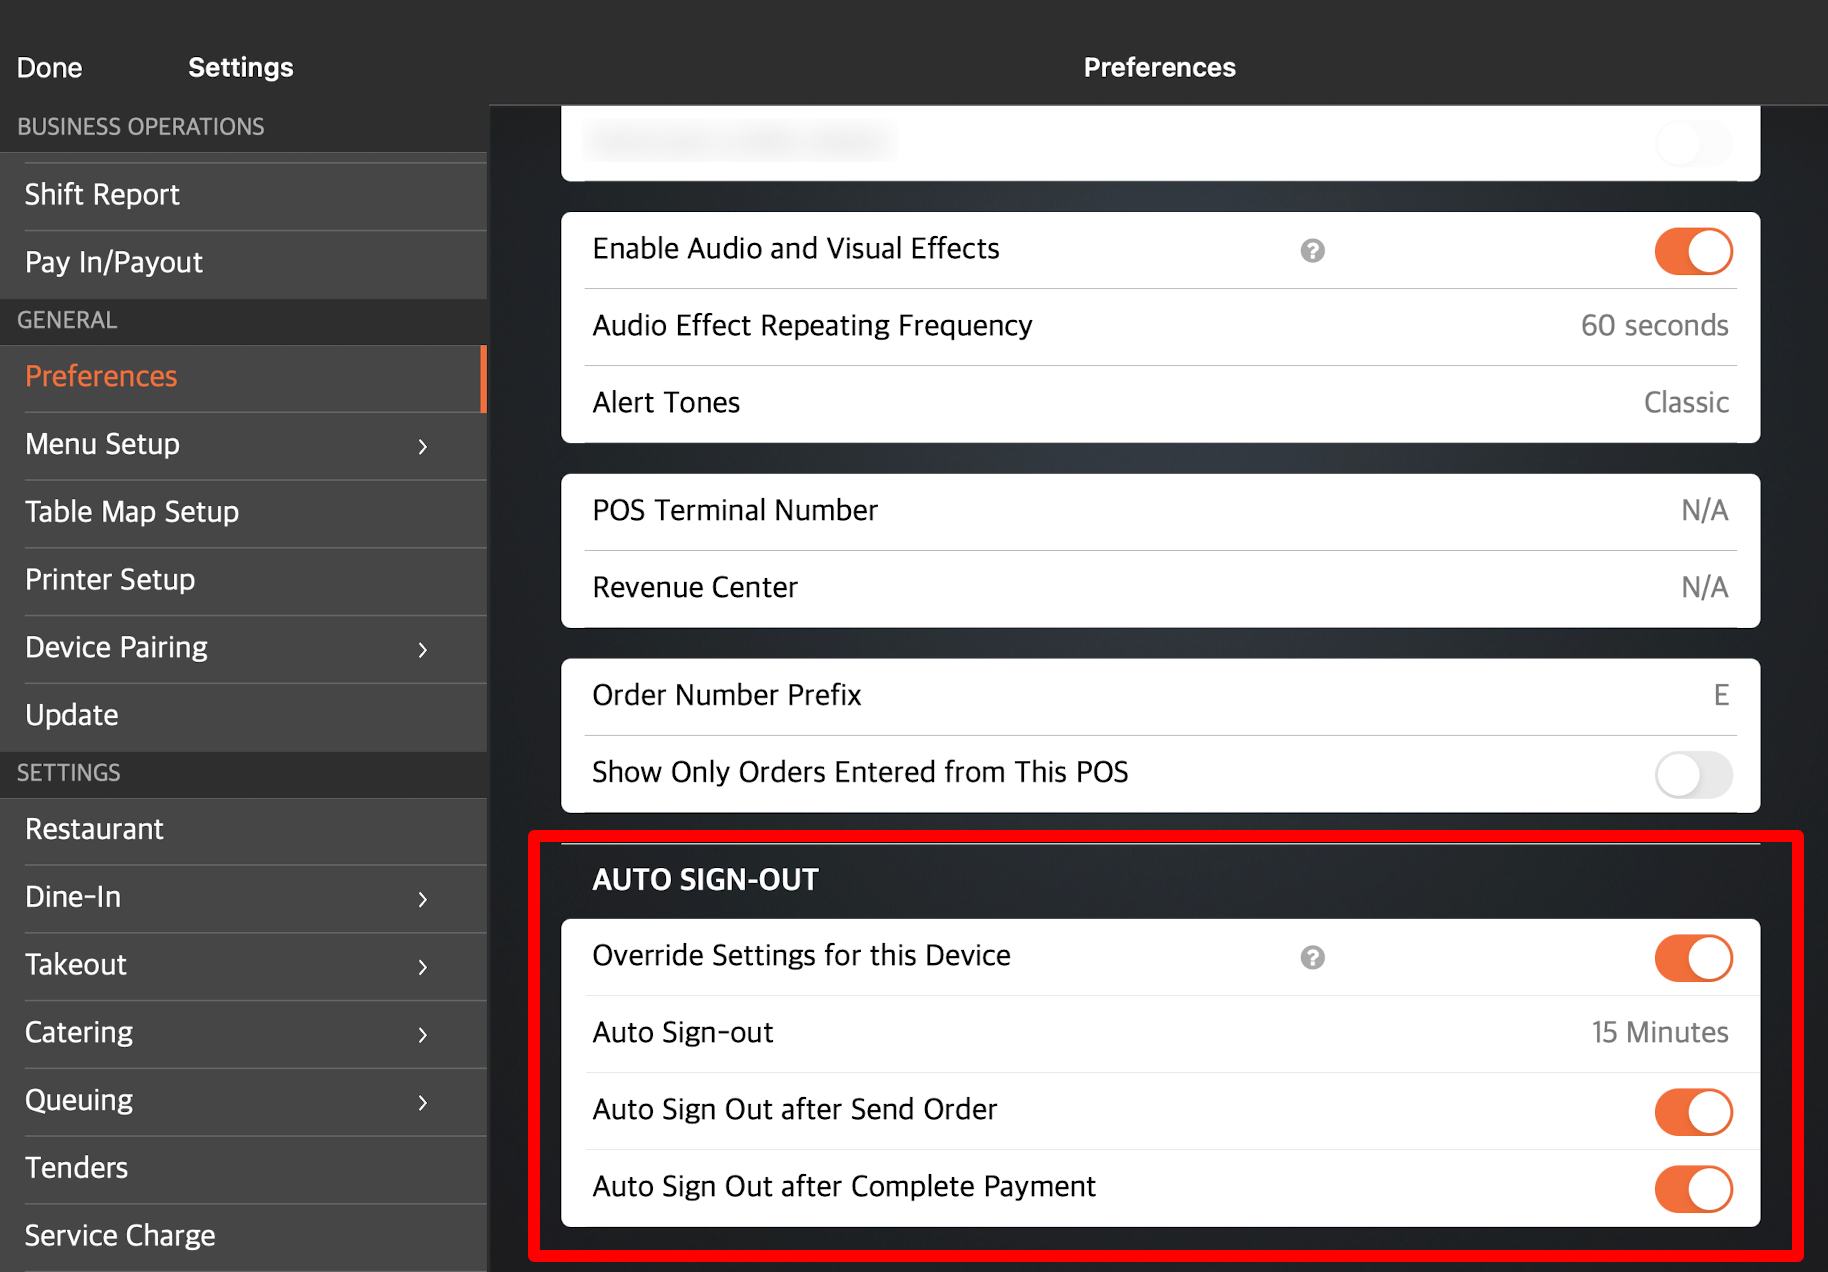
Override Settings for this Device
Enable this setting to set a different "Auto Sign Out" configuration for the POS terminal you're currently using. Configuring the Auto Sign Out settings for a particular POS overrides the configurations set in System Preferences.
Auto Sign Out
Configure this setting to sign out of the POS automatically after a set amount of time has elapsed.
Auto Sign Out after Send Order
Enable this setting to sign out of the POS automatically after placing an order.
Auto Sign Out after Complete Payment
Enable this setting to sign out of the POS automatically after a succesful payment processing.
License Expiry Reminder
Override Settings for this Device
Enable this setting to set the License Expiry Reminder preferences on the POS you’re currently using. Configuring the License Expiry Reminder settings for a particular POS overrides the License Expiry Reminder preferences that have been configured in System Preferences.
Reminder for License Expiry
Set your notification preference. You can choose from the following options:
- 7 Days in Advance
- Never
Notification
Override Settings for this Device
Enable this setting to configure how notifications appear on the POS system you’re currently using.
Notification Display Style
Select how notifications appear on the POS. You can choose from the following options:
-
Notification Icons

-
Notification Banner
