Queuing Settings
Table of Contents
Set up Online Queuing
Learn how to configure online queuing settings on the Eats365 POS or the Merchant Portal.
The Online Queuing feature allows customers to get their own queuing tickets from your restaurant’s website using their own devices, allowing them to get in the queue without needing to be physically present at the restaurant.
In this article, you’ll learn about how to set up online queuing and configure its settings.
For information on how to set up other types of queuing tickets, refer to the following articles:
Before you start
Make sure to configure regular queuing settings from the Eats365 POS or the Merchant Portal first before you enable online queuing. Online Queuing follows the settings configured for regular queuing. For more information on how to set up regular queuing settings, refer to Set up Queuing.
Set up Online Queuing
To set up Online Queuing, follow the steps below:
Eats365 POS
- Log in to the Eats365 POS.
- At the top left, tap Settings
 .
. - Under Settings, tap Queuing.
- Tap User App Settings.
- Configure online queuing settings.
- At the top right, tap Save to confirm.
Below is the list of settings that you can configure on the POS:
Allow User App to Queue up
Allows customers to get queuing tickets from the restaurant’s branded online store.
Limit User App Queue up Distance (to restaurant)
Enable this setting to manage the option to set the service boundary. The service boundary is a configuration that determines the distance a customer needs to be from the restaurant to receive a queue ticket.
Service Boundary (radius in kilometer from restaurant)
Enter a numerical value representing the allowable queuing distance (in kilometers).
For example, if you set the Service Boundary as 1 km, only customers within 1 km from the restaurant can get a queuing ticket.
DeleteMerchant Portal (Classic Theme)
- Log in to the Merchant Portal.
- On the left panel, click on Restaurant Settings. Then, click on Queuing.
- Click on the User App tab.
- Configure online queuing settings.
- At the top right, click on Save to confirm.
- Below is the list of settings that you can configure on the POS:
Allow User App to Queue up
Allows users to get queuing tickets from the restaurant’s branded online store.
Limit User App Queue up Distance (to restaurant)
Enable this setting to manage the option to set the service boundary. The service boundary is a configuration that determines the distance a customer needs to be from the restaurant to receive a queue ticket.
Service Boundary
Enter a numerical value representing the allowable queuing distance (in kilometers).
For example, if you set the Service Boundary as 1 km, only customers within 1 km from the restaurant can get a queuing ticket.
DeleteMerchant Portal 2.0
- Log in to the Merchant Portal.
- On the left panel, click on Restaurant Settings.
- Click on Queuing. Then, select Online Queuing.
- Configure online queuing settings.
- At the top right, click on Save to confirm.
Below is the list of settings that you can configure on the POS:
Allow Online Queuing
Allows users to get queuing tickets from the restaurant’s branded online store.
Limit Online Queue up based on Distance to restaurant
Enable this setting to manage the option to set the service boundary. The service boundary is a configuration that determines the distance a customer needs to be from the restaurant to receive a queue ticket.
Service Boundary (km)
Enter a numerical value representing the allowable queuing distance (in kilometers).
For example, if you set the Service Boundary as 1 km, only customers within 1 km from the restaurant can get a queuing ticket.
DeleteEnable guest online queuing
Normally, only customers who are logged in to your restaurant’s branded online store can use the online queuing feature on their devices. However, you can choose to enable guest queuing to allow non-members to get their queuing tickets online.
To enable guest online queuing, follow the steps below:
- Log in to the Merchant Portal.
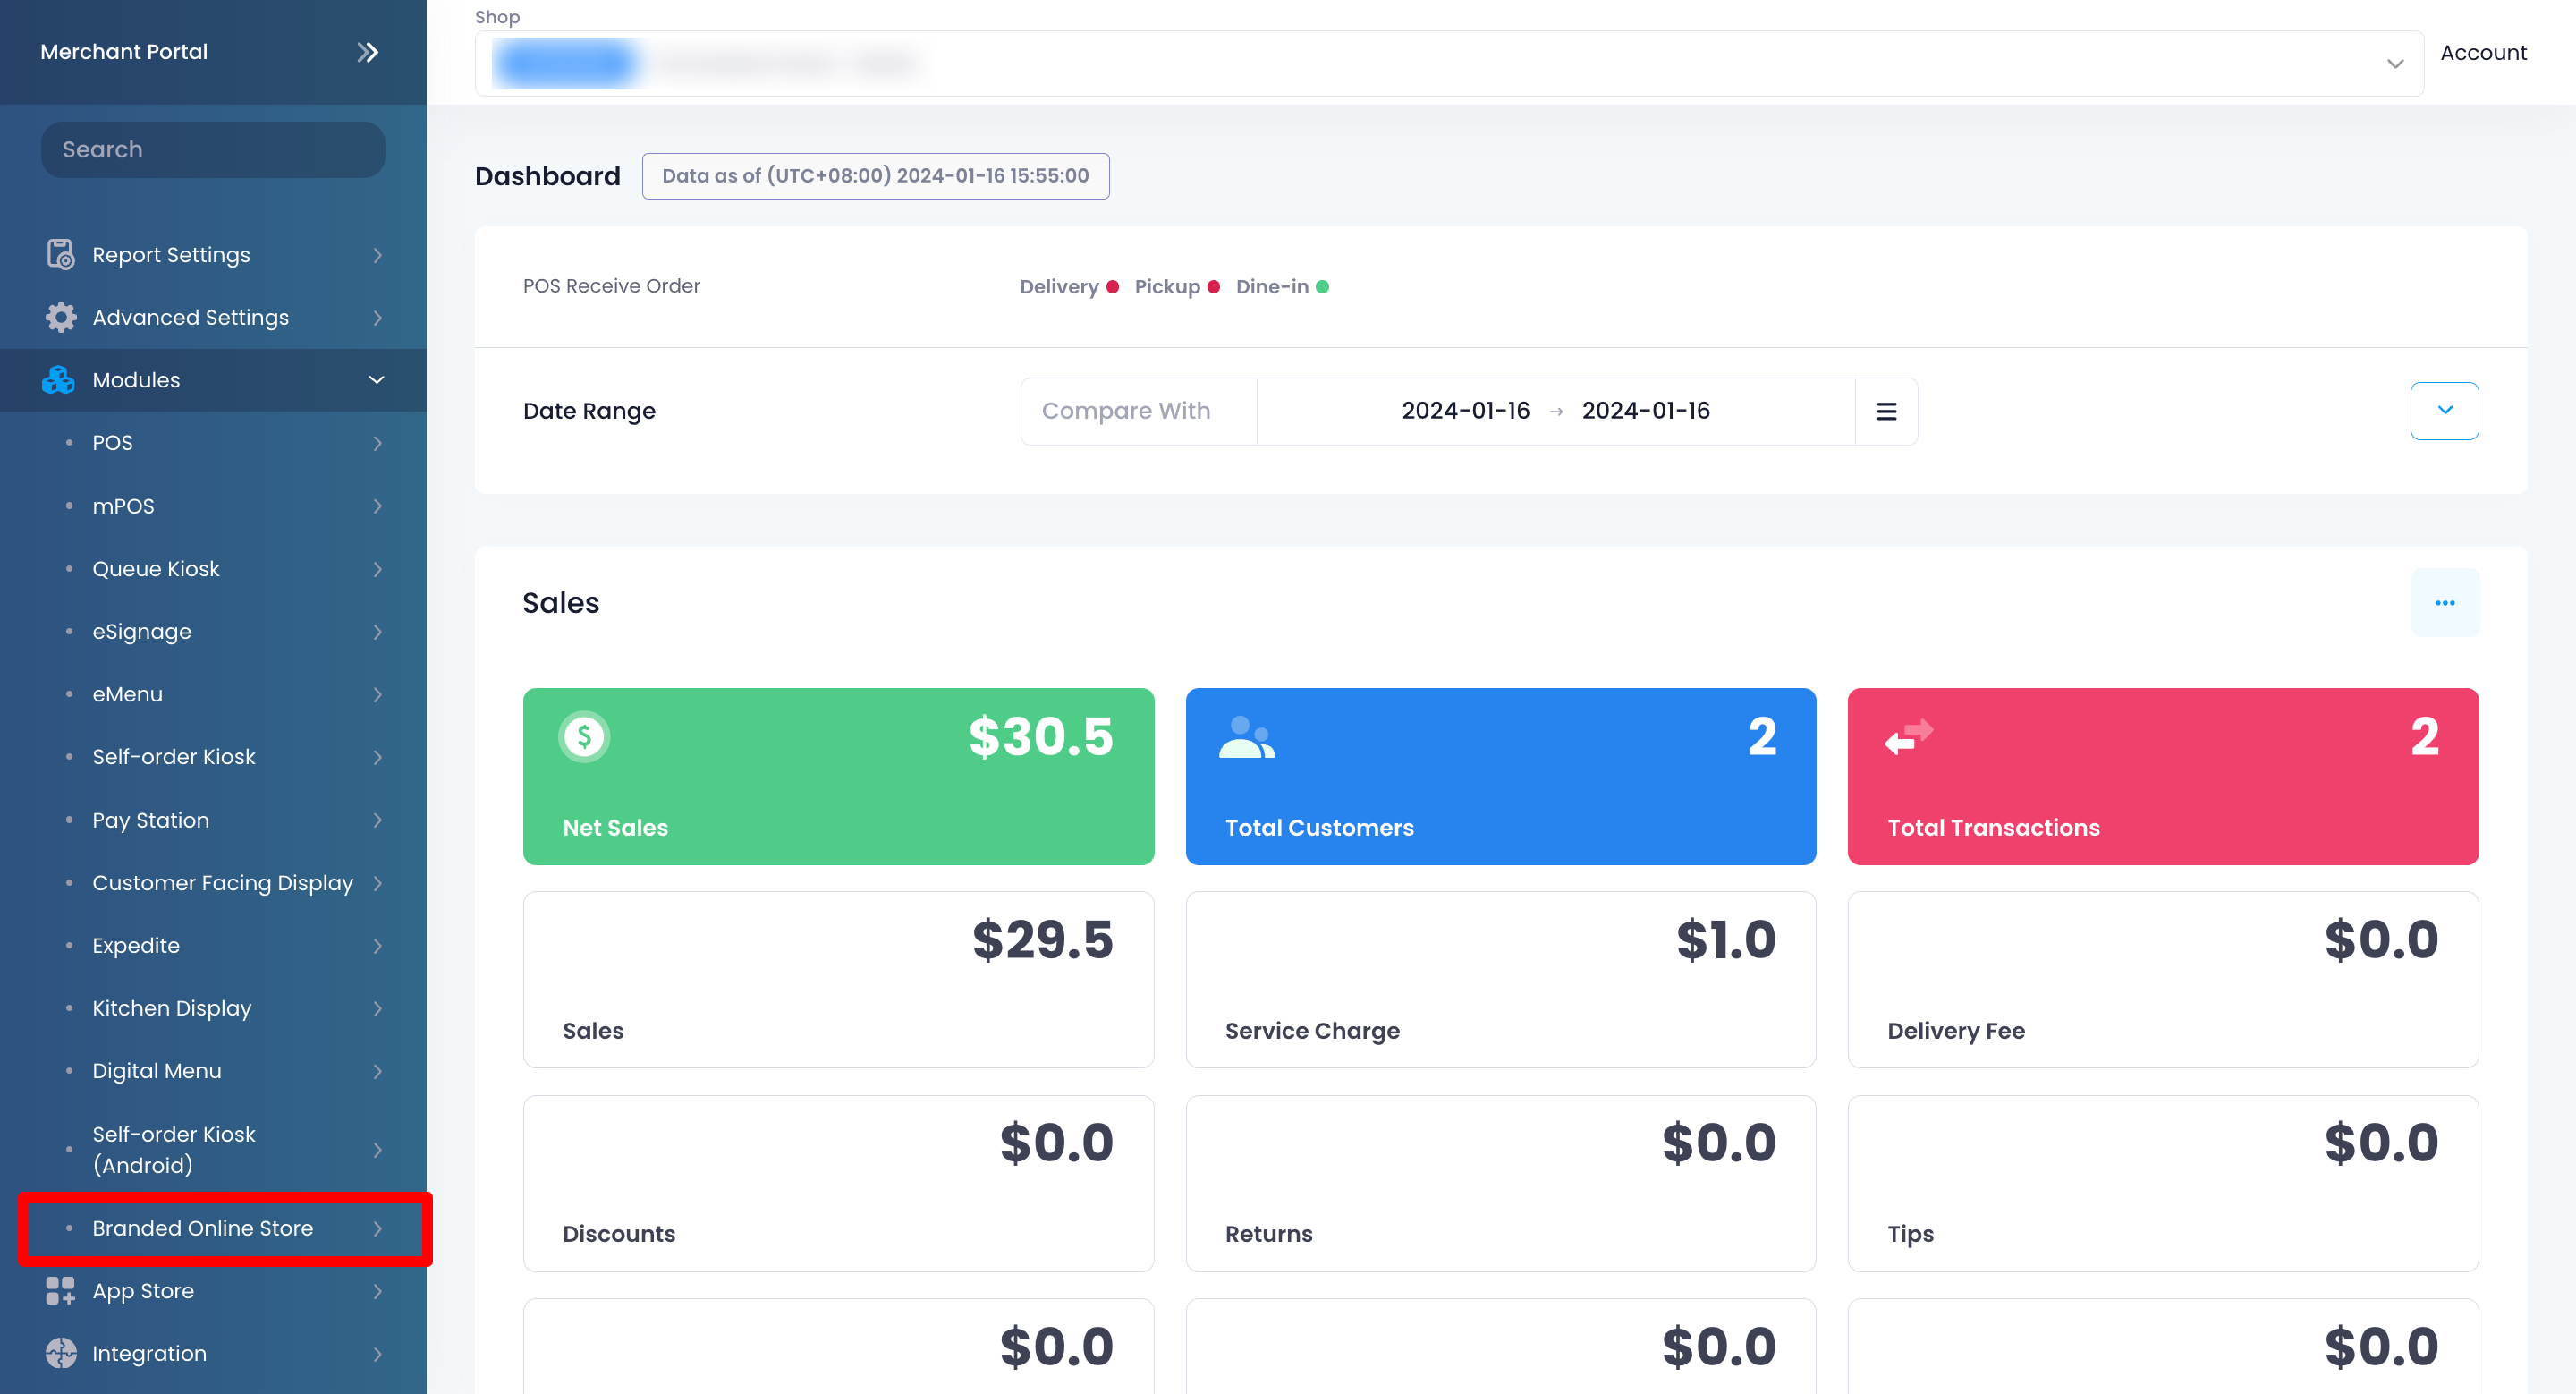
- On the left panel, click on Modules. Then, select Branded Online Store.

- Click on Ordering Site Settings.
- Next to the branded online store that you want to allow guest online queuing, click on Edit
 .
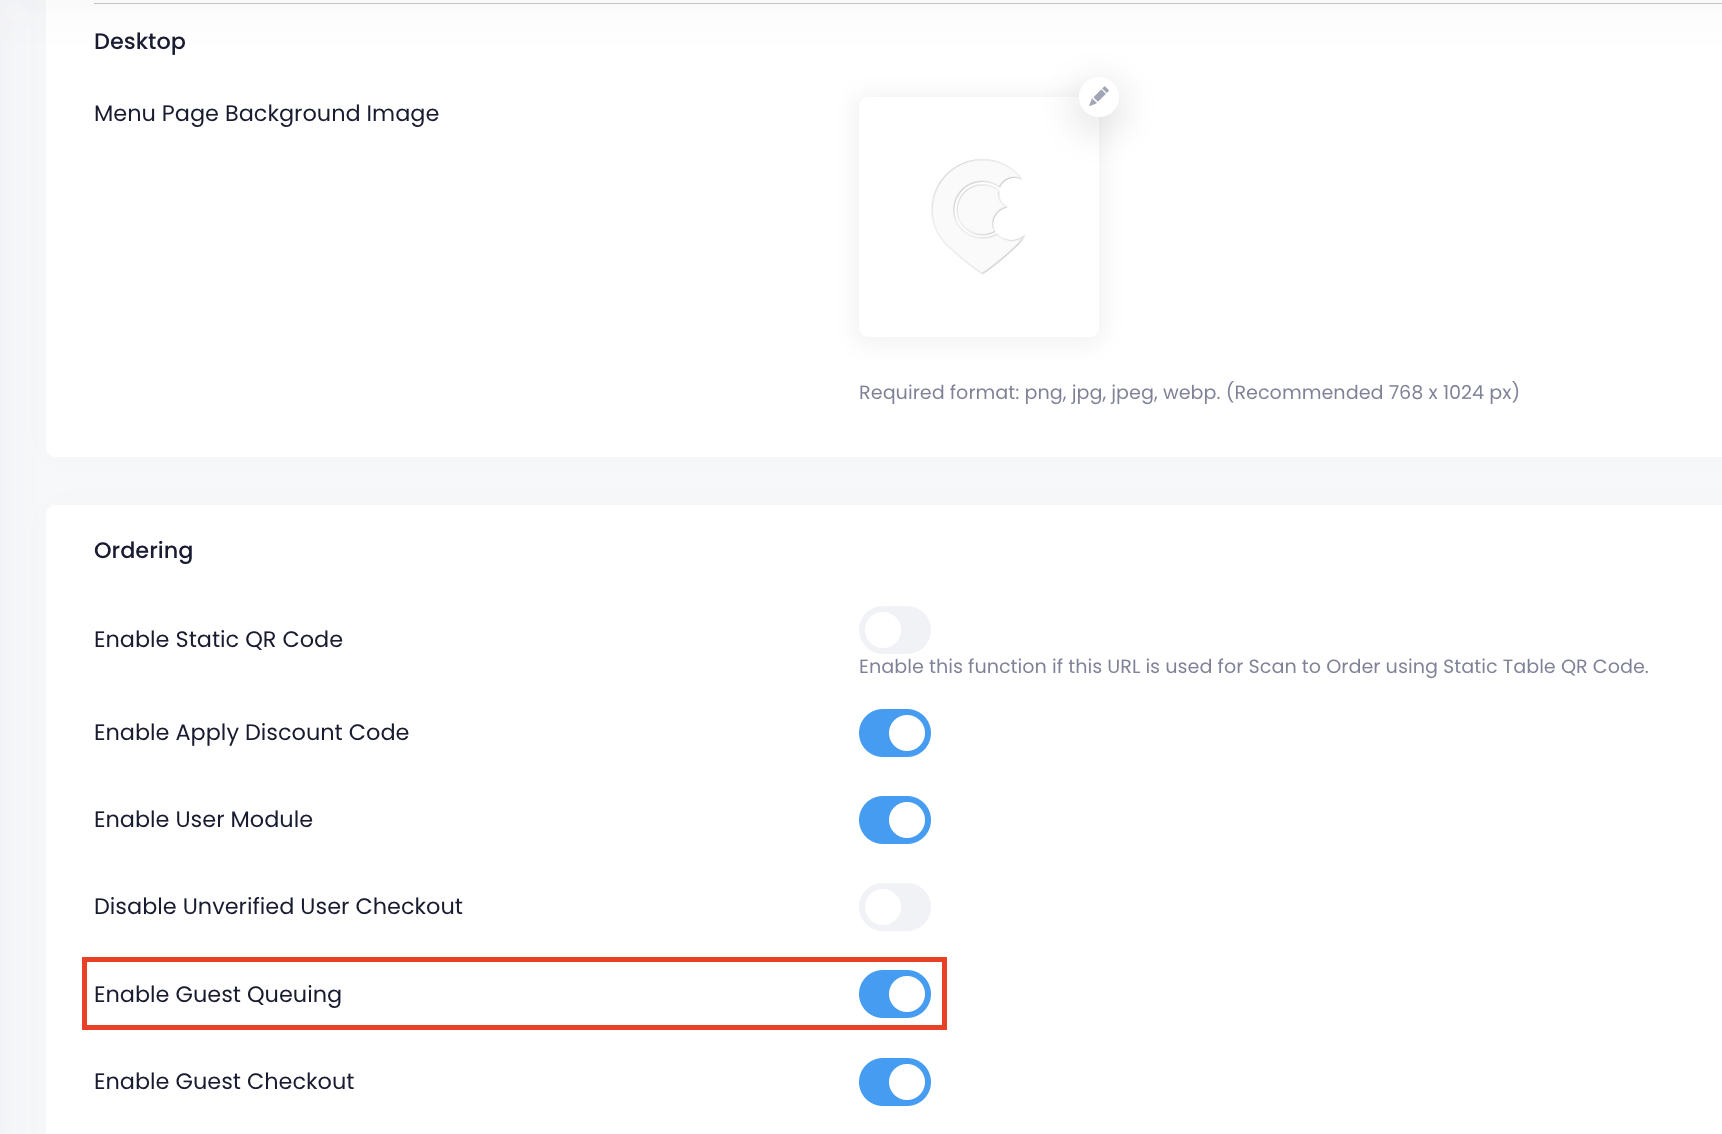
. - Under Ordering, turn on Enable Guest Queuing
 .
.
- Click on Save to confirm.
 Eats365 Products
 Merchant Guide
 Modules
 Membership
 Integrations
 Hardware
 Staff Operations
 Roles & Permissions
 Payments
 Reports
 What’s New
 Release Notes
 Troubleshooting
 Simulators
 Glossary
 Troubleshooter
 System Status
 both the Allow User App to Queue up and Limit User App Queue up Distance (to restaurant) settings before you can change this.
 both the Allow User App to Queue up and Limit User App Queue up Distance (to restaurant) settings before you can change this.