Eats365 Products
 Merchant Guide
 Modules
 Membership
 Integrations
 Hardware
 Staff Operations
 Roles & Permissions
 Payments
 Reports
 What’s New
 Release Notes
 Troubleshooting
 Simulators
 Glossary
 Troubleshooter
 System Status
Order Handling
Table of Contents
Manage self-checkout orders
Learn how to accept or reject self-checkout orders on the Eats365 POS.
When "Self-checkout" is enabled, dine-in customers can process the payment for their order online using their own device. They can do this by checking out on the Branded Online Store (Scan to Order) or by scanning the QR code assigned to their table or printed on their bill.
Depending on your setup, these self-checkout payments may require staff approval on the Eats365 POS or mPOS first before the customer can proceed.
For more information on how to enable the Self-checkout feature, refer to Set up Self-checkout for Dine-in orders.
To learn how to manage self-checkout payment requests through the Eats365 POS, refer to Manage self-checkout orders on the mPOS.
In this article, you’ll learn how to accept, reject, and cancel self-checkout requests, and print bills with self-checkout QR codes through the Eats365 POS.
Accept a self-checkout request
To accept a customer’s self-checkout request, follow the steps below:
- Log in to the Eats365 POS.
- At the top left, tap Dine-In to get to the Table Map screen.
Tip: You can set the Table Map screen as the default view from the General Preferences settings, so you won’t need to tap "Dine-In" every time you log in. - Select the table with the self-checkout request.
Tip: An icon indicating the self-checkout payment request will appear on the table where the customer who requested self-checkout is seated.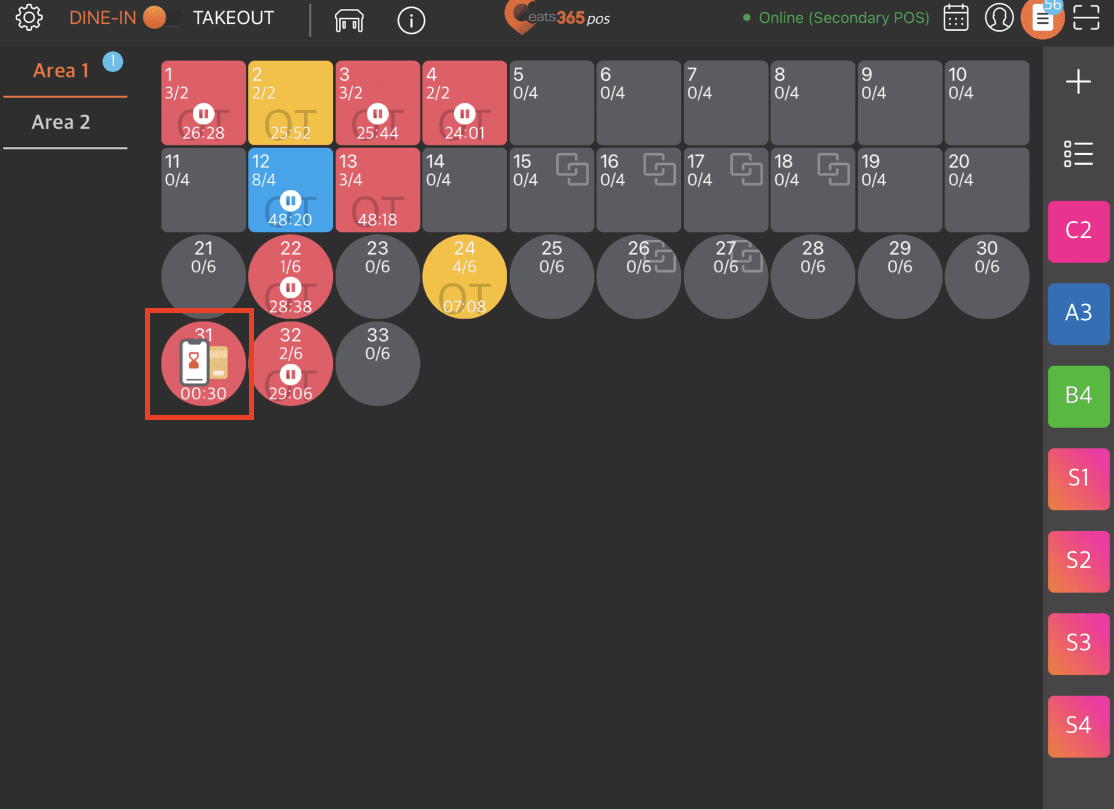
- Press and hold on the table to show the action buttons.
- Tap Self-Checkout.
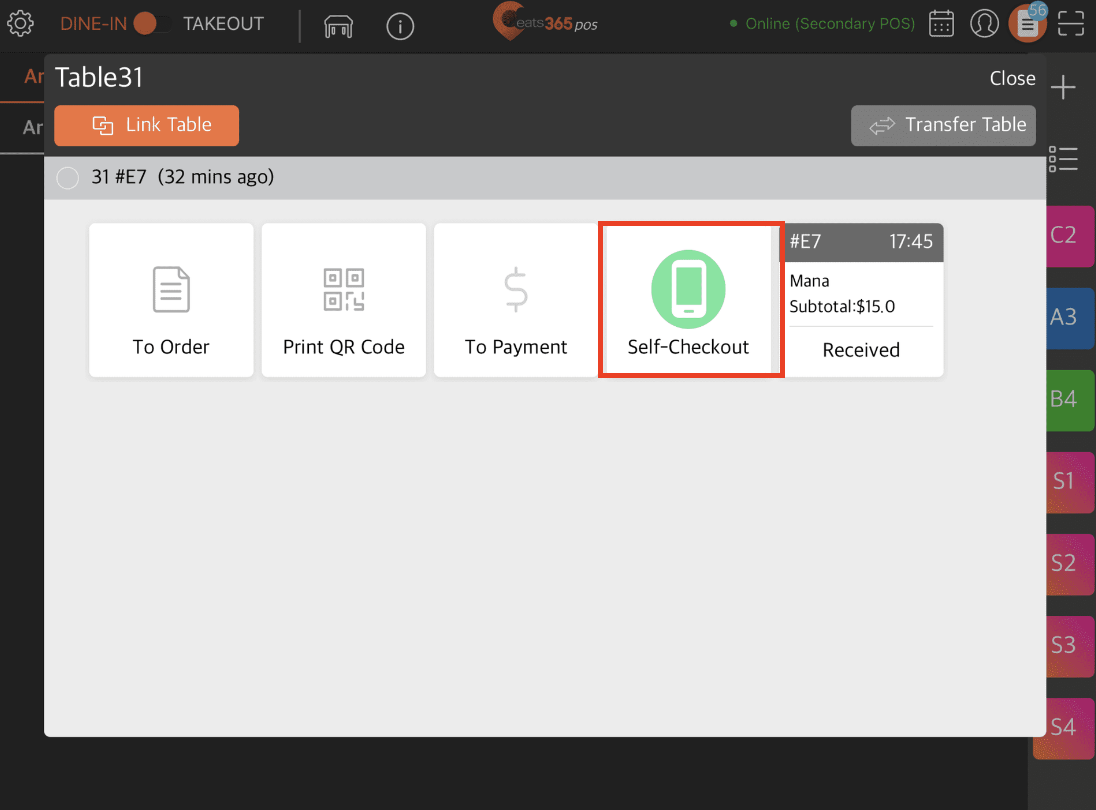
- To accept the self-checkout request, tap Confirm.
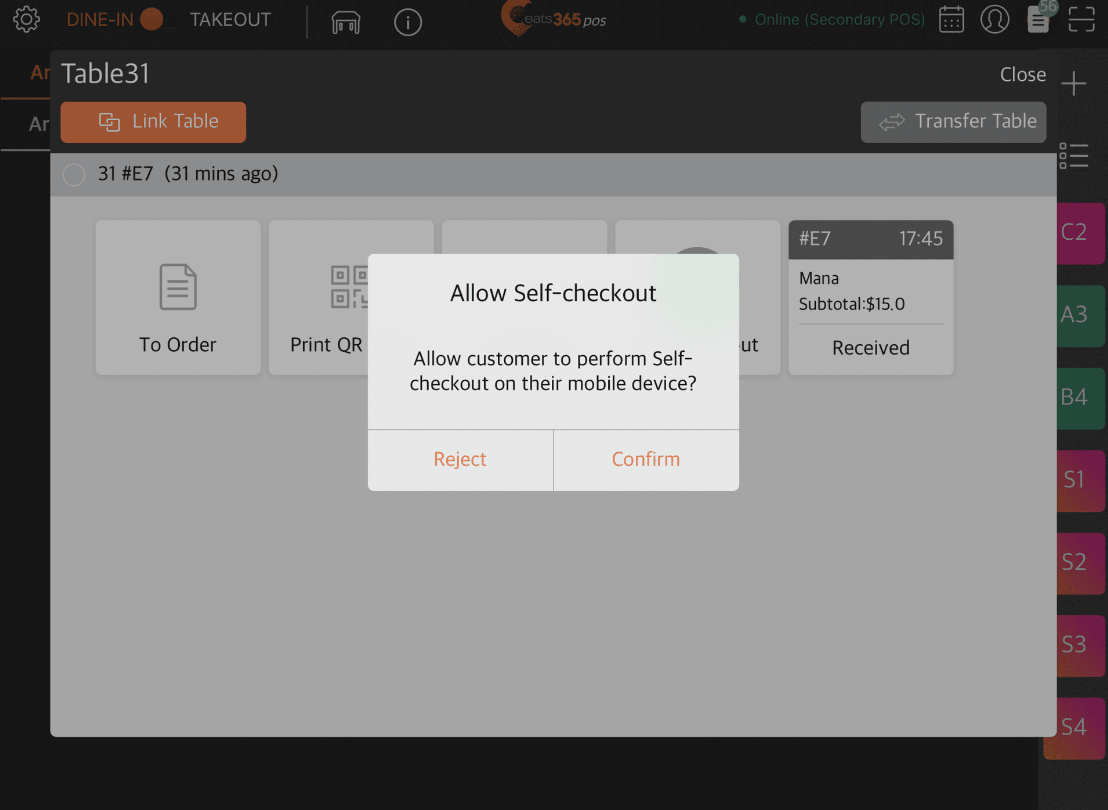
Once the payment is approved, the customer can proceed with the payment process. The Self-checkout status will appear as “Pending” on the POS until the customer pays the order. The "Self-checkout" button will be removed once the payment is complete.
Reject a self-checkout request
To reject a customer’s self-checkout request, follow the steps below:
- Log in to the Eats365 POS.
- At the top left, tap Dine-In to get to the Table Map screen.
Tip: You can set the Table Map screen as the default view from the General Preferences settings, so you won’t need to tap "Dine-In" every time you log in. - Select the table with the self-checkout request.
Tip: An icon indicating the self-checkout payment request will appear on the table where the customer who requested self-checkout is seated.
- Press and hold on the table to show the action buttons.
- Tap Self-Checkout.
- To reject the self-checkout request, tap Reject.
After the self-checkout request has been rejected, the customer receives a notification that the self-checkout request wasn’t confirmed and they should seek staff assistance.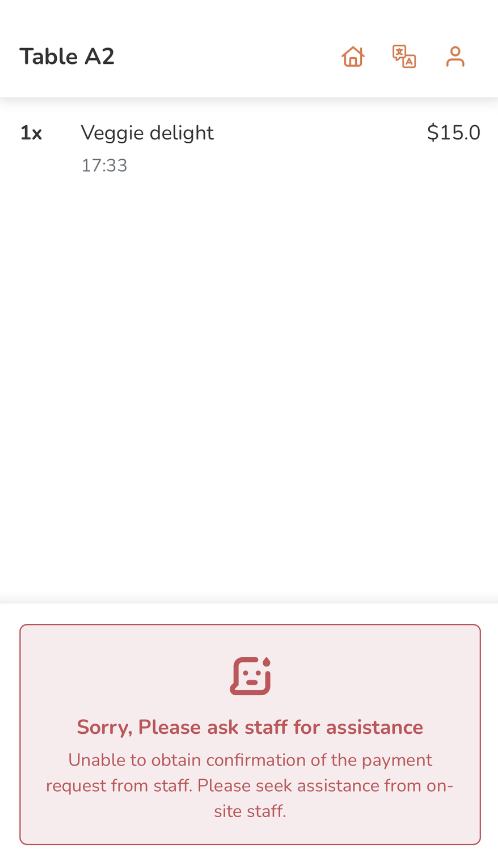
Cancel a self-checkout request
In cases where you have already accepted a customer’s self-checkout request but need to cancel it, you may do so by suspending the self-checkout request.
To suspend a self-checkout request, follow the steps below:
- Log in to the Eats365 POS.
- At the top left, tap Dine-In to get to the Table Map screen.
Tip: You can set the Table Map screen as the default view from the General Preferences settings, so you won’t need to tap "Dine-In" every time you log in. - Select the table with the self-checkout request.
Tip: An icon indicating the self-checkout payment request will appear on the table where the customer that requested self-checkout is seated.
- Press and hold on the table to show the action buttons.
- Tap Self-Checkout.
- To accept the self-checkout request, tap Confirm. Once the payment is approved, the customer can proceed with the payment process. The Self-checkout status will appear as “Pending” on the POS until the customer pays the order.
- To suspend a self-checkout request, tap Self-Checkout again. A prompt appears to confirm if you want to suspend the self-checkout progress.
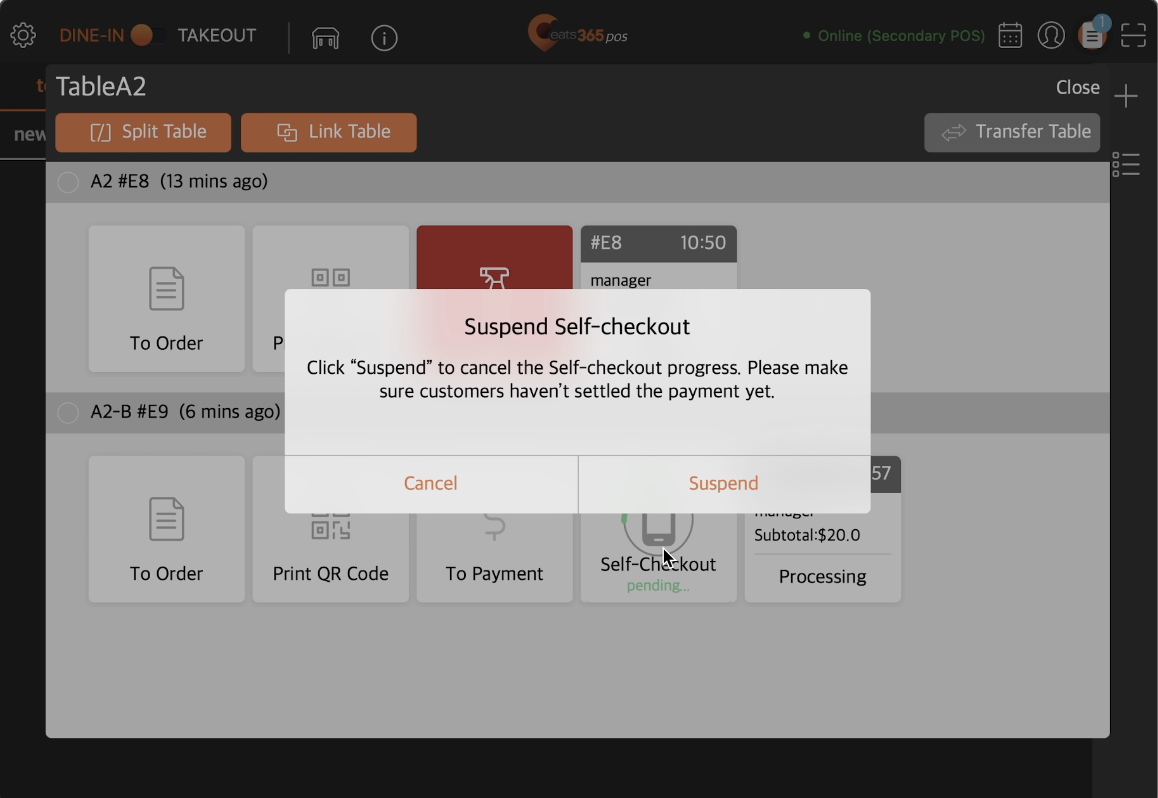
- Tap Suspend to proceed.
After the self-checkout request has been suspended, the customer receives a notification that the self-checkout request has been suspended by the staff and the customer should seek assistance.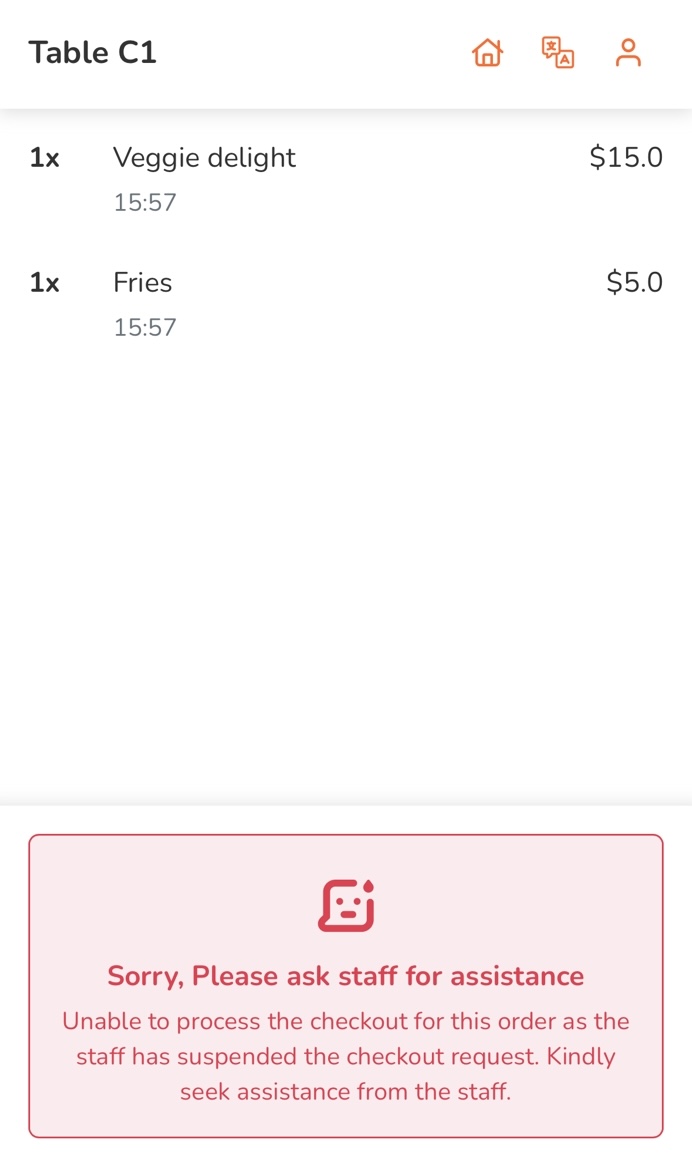
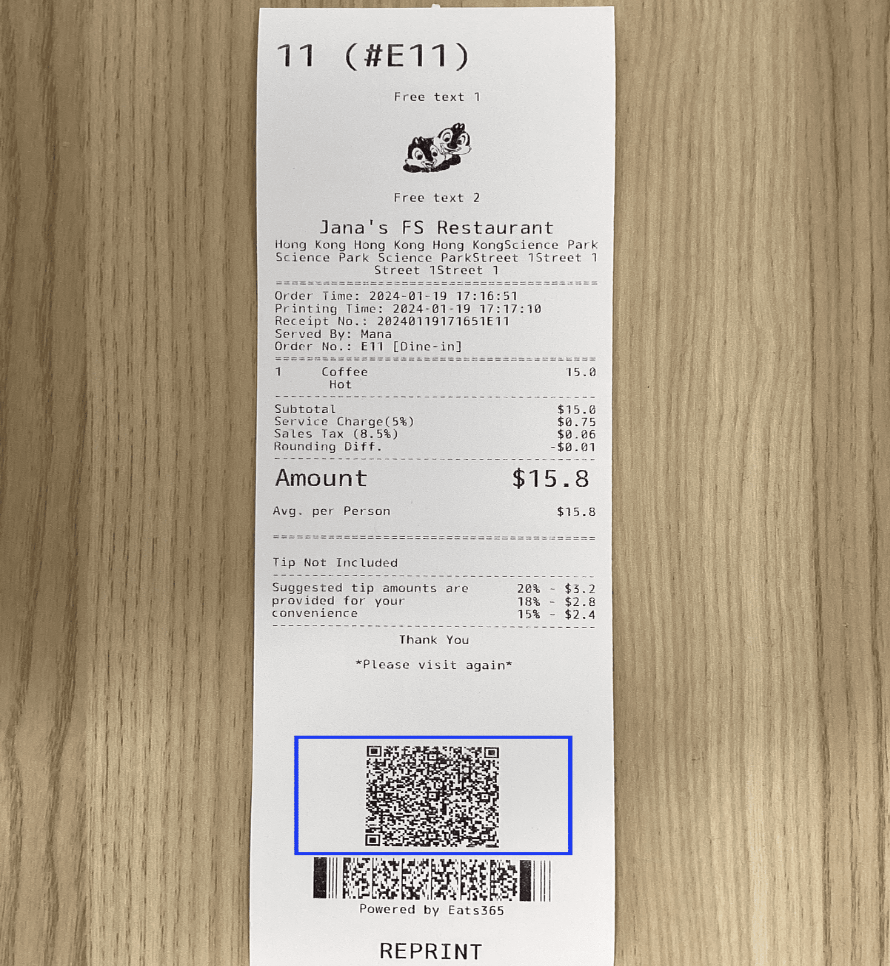
Print QR code on bill for self payment
A QR code that directs customers to a payment gateway can be printed on the customer’s bill. The customer can scan the QR code using their mobile device and complete the payment on their own.
To print a QR Code on the customer’s bill, follow the steps below:
- Log in to the Eats365 POS.
- At the top left, tap Dine-In to get to the Table Map screen.
Tip: You can set the Table Map screen as the default view from the General Preferences settings, so you won’t need to tap "Dine-In" every time you log in. - If you have multiple areas, select the area where the table is located. Then, tap the table where the party is seated.
 Tip: If a party has been seated but has not yet placed their order, then the table is colored yellow. To learn more about table status, refer to Manage table statuses.
 - On the order-taking screen, place the customer’s order as normal.
- Tap Pay.
- On the payment page, tap Bill
 to print out the customer’s bill with the QR Code.
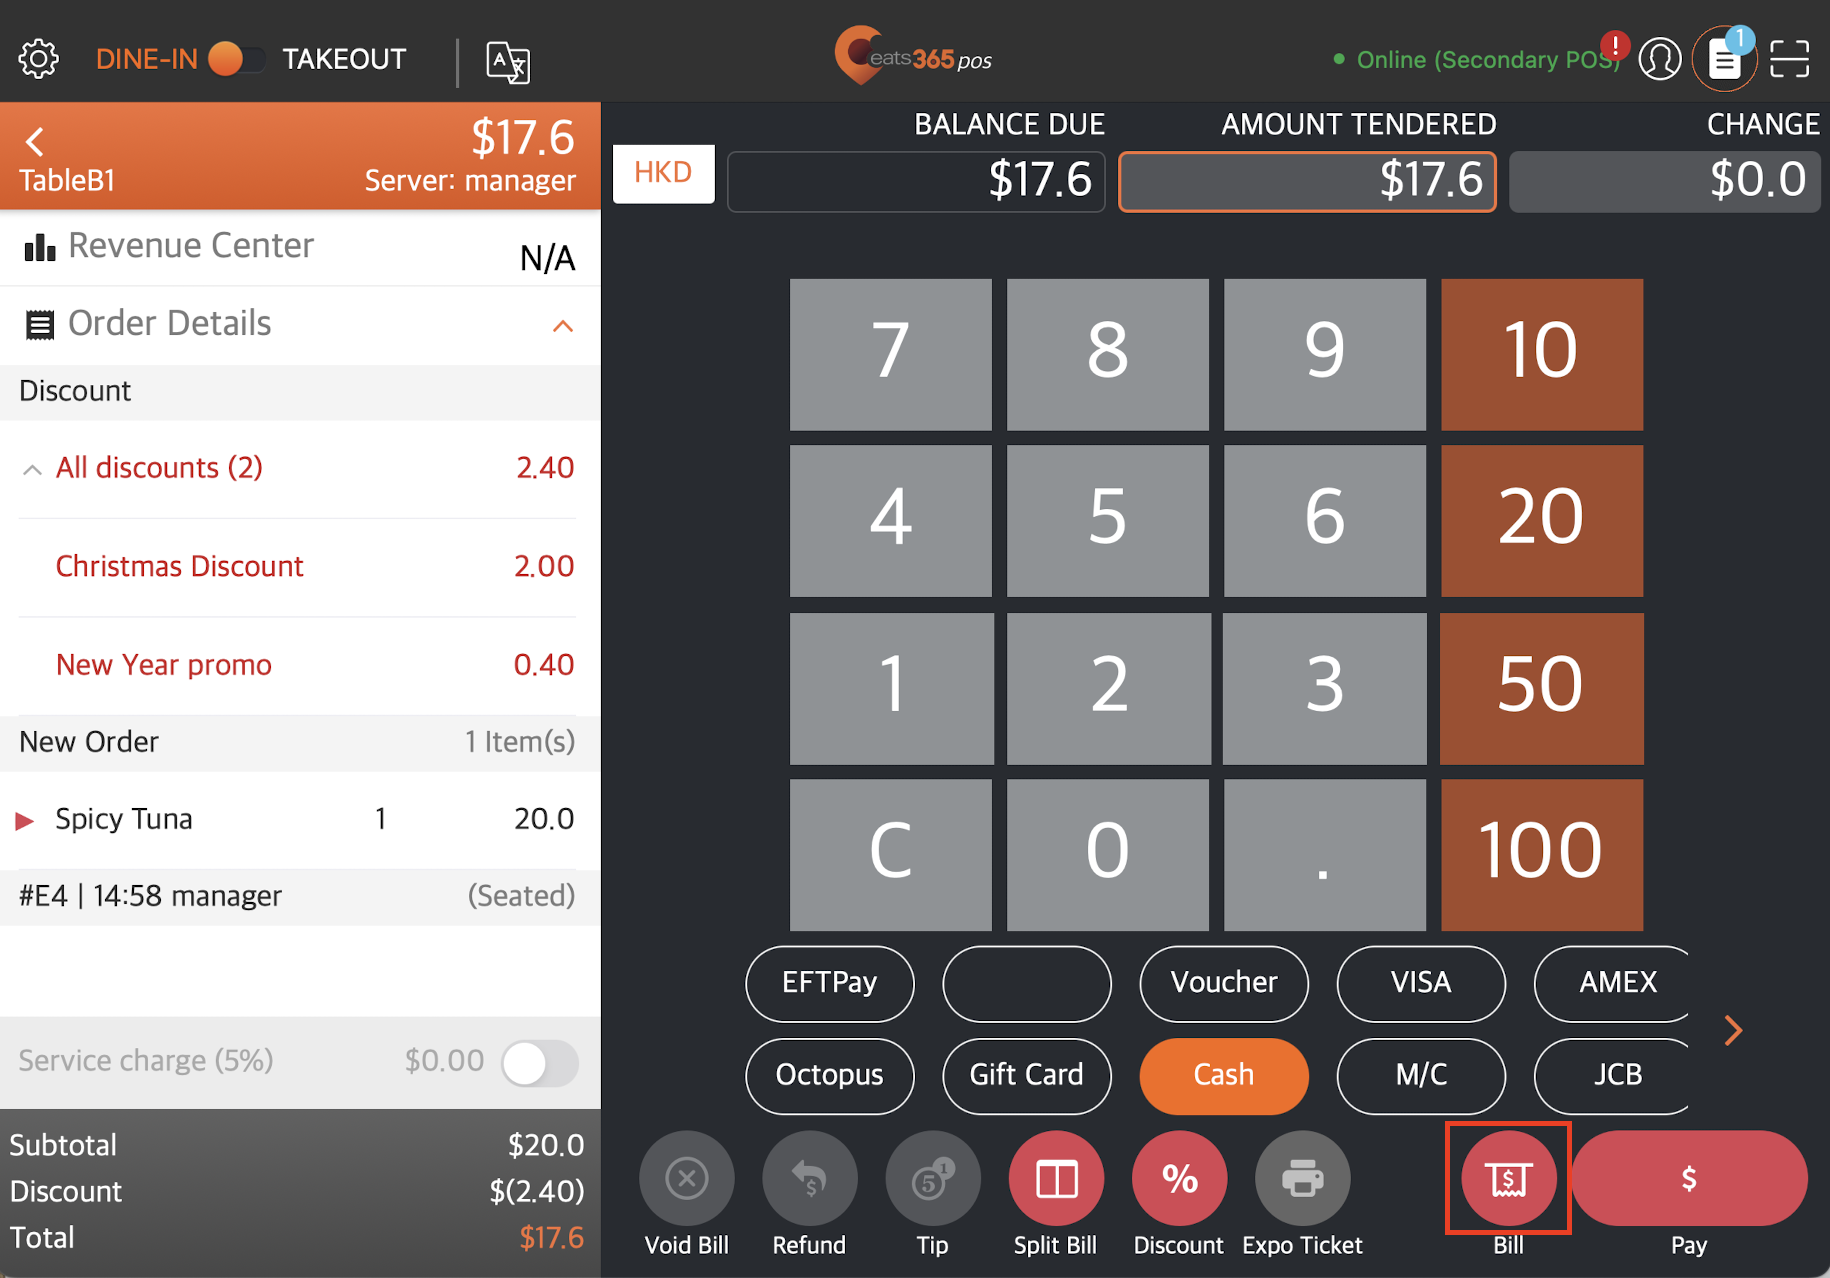
Once the bill has been printed, the customer can scan the QR Code printed at the bottom of the bill to proceed with payment. For more information on how to perform self-checkout, refer to Perform Self-checkout for dine-in orders.