 Eats365 Products
 Merchant Guide
 Modules
 Membership
 Integrations
 Hardware
 Staff Operations
 Roles & Permissions
 Payments
 Reports
 What’s New
 Release Notes
 Troubleshooting
 Simulators
 Glossary
 Troubleshooter
 System Status
Self Order Kiosk
Table of Contents
Configure Self Order Kiosk (Android) settings
Learn how to access, manage settings, and obtain software updates for the Self Order Kiosk (Android).
Changing the settings of the Self Order Kiosk for Android allows you to customize the app’s layout and behavior based on your preferences.
This article discusses the steps on how to configure the Self Order Kiosk for Android devices from the Merchant Portal. For information on how to configure the Self Order Kiosk for iPad, refer to Configure Self Order Kiosk (iOS) settings. To configure the Self Order Kiosk settings from the physical kiosk itself, contact Eats365.
Manage Self Order Kiosk settings
The Self Android Kiosk (Android) settings are available on the Merchant Portal 2.0.
To set up the Self Order Kiosk for Android to your preferred settings, follow the steps below:
General Settings
- Log in to the Merchant Portal.
- On the left panel, click on Modules
 Self-order Kiosk (Android)General.
 - Configure the Self Order Kiosk to your preferred settings.
- At the top right, click on Save to confirm.
You can change the following settings for the Self Order Kiosk:
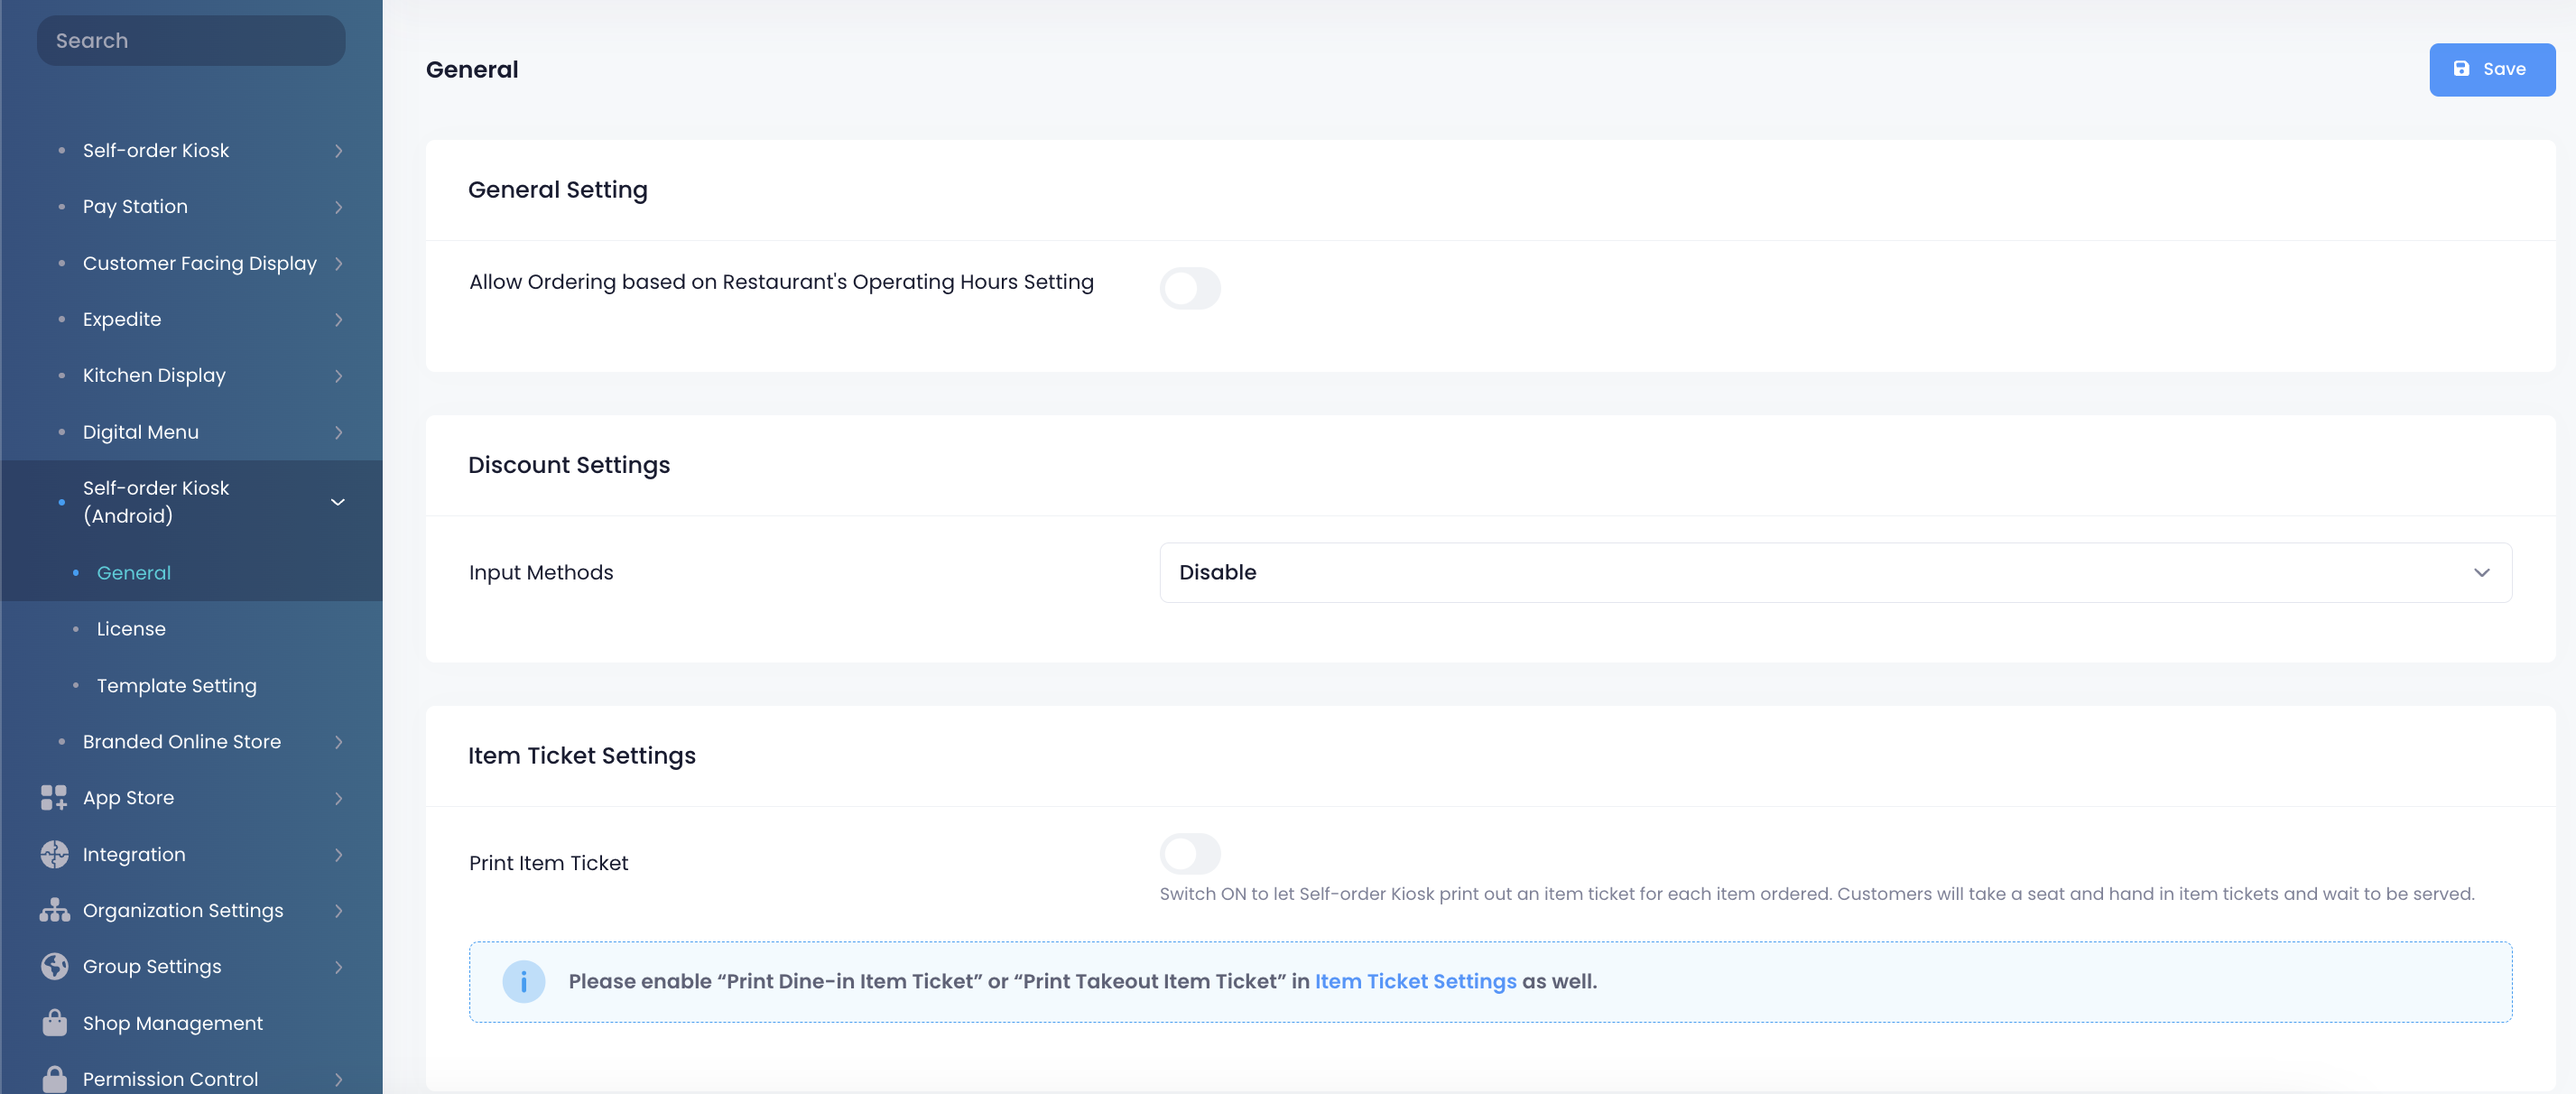
General Setting
Auto Complete Order when Paid
This setting marks orders as "Completed" in the Eats365 POS if placed and paid for through the Self Order Kiosk. When enabled, the POS does not print an item ticket for the order. This setting is ideal for dining setups where customers pay for orders before preparation, such as no-contact ordering or self-service restaurants.
If disabled, orders placed and paid for through the Self Order Kiosk are marked as "Paid" on the POS. The POS prints an item ticket for the order, and the order is marked "Completed" upon performing End of Day.
Allow Ordering based on Restaurant's Operating Hours Setting
Allows the customer to order on the Self Order Kiosk during operating hours.
When this setting is enabled, the Self Order Kiosk will automatically show a "Closed For Now" screen during non-operating hours.

Discount Settings
Input Methods
Select how customers can apply a discount to their order from the Self Order Kiosk:

- Disable: Discounts cannot be applied to orders.
- Display Discount List and Discount Code Input Field: Customers can choose their preferred discount from a list or manually enter a discount code.
- Display Discount List Only: Customers can select their preferred discount to apply from the list without entering a code.
- Display Input Field Only: Customers must enter a discount code to apply a discount.
Discount Display Style
Select where the discount section will be accessible:
- Input upon clicking the Checkout button
- Input upon clicking the Discount button
Item Ticket Settings
Print Item Ticket
When enabled, the Self Order Kiosk prints out an item ticket for each item ordered. Customers will take a seat, hand in their item tickets, and wait for their orders to be served.
DeletePaired Android Kiosk settings
- Log in to the Merchant Portal.
- On the left panel, click on ModulesSelf-order Kiosk (Android)License.
- Next to the license of the paired Self Order Kiosk (Android), click on Edit
 .
.
- Configure the Self Order Kiosk to your preferred settings.
You can change the following settings for the Self Order Kiosk:
General Setting
Kiosk Number
Assign a designated number to the Self Order Kiosk (Android).
Template Setting
Selected Template
Select the template that you want to use on the Self Order Kiosk. To create a template, refer to the Customize Self Order Kiosk template section.
Kiosk Language
Default Language
Set the default language used on the Self Order Kiosk.
Other Languages
When another language is added, customers can select the language that they want to use on the Self Order Kiosk. If no other language is created, the language selector on the kiosk will only show the default language.
Skip Tip Page
If disabled, this displays a tip prompt on the Self Order Kiosk where customers can select from preset tip percentage options or enter a custom tip amount. If the customer would like to skip including a tip, they can select No Tip.

The tip page does not appear for the following payment methods:
- Pay at Cashier
- Eats365 Loyalty Credit
- Third-party CRM Credit
- Third-party CRM Points used as full payment
- $0 Order Total
Ordering Setting
Show Custom Menu
Choose to exclude certain custom menus from being presented on the Self Order Kiosk (Android).
DeletePayment Setting
Settlement Settings
Enable auto settlement on application start up
Automatically cancels incomplete transactions.
When disabled, manual cancellation is required for incomplete transactions.
Enable auto settlement on time
The kiosk will trigger settlement upon launching the kiosk app.
Global Setting
Enable  and configure the payment methods that the Self Order Kiosk accepts:
- Pass to Counter (Pay at Cashier)
- Octopus
- Spot Payment
- Global Payment
- T05
- Payme
- FPS
- BBPOS
- 365Pay Adyen
- Line Pay
- Tai Shin
- Verifone EFTPOS
- Windcave
- Alipay
- Eats365 Loyalty (Member Credit)
- Third Party CRM (Member Credit and Member Point)
To link supported integrated payments, refer to Set up and manage integrated payments.
DeletePrinter Setting
Printer Model
Select the printer that you want to use to print receipts.
Printer Paper Width
Select the printer paper width. You can select from 81mm and 58mm.
DeleteSystem Setting
System Login Password
Set the Self Order Kiosk password. The system login password can be used to access the Self Order Kiosk settings. By the default, the password is set as 1234.
Delete
e-Invoice (Taiwan)

Disable e-Invoice
When enabled, the kiosk will not issue e-Invoices.
Device Number
If you're using Universal EC as the e-invoice platform, enter a device number for the kiosk.
API Access Key
If you're using Universal EC as the e-invoice platform, enter the API Access Key provided by Universal EC.
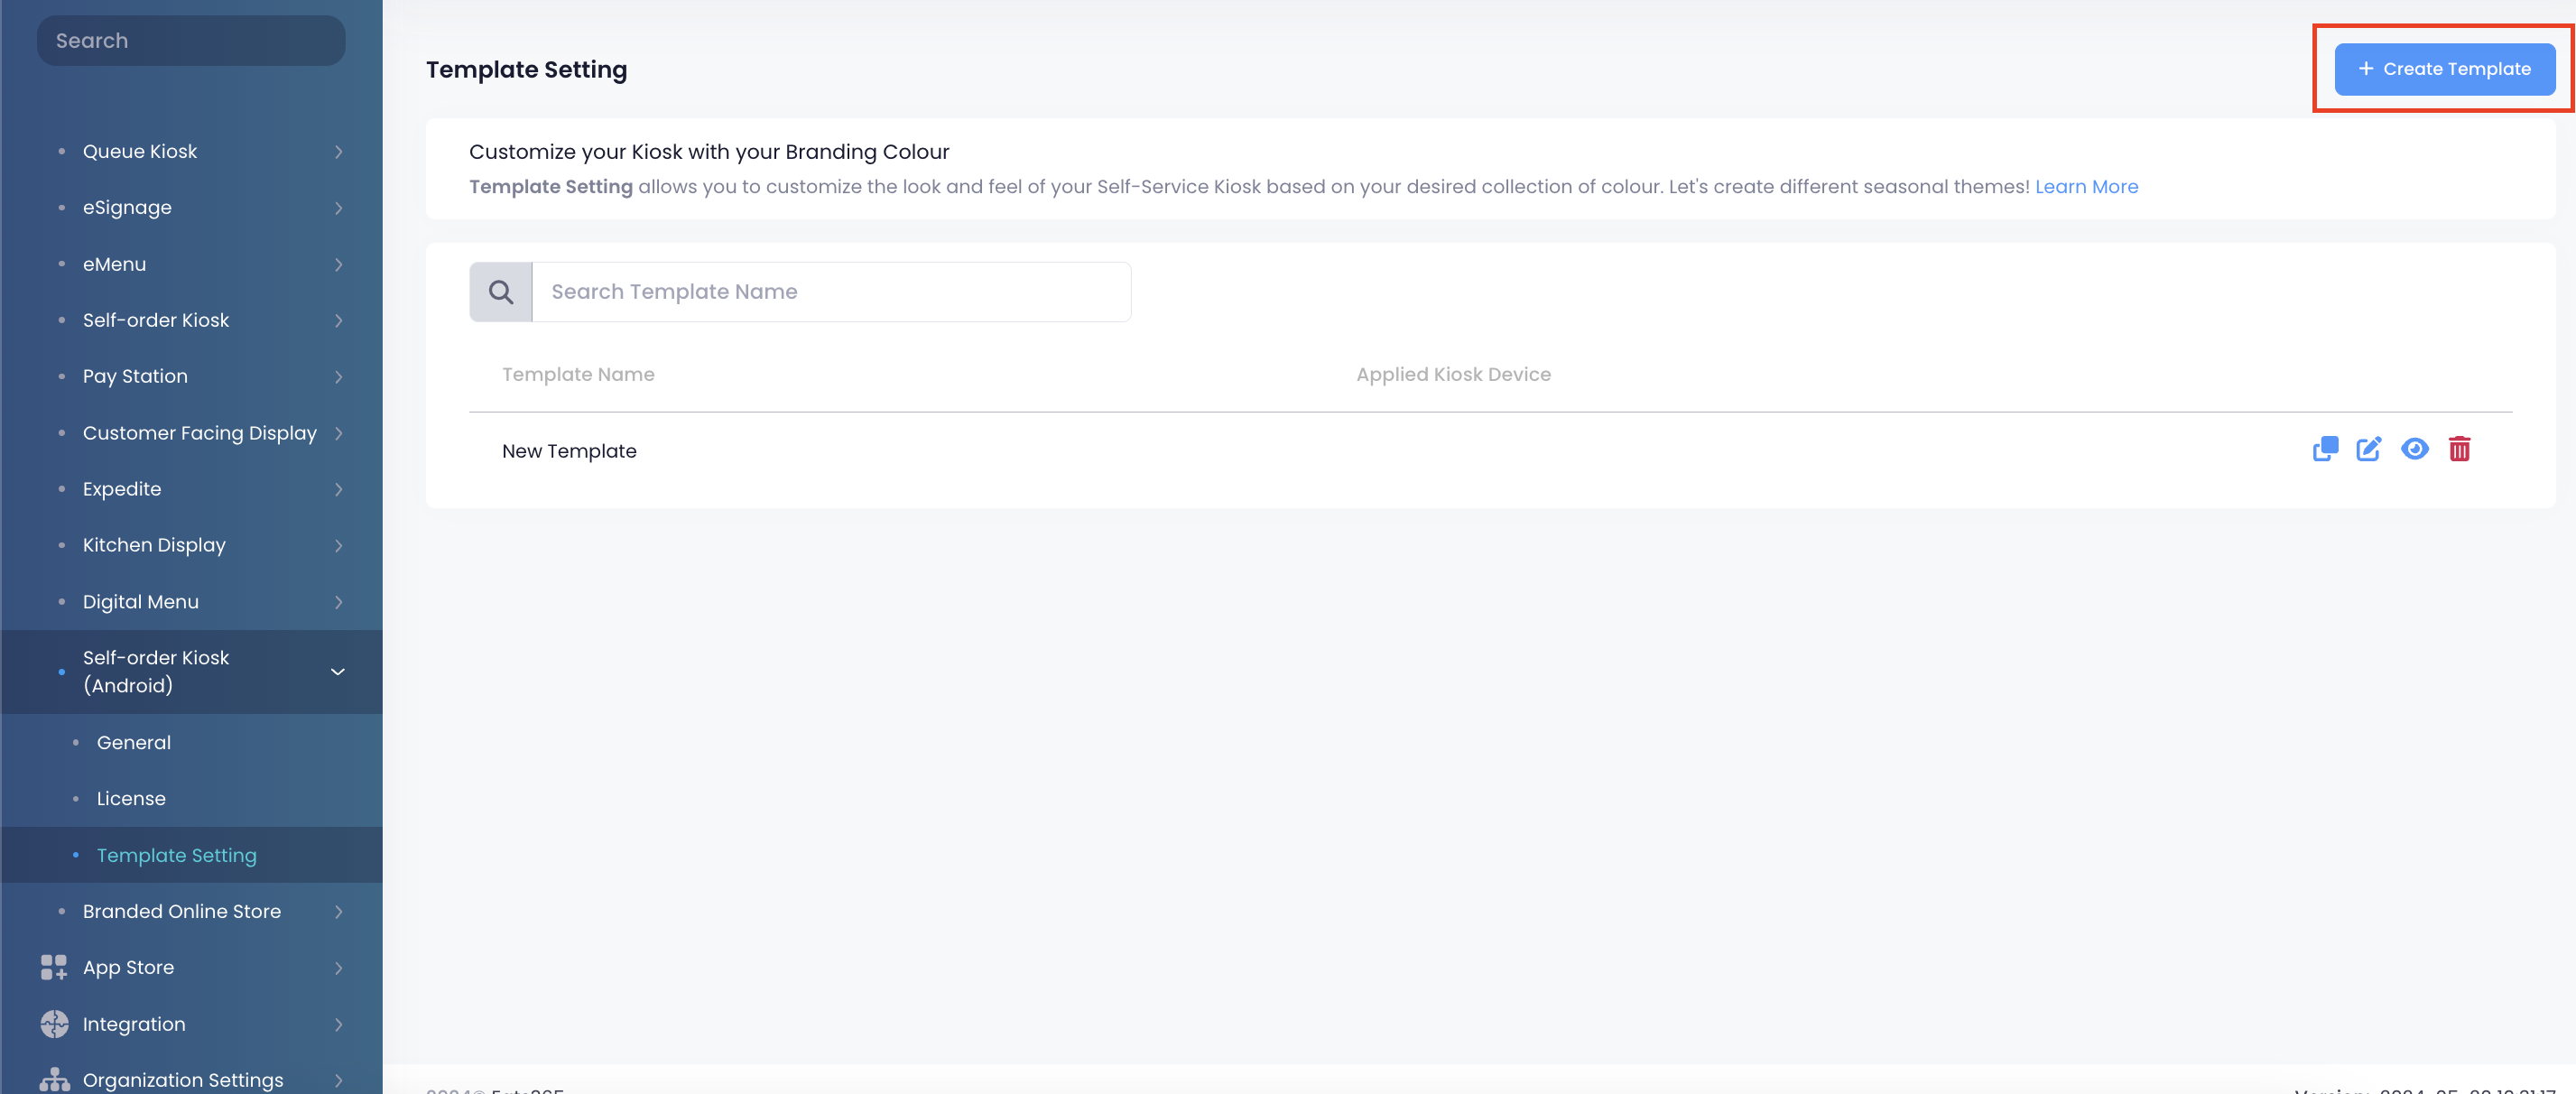
DeleteCustomize Self Order Kiosk template
The Self Order Kiosk (Android) allows you to customize the look and feel of your kiosk based on your preferred color and theme.
To change the Self Order Kiosk template, follow the steps below:
- Log in to the Merchant Portal.
- On the left panel, click on ModulesSelf-order Kiosk (Android)Template Setting.
- At the top right, click on +Create Template.
- Customize the Self Order Kiosk to your preferred theme.
- Click on Save to confirm.
You can toggle or configure the following options for the Self Order Kiosk (Android):
General Setting
Template Name
Enter a name to make the template easily identifiable.
Import General Setting
If another template already exists, you can import the template to duplicate its settings. Click on the drop-down button and select the template from the list.
Theme
Select the theme that you want to use for the Self Order Kiosk. You can choose from the following:
-
Classic Theme

-
Modern (Beta Version)

General
Operating Mode
Select your preferred operation mode for the Self Order Kiosk. The Kiosk can be configured for ordering only, ordering and payment, or payment only. You can choose from the following options:
- Self Ordering: This option is selected by default. This allows customers to place their orders but not to process self-checkout payments.
- Self Checkout: Select this option to use the kiosk as a pay station only. This allows customers to process self-checkout payments but not place their orders. When this is enabled, customers can scan the QR Code printed on their seat ticket or displayed on the Branded Online Store.
- Self-Ordering and Checkout: Select this option to use the kiosk to place orders and process self-checkout payments. When enabled, the standard ordering interface will appear with a dedicated “Self-Checkout” button. Customers can process payments by scanning the QR code printed on their seat ticket or displayed on the Branded Online Store.
Default Dining Type
Select the dining type where you want to use the Self Order Kiosk. This setting is applicable for Quick Serve or Food Court mode only. You can choose from the following options:
- System Default
- Dine in only
- Takeout only
Image Upload
Upload an image to make the Self Order Kiosk more appealing to customers. You can add an image for the following:
-
Background Image

-
Top Banner Image

Landing Page
Order Initiation Mode
Select how the Self Order Kiosk initiates the ordering process.
You can choose from the following options:
- Guided Steps: Upon tapping the Touch to Start button, the screen always directs to the select dining mode page.
- Simplified: Upon tapping the Touch to Start button, the kiosk will skip to the menu page if only one dining mode is supported, or go to the select dining mode page if both Takeout and Dine-in modes are supported.
Landing Page Text
Add texts that would appear on the Self Order Kiosk landing page.

Landing Page Image
Add images to the Self Order Kiosk landing page. You can upload up to 5 images and 1 video.
Image Transition Intervals
Set the time for how long the image is displayed.
Video Crop
Adjust how the video appears on the screen. You can choose from the following:
- Original
- Fill
- Scale to Fit
Video Sound Effect
Enable this setting to play the video with sound.
Restaurant List
Always Show Restaurant List
Enable this setting to display the restaurant list on the Self Order Kiosk.
Order Setting
Default Display Mode
Select how you want the menu items and categories to appear on the Self Order Kiosk. You can choose from the following:


Hide Cart on Menu Page
Enable this setting to hide the cart on the menu page.
| Enabled | Disabled |
 |
 |
Hide Soldout Item
Enable this setting to restrict the Self Order Kiosk from showing sold-out items.
Skip Combo Options Confirmation Page
Enable this setting to skip showing the combo options confirmation page.
Show Category Including all Recommended Items
Enable this setting to display a category showing all recommended items. The system will automatically group items selected as "Recommended" on the Menu Setup.
Item Details Page
Directly Add Items to Cart if no Mandatory Options
Enable this setting to automatically add items to the cart if no mandatory options are required.
Hide "Not Needed” Option for Optional Modifier Options
Enable this setting to hide the "Not Needed" option for optional modifiers. When disabled, "Not Needed" will be displayed as an option.
| Enabled | Disabled |
 |
 |
Hide Combo Option Image
Enable this setting to remove the combo option image.
Mini Cart
Item Quantity Display Style
Select where the item quantity appears on the mini cart. You can choose from the following:
-
Top Left Corner

-
Start of the Item Name

Hide Quantity Buttons
Enable this setting to remove the quantity buttons from the mini cart.
Hide Copy Button
Enable this setting to remove the copy button from the mini cart.
Hide Item Image
Enable this setting to remove the item image from the mini cart.
Payment Setting
Skip Payment Selection if there is only one
When enabled, the payment screen automatically skips payment method selection if there’s only one payment method available.
Provide Option to Print Bill / Receipt
Enable this setting to show an option to the customer to either print the receipt or take a photo of the order information (to reduce paper waste). If this setting is disabled, the kiosk automatically prints the bill and receipt if a printer is connected.
 |
 |
Theme Setting
Allows you to customize the color and theme of the Self Order Kiosk to match your branding. You can customize the color of the following elements:
- Main Background Color
- Main Tint Color
- Buttons Background Color
- Icon Color
- Inverted Background Color
- Inverted Text Color
- Dine In Button Background Color
- Dine In Button Text Color
- Dine In Button Icon Color
- Takeout Button Background Color
- Takeout Button Text Color
- Takeout Button Icon Color
- Menu Background Color
- Menu Text Color
- Discount Button Background Color
- Discount Button Text Color
- Category list background color
- Cart background color